

Greek Yogurt Ice Cream Bars
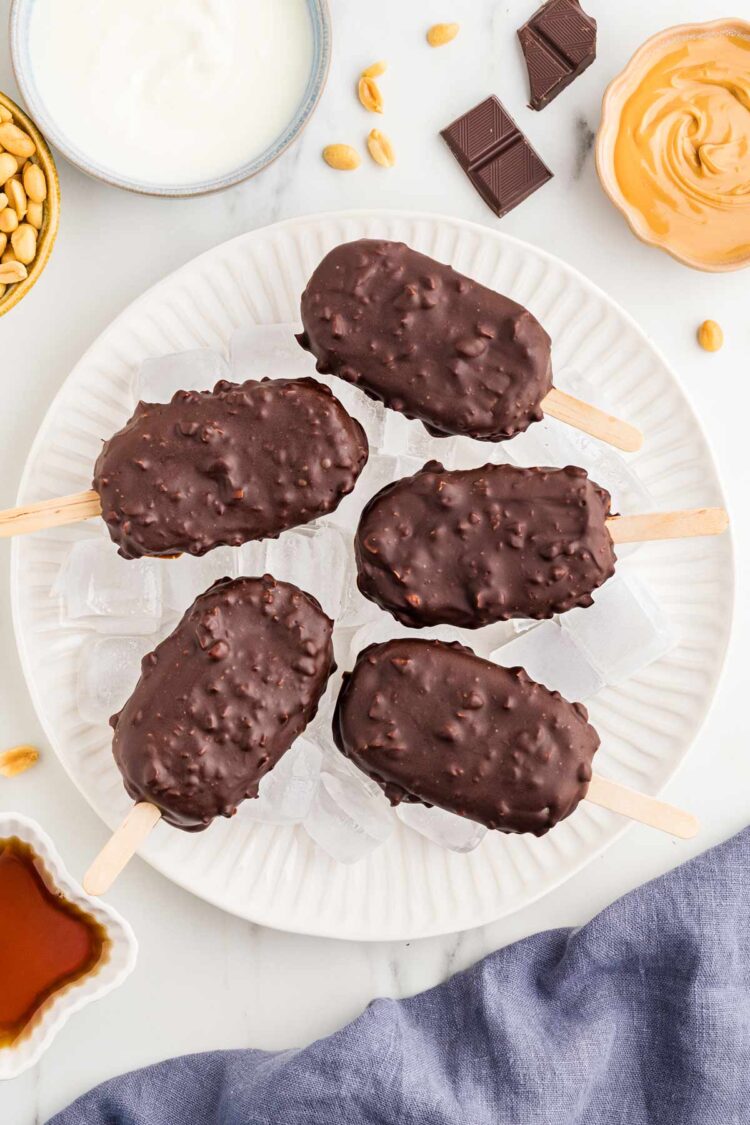
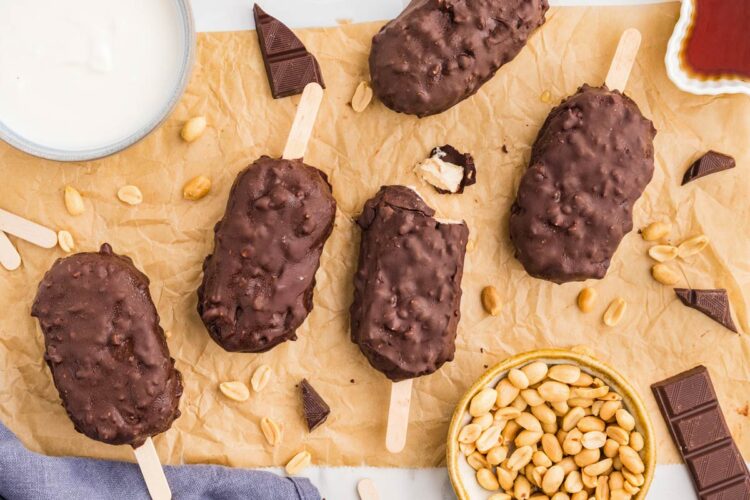
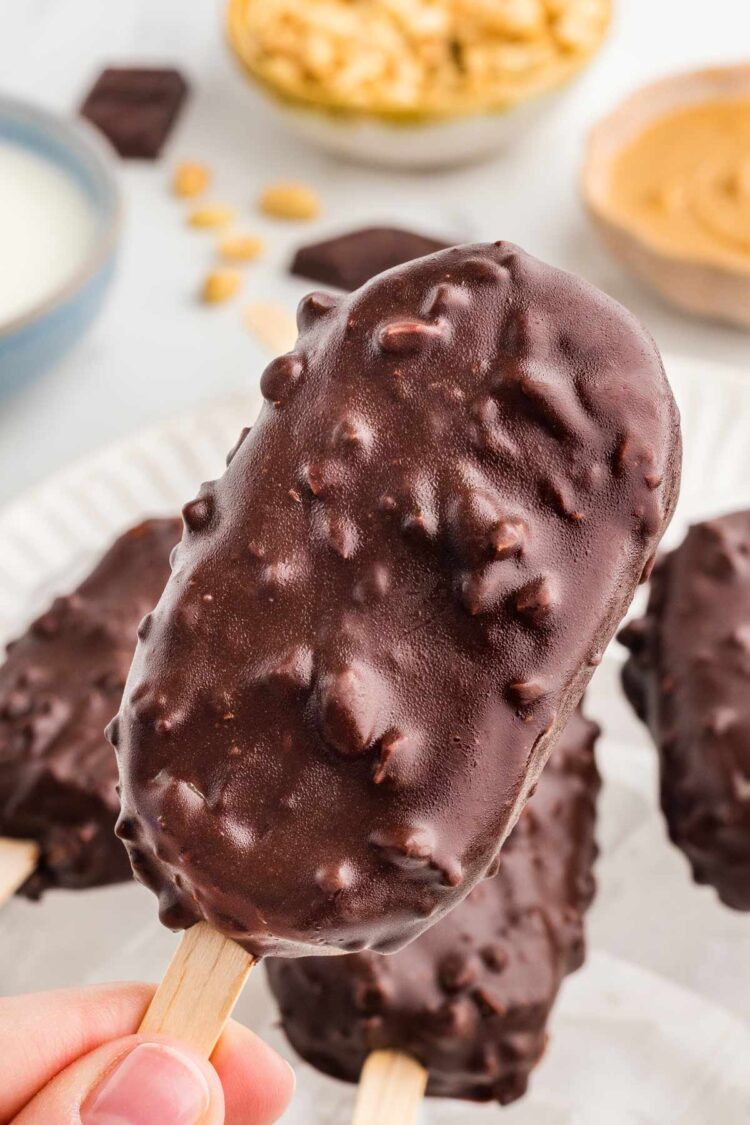
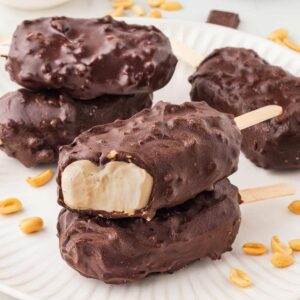
These Greek yogurt ice cream bars have a creamy peanut butter filling, a thick chocolate shell, and plenty of crunch from roasted peanuts. They’re more like copycat Magnum bars than frozen yogurt bars, which is surprising because they’re made with Greek yogurt, peanut butter, maple syrup, and vanilla. They’re naturally grain-free and gluten-free and easy to make vegan, paleo and nut-free!
The peanut butter and vanilla are the main flavors, while the Greek yogurt adds creaminess and just enough tang to keep the bars from tasting too rich. All 5 taste testers couldn’t even tell they contained Greek yogurt.
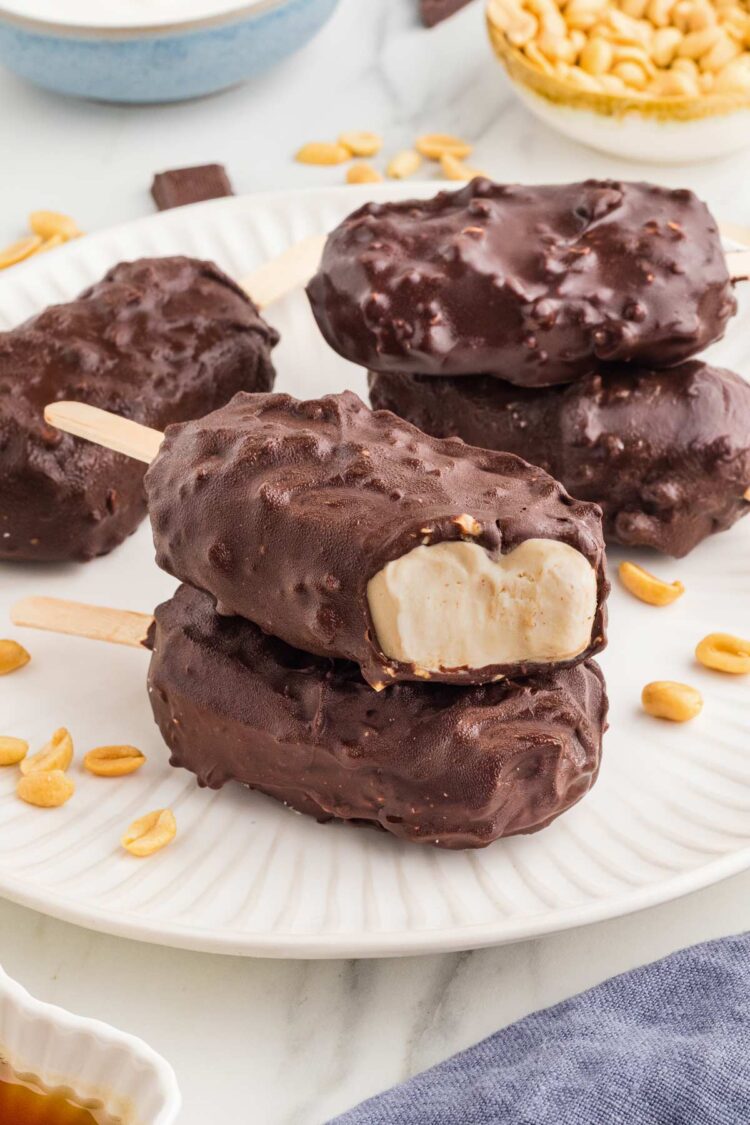
The photographer also said, “As someone whose favorite summer ice cream is Magnum, these were a 10/10. I actually liked the slight tang from the Greek yogurt, as it helped break through the richness of the chocolate layer and peanut butter. Compared to store-bought ice cream, this definitely feels lighter but doesn’t compromise on taste.”
If you don’t have a popsicle mold, but you’re looking for more hot-weather desserts, I have several more frozen desserts you might work for you, like these Banana Pops.
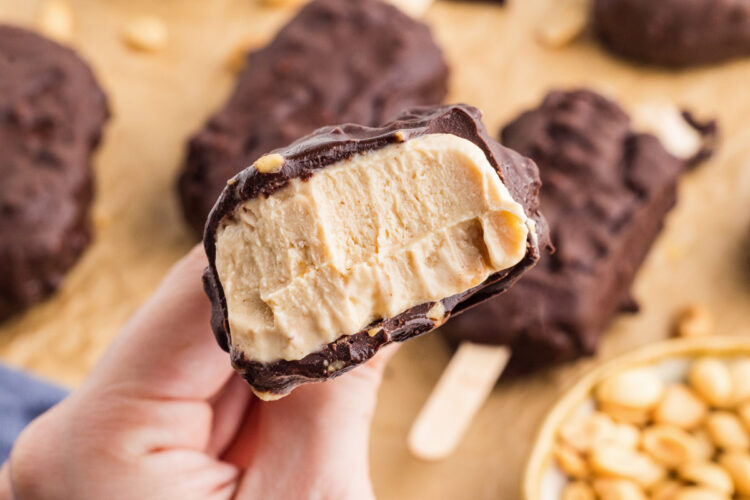
- They really taste like ice cream bars! – the filling tastes more like creamy peanut butter ice cream than Greek yogurt. People will have no idea that these yogurt bars are a healthier option.
- Great chocolate shell – the chocolate coating hardens quickly and gives the bars a good snap.
- Not icy – full-fat Greek yogurt is thick and creamy to begin with, and the peanut butter adds a lot of fat and richness. Maple syrup also helps keep the texture a little softer than granulated sugar would. Together, those ingredients make the filling freeze more like a creamy frozen dessert than a hard yogurt pop. They’re still firm straight from the freezer, so don’t judge the texture immediately. After about 5 minutes at room temperature, the filling softens just enough to taste much creamier while the chocolate shell stays crisp.
Ingredients
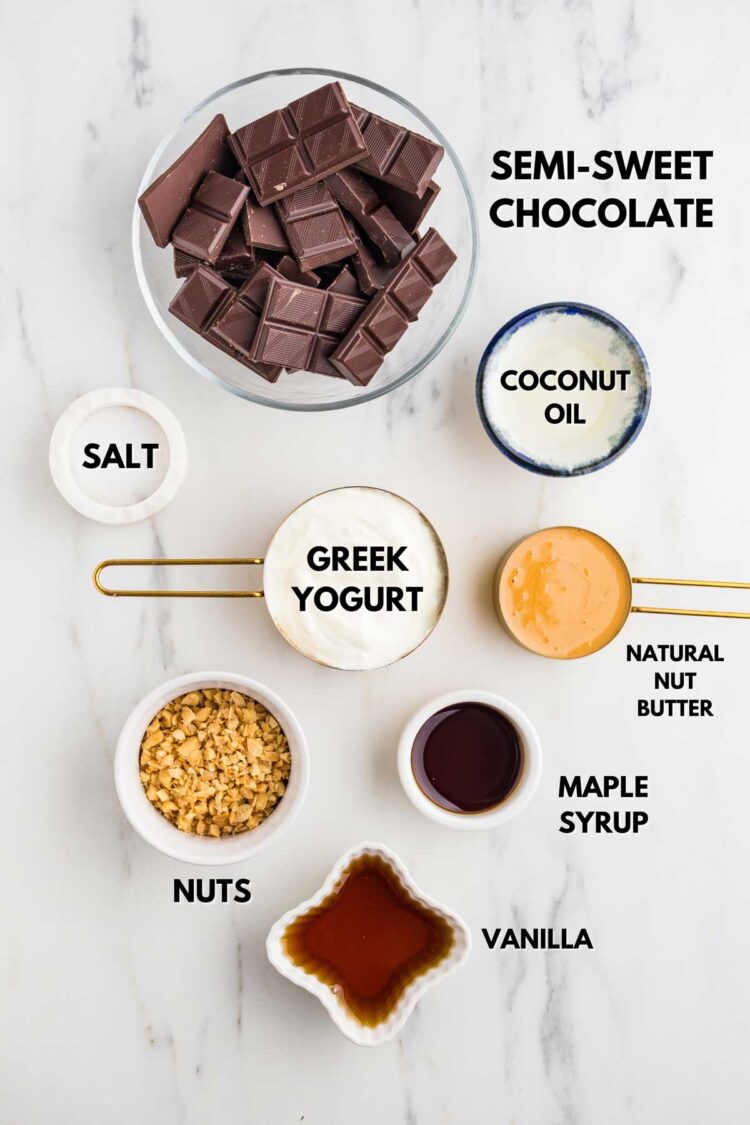
These are just some notes on key ingredients. Please scroll down for the full recipe.
- Full-fat plain Greek yogurt – use full-fat Greek yogurt. This recipe has been tested with 5% Greek yogurt, a thicker 10% Greek yogurt, and vegan coconut milk yogurt that’s 8% fat. They all worked well without changing the recipe. The 10% version was a little richer, but not so different that I’d buy it specifically for this recipe. I don’t recommend low-fat or fat-free Greek yogurt because the bars won’t be nearly as creamy.
- Natural peanut butter – use the kind made with just peanuts and salt. Peanut butter with added oil or sugar can change the texture and make the filling sweeter than intended. Unsweetened sunflower seed butter also worked great! But again, make sure it’s the kind without added oil or sugar. If you want extra peanut butter flavor, one tester got one bar with a small chunk of peanut butter in the filling and loved it. He thought a few peanut butter ribbons or little pockets would work well. If I were testing it, I’d start with a small amount of natural peanut butter and swirl it in very lightly before filling the molds. I wouldn’t add too much because you still want the bars to freeze firmly enough to dip.
- Maple syrup – honey would work in its place if you don’t mind some honey flavor.
- Semi-sweet chocolate – chopped chocolate melts more smoothly than chocolate chips, but either works. If using chocolate chips, just be aware that some brands melt thicker. You can use dark chocolate if you prefer.
- Coconut oil – this thins the chocolate enough to make dipping easier and creates a shell that’s easier to bite into. Use refined coconut oil if you don’t want coconut flavor. Unrefined works if you don’t mind a little coconut taste.
- Roasted peanuts – finely chopped nuts stick better to the coating than larger pieces. Roasted cashews, almonds and sunflower seeds also work well. Raw nuts are also fine. I just always prefer roasted.
How to Make Them
The full recipe can be found in the recipe card below. This is just an overview.
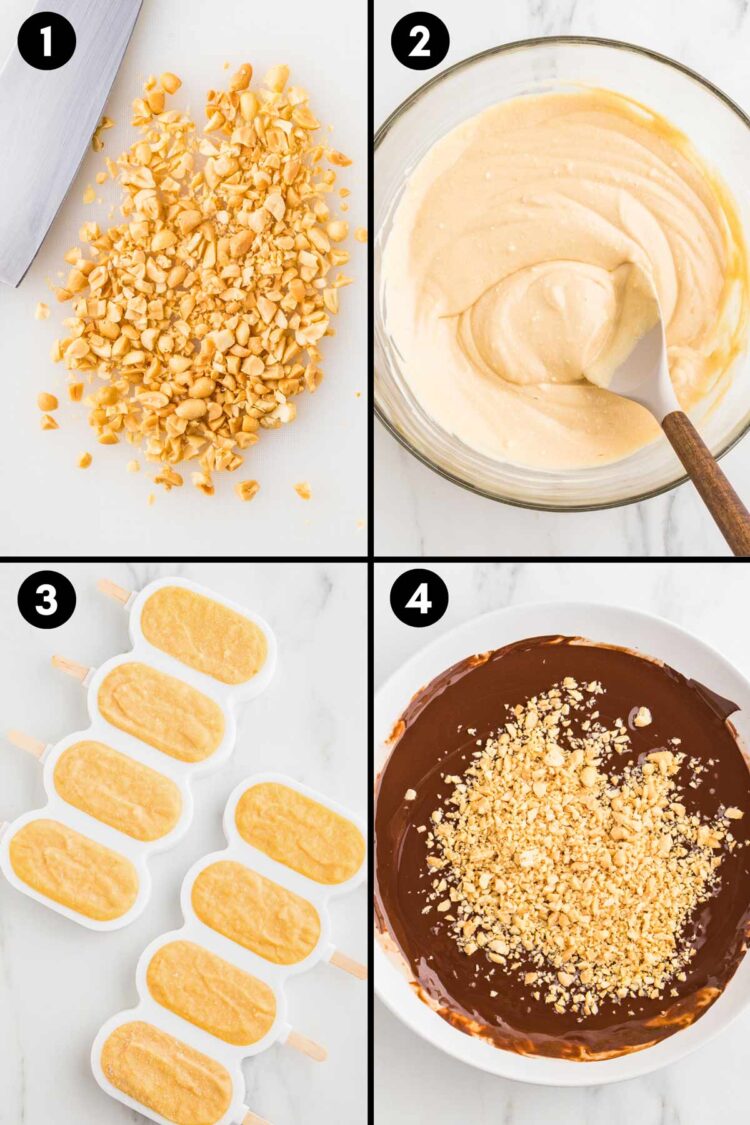
- Chop the nuts.
- Stir together the Greek yogurt, peanut butter, maple syrup, vanilla, and salt until completely smooth.
- Divide the mixture between popsicle molds and insert the sticks according to your mold’s instructions. Freeze until the bars are completely solid.
- Melt the chocolate with the coconut oil, then let it cool for a few minutes so it’s fluid but not hot. Stir in the chopped nuts right before dipping.
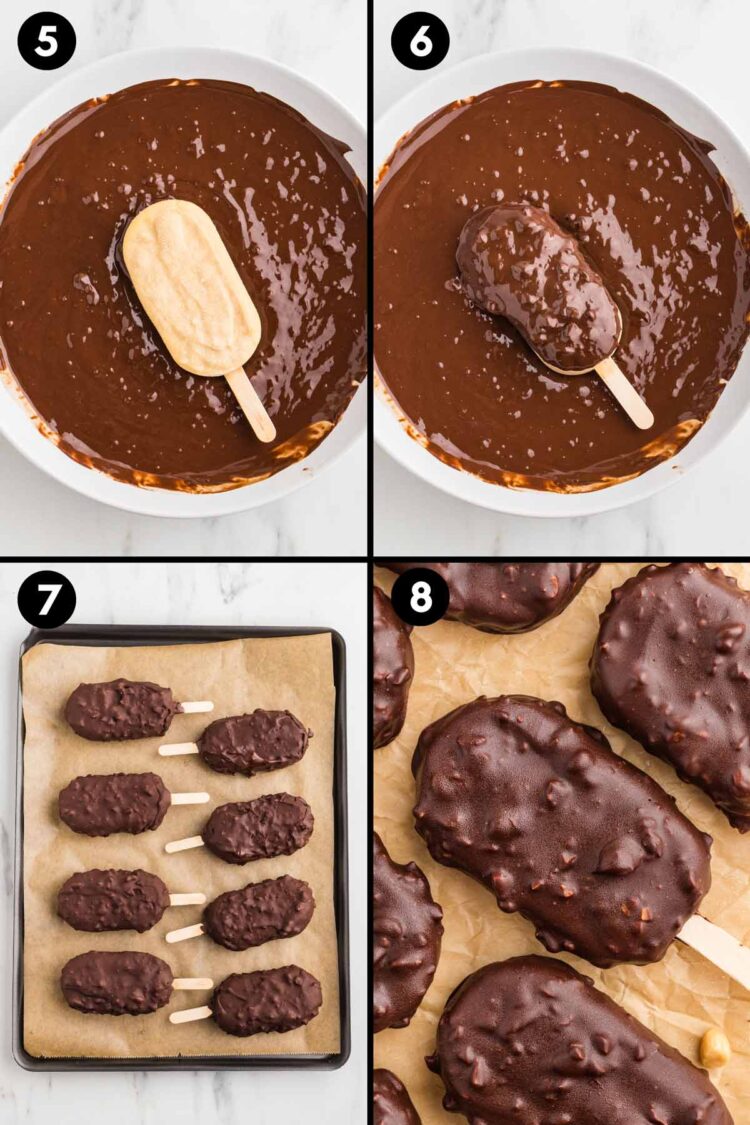
- Unmold the frozen bars and dip them in the chocolate coating.
- Make sure to coat the sides and bottoms completely.
- Return the coated bars to the freezer until ready to serve.
- Enjoy!
- Freeze until completely solid – if the bars aren’t fully frozen, dipping will be messy and the chocolate can slide around.
- Let the chocolate cool slightly – very warm chocolate can melt the outside of the bars before the shell sets.
- Keep the chocolate fluid – if it starts to thicken while dipping, gently rewarm it for a few seconds.
- Chop the nuts finely – smaller pieces stick better and make the coating easier to bite through.
- Cover all exposed filling – coating the sides and bottoms completely helps protect the bars during storage. It also prevents the ice cream from melting out the bottom if you eat slowly.
- Let them sit before eating – about 5 minutes at room temperature makes the filling much creamier.
Freezing Time
Don’t be surprised if these take longer than some recipes claim. I don’t know how people are getting full-size yogurt bars fully frozen in 2 hours.
My molds held 100 grams (3.4 oz) each, and the bars needed about 6 hours in a -18 °C (-.4 °F) freezer. The photographer used 75 ml (2.5 oz) molds, and those bars froze in about 5 1/2 hours.
So the freezing time depends mostly on your mold size and freezer. Smaller molds freeze faster, thicker molds take longer, and freezing them overnight is the easiest way to make sure they’re fully solid before dipping.
Popsicle Mold Differences
You can use whatever popsicle mold you have, but the yield and freezing time will vary.
My mold cavities were about 9×5 cm (3.5 x 2 in) and held about 100 grams (3.4 oz) each. I got 8 pops with just a little filling left over.
Silicone molds are easiest because the bars release cleanly. If using a rigid mold (which I have tested), briefly run the outside or bottom of the mold under warm water to loosen the bars. Don’t overdo it or the outside will start to soften too much before dipping.
How to Make Smaller Bars
These bars are pretty big! If you want smaller portions, I don’t recommend simply filling large molds halfway unless your mold shape still holds the stick securely.
Just keep in mind that smaller bars usually need more chocolate coating overall because there’s more surface area to cover. If you make double the number of bars, you’ll need quite a bit more chocolate, so it’s a good idea to have extra on hand.
Writing this section convinced me that I want to make the bars smaller next time. I’ve ordered a smaller silicone mold, the same size as the “Small” option linked above, and will update this post with the chocolate amounts as soon as I test it.
I loved these bars so much that I’ll be making them regularly, but a full-sized bar every day (which is how often I’d like to eat them in this heat 😄) is a little much.
Chocolate Coating Tips
I first tested these yogurt bars with a mold, like this one, that yields thinner popsicles and not the thicker ice cream bars you see in the photos. I used about 40 grams of chocolate coating per bar, so about 320 grams (11.3 oz) total. That was just enough for my bars with only a small amount left over.
The photographer’s bars were thicker than mine, and she needed about 350 grams (12.3 oz) of chocolate to coat all 8 bars. She used a mold very similar in size to this large one on US Amazon.
Since that’s what you see in the photos, that’s the version I’ve written up in the recipe. Just remember that you won’t need all that chocolate if you’re making thinner bars!
For the last bar or two, you may need to use a spoon to help coat them if the chocolate is getting shallow. It won’t be quite as pretty as dipping, but it works.
Storage
Once the chocolate coating has set, transfer the bars to an airtight freezer-safe container. They’ll stay good in the freezer for up to 3 months.
Troubleshooting
- Bars are icy – low-fat yogurt may have been used, or they may need a few minutes at room temperature before eating.
- Chocolate coating is too thick – gently rewarm it until fluid again.
- Chocolate is melting the bars – let the chocolate cool for a few more minutes before dipping.
- Not enough chocolate coating – your molds may be larger or thicker. Make a little extra coating or spoon the remaining coating over the last bar.
- Bars won’t release from the mold – briefly run warm water over the outside of the mold, then try again.
Paleo and Vegan Options
For both versions, make sure to use paleo- or vegan-compliant chocolate and yogurt.
For nut-free, sunflower seed butter and chopped sunflower seeds work great for the coating. That with coconut milk yogurt is the version I always make, and you can hardly tell the difference between that and the peanut butter one.
I hope you’ll enjoy these bars! Stay cool. ❄️
Greek Yogurt Ice Cream Bars
Equipment
- 8 popsicle sticks
Ingredients
For the bars:
- 2 cups (480 grams) full-fat plain Greek yogurt
- 2/3 cup (170 grams) natural peanut butter just peanuts + salt; no added fat or sugar
- 6 tablespoons (120 grams) maple syrup
- 4 teaspoons vanilla extract
- 1/4 teaspoon salt you may want more if using unsalted peanut butter
For the coating:
- 2 cups (350 grams) semi-sweet chopped chocolate or dark chocolate, if you prefer
- 1 tablespoon (14 grams) refined coconut oil or unrefined if you don’t mind some coconut flavor
- 1/3 cup (50 grams) roasted peanuts or other nuts
Instructions
- Finely chop the peanuts. You don't want them too coarse or you'll have difficulties when you dip the bars in the chocolate.1/3 cup (50 grams) roasted peanuts
- In a medium mixing bowl, stir together all the bar ingredients until well combined.2 cups (480 grams) full-fat plain Greek yogurt, 2/3 cup (170 grams) natural peanut butter, 6 tablespoons (120 grams) maple syrup, 4 teaspoons vanilla extract, 1/4 teaspoon salt
- Transfer the filling to a popsicle mold. The amount of filling is enough for 8 molds with a capacity of about 75–100 ml (2.5–3.4 oz) each. I had a little filling left over even when using 100 ml molds, but the exact yield will vary depending on your popsicle mold. Insert popsicle sticks according to your mold’s instructions.
- Let them freeze for at least 6 hours (they can be frozen at this point for several days).
- In a microwave-safe shallow dish in which you can dip the popsicles, melt the chocolate and coconut oil in 30-second increments at half power, stirring after every increment. Let the chocolate cool for 2–3 minutes so it’s fluid but not hot.2 cups (350 grams) semi-sweet chopped chocolate, 1 tablespoon (14 grams) refined coconut oil
- Stir in the chopped nuts immediately before dipping.1/3 cup (50 grams) roasted peanuts
- Remove the pops from the molds. If using a hard plastic mold, briefly run the bottom of the mold under warm water to cleanly unmold the pops.
- Dip the pops in the chocolate. Coat both sides and the bottoms, making sure no ice cream is exposed.
- Place on the parchment-lined baking sheet and place in the freezer until frozen solid (this happens within a few minutes). Place in an airtight container or bag and freeze for up to 3 months.
Notes
- For vegan, dairy-free or paleo – make sure to use compliant chocolate and yogurt. I used coconut milk yogurt. For nut-free, use sunflower seed butter and sunflower seeds for the chocolate coating.
- If your popsicle mold yields thinner pops (like with this one), then 320 grams of chocolate + 40 grams of nuts is enough (I tried it).
- These bars are pretty big! If you’re concerned about the calories (or carbs, fat and so on) or just want a smaller portion, I give tips in the post on how to make smaller bars.
- The nutrition information provided is calculated as a courtesy and is only an estimate. I am not a licensed nutritionist or dietitian. For the most accurate nutritional data, consult a professional or use your preferred calculator.




I have lost count of how many times I have made these over the summer. The bars are delicious and 100 times better than any store-bought ones I’ve tried, while being very affordable to make. Thank you for sharing this!
You’re welcome! And wow, that’s really nice to hear. I’m so glad to hear that you’ve made them several times! I just found a bag of a test batch and was not sad about it. 😄 Thanks for your comment!
These were amazing! I used full fat Greek Yoghurt and I think my moulds were the same as the ones in the recipe (made 8 ice creams). They are very rich and totally indulgent… in the best possible way! I love your clear instructions too. Thank you!
You’re welcome! I’m so glad you found the directions clear enough. It makes me nervous to make something with ambiguous instructions, so I get it. 😄 I’m really happy you enjoyed the bars so much. Thanks a bunch for your comment!
These bars were a DREAM. I saw that Ben & Jerry’s Instagram about how to make ice cream bars (hahaha) and didn’t want to spend a fortune on them. I remembered your email and made these immediately. Never will buy bars again! I can’t imagine anything storebought being as tasty. And definitely not as cheap.
I saw that post, too! I loved it. I’m so glad that you enjoyed the bars and will be making them again! Thanks so much for your feedback. :)