

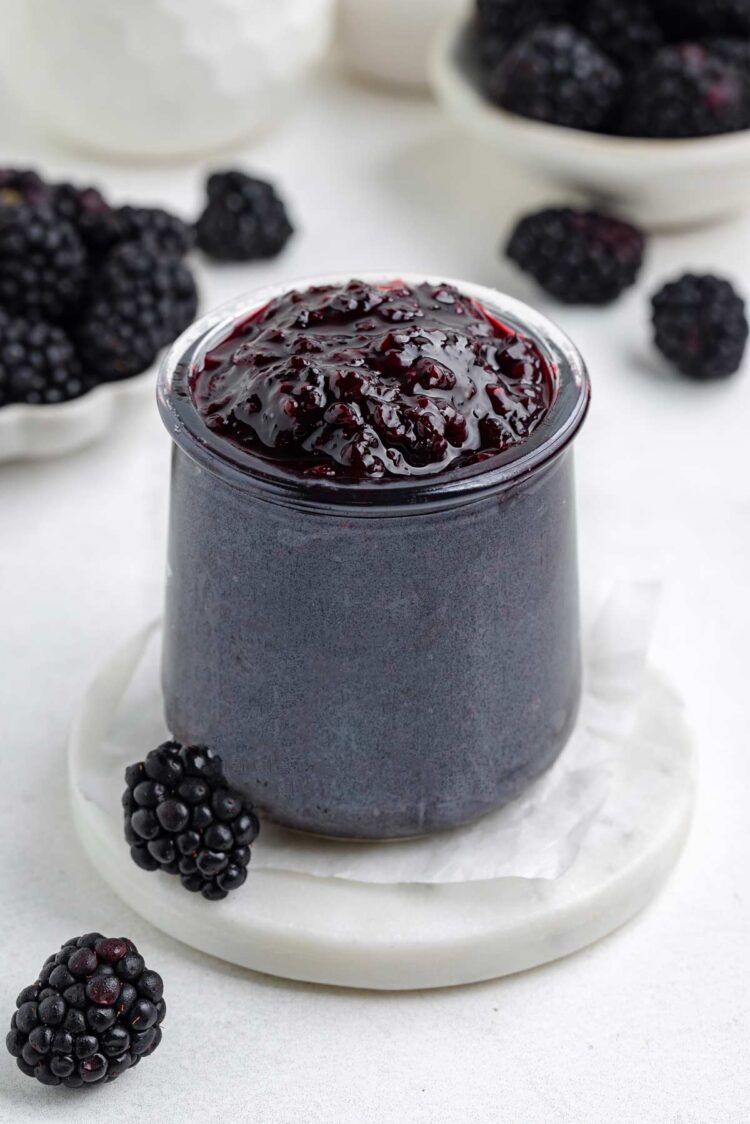
Blackberry Jam

This blackberry jam is a small-batch recipe that’s thick, simple to make and ready in 20 minutes. There’s no pectin involved, and you only need a handful of ingredients. It’s naturally gluten-free and vegan, and there’s an option to naturally sweeten it.
The berries cook down until thick and concentrated, while the lemon juice and zest help balance and brighten the flavor. Since the jam is cooked down on the stovetop, fresh and frozen blackberries both work perfectly well here.
If you’ve been baking with blackberries lately, these Lemon Blackberry Muffins and this Blackberry Crumble are two more great ways to use fresh berries.

- Small batch – makes about 1 cup, so you don’t need a huge amount of berries. I’ve also quadrupled the recipe successfully. It just needed a longer cook time.
- No pectin needed – the jam thickens naturally as it cooks down.
- Simple ingredients – just berries, sugar, lemon, and salt.
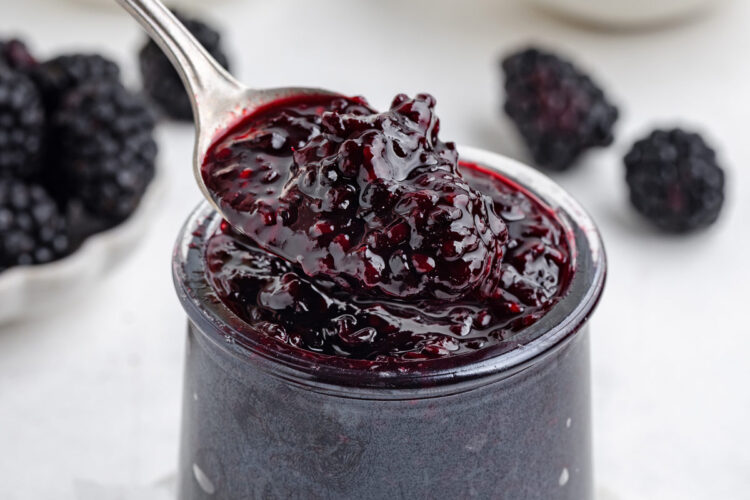
- Thick texture – cooked down enough to spread easily without being runny.
- Easy to make – everything cooks together in one saucepan.
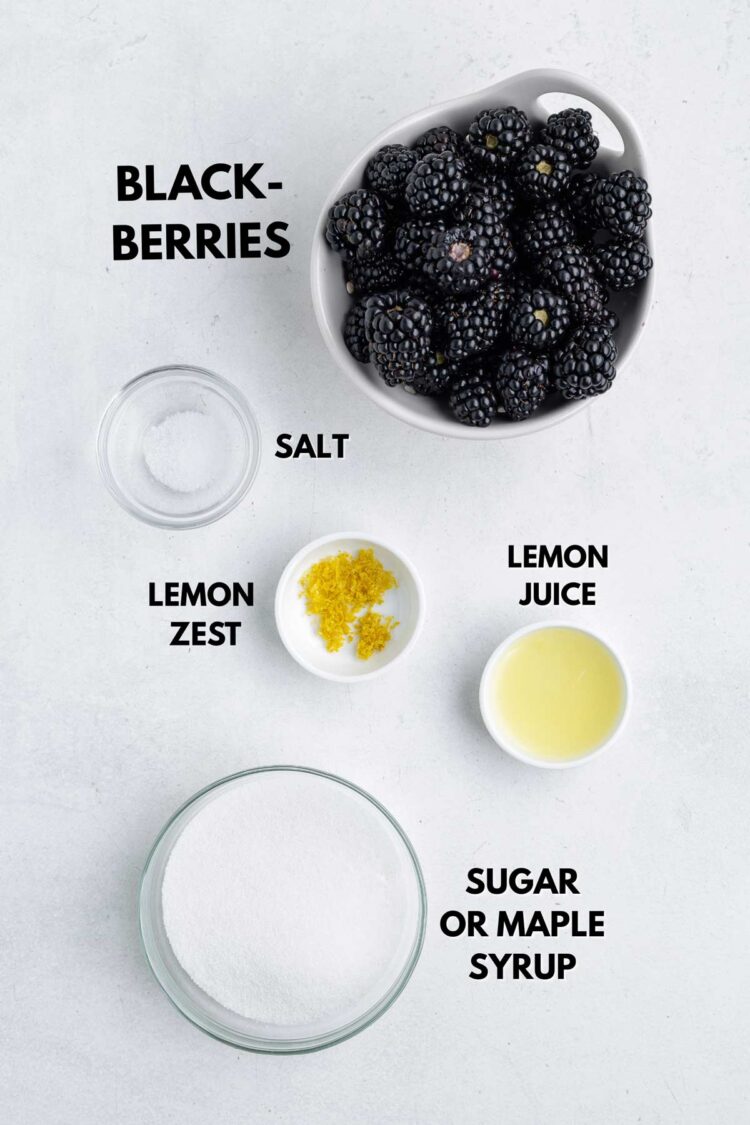
Ingredients
These are just some notes on selected ingredients. Please scroll down for the full recipe.
- Blackberries – blackberry seeds are quite noticeable, and there’s really no way around that without turning the mixture into more of a strained sauce than a jam.
- Lemon juice + zest – these brighten the flavor and help balance the sweetness. You can omit both if you’d prefer, but I think they make the jam taste so much better.
- Sugar – this amount keeps the jam sweet enough without overpowering the blackberry flavor.
Fresh vs. Frozen Blackberries
Fresh and frozen blackberries both work well in this recipe. Since the berries are fully cooked down, there’s no need to keep frozen berries frozen before cooking like there is with some baked desserts.
- Frozen berries may take a few extra minutes – they release more moisture at first, so the jam can take slightly longer to reduce.
- The color is usually darker – frozen berries often produce a deeper purple jam.
- You can thaw them first if preferred – it won’t negatively affect the final result.
How to Make It
Place a small plate in the freezer before you start cooking.
Lightly mash the berries in a saucepan, then stir in the sugar, lemon juice, lemon zest, and salt.
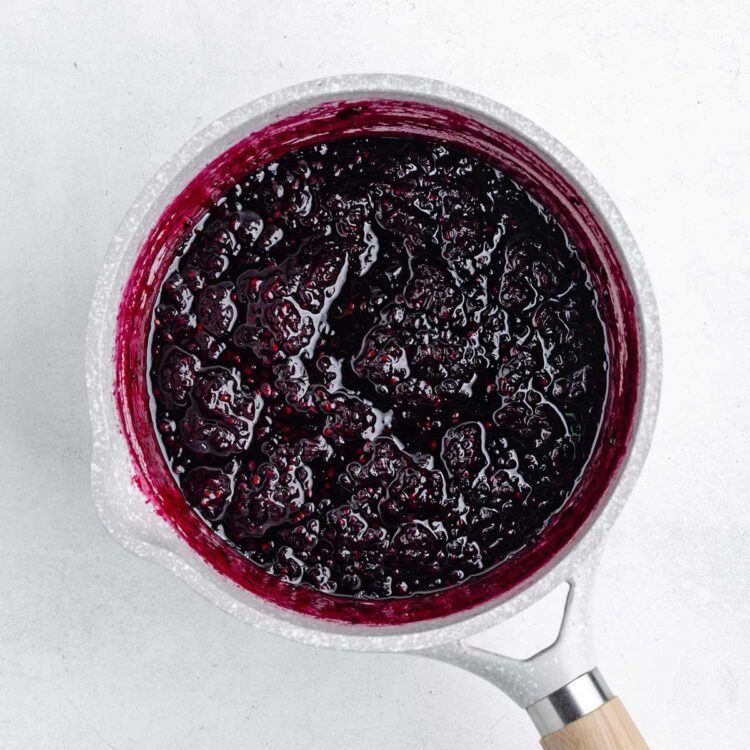
Bring the mixture to a boil over medium heat, stirring frequently as the berries release their juices and begin to break down.
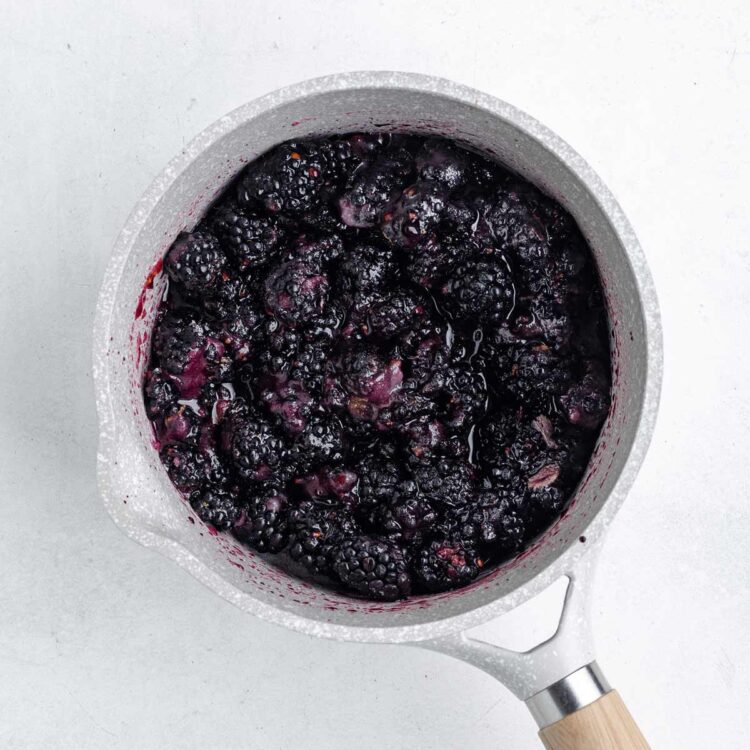
Continue cooking until the jam has thickened noticeably. Keep in mind that it’ll thicken more as it cools.
If you have a food thermometer, you’re aiming for 220 °F (104 °C) for the sugar version and 225–227 °F (107–108 °C) for the maple syrup version.
You can also use the wrinkle test to check for doneness. When the jam looks thick, place a small spoonful onto the cold plate and let it sit for one minute.
Gently push the edge of the jam with your finger. If it wrinkles, it’s ready to pull off the heat. If it’s still completely fluid and slippery, it needs another minute or two of boiling.
If you don’t want to do the wrinkle test and don’t have a thermometer, don’t worry. For this refrigerator jam recipe, there’s no safety issue if the jam doesn’t reach a specific temperature. It may just turn out a little thinner and less set.
Let the jam cool completely before refrigerating.
- Don’t stop cooking too early – the jam should look quite thick before removing it from the heat.
- Stir more frequently near the end – once thickened, the jam can scorch more easily.
- Remember that hot jam looks thinner – it thickens more as it cools.
- A wider saucepan helps – more surface area allows moisture to evaporate faster.
How to Make Ahead, Store and Freeze
This jam can easily be made ahead since the flavor develops even more after chilling.
Store refrigerated in an airtight container for up to 1 week.
You can also freeze it for up to 3 months. Thaw overnight in the refrigerator before using.
Other Fruit Spreads
- Peach Jam – a softer, sweeter jam that’s great for summer.
- Strawberry Jam – a classic homemade jam with bright strawberry flavor.
- Cherry Preserves – thicker and chunkier, with larger pieces of fruit.
- Rhubarb Preserves – tart and tangy with a firmer preserve texture.
- Raspberry Compote – looser and more spoonable than jam.
Blackberry Jam
Ingredients
- 2 1/2 cups (340 grams or 12 ounces) fresh or frozen blackberries
- 1/2 cup (100 grams) granulated sugar or 1/3 cup maple syrup + more to taste
- 1 tablespoon freshly squeezed lemon juice
- 1 1/2 teaspoons lemon zest
- pinch of salt
Instructions
- If you're worried you won't know when it's ready, place a small plate in the freezer before you start cooking (this is to later test the readiness of the jam).
- If using fresh berries, place blackberries in a medium saucepan and mash them slightly with a potato masher or the bottom of a flat glass. If using frozen, you’ll mash them a bit later.2 1/2 cups (340 grams or 12 ounces) fresh or frozen blackberries
- Stir in the sugar, lemon juice, lemon zest and salt.1/2 cup (100 grams) granulated sugar, 1 tablespoon freshly squeezed lemon juice, 1 1/2 teaspoons lemon zest, pinch of salt
- Place over medium heat and bring to a boil. If using frozen berries, let them soften for a minute, then lightly mash with a potato masher or the bottom of a glass.
- Let boil for about 10-15 minutes, turning the heat down, if needed, towards the end to prevent the berries from burning, until it reaches a temperature of 220 °F (104 °C) for the granulated sugar version or 225–227 °F (107–108 °C) for the maple syrup version. If you don’t have a food thermometer, don’t worry. Since this is a refrigerator jam, the exact temperature mainly affects the thickness, not the safety. If it’s slightly undercooked, it may just turn out a little looser.
- If you don't have a thermometer and you're worried about the doneness of your jam, use the wrinkle test. When the jam looks thick, place a small spoonful onto the cold plate and let it sit for one minute. Gently push the edge of the jam with your finger. If it wrinkles, it’s ready to pull off the heat. If it's still completely fluid and slippery, it needs another minute or two of boiling.
- Let the jam cool to room temperature, about 2 hours, before transferring to an airtight container. It can be refrigerated for up to 1 week or frozen for up to 3 months.
Notes
- If you don’t want to do the wrinkle test and don’t have a thermometer, don’t worry. For this refrigerator jam recipe, there’s no safety issue if the jam doesn’t reach a specific temperature. It may just turn out a little thinner and less set.
- This recipe yields about 1 cup (296 grams).
- The nutrition information provided is calculated as a courtesy and is only an estimate. I am not a licensed nutritionist or dietitian. For the most accurate nutritional data, consult a professional or use your preferred calculator. The nutritional values were calculated based on 1 tablespoon per serving.


Get New Recipes In Your Inbox!
Subscribe to get all the latest healthy sweets & treats delivered straight to you!