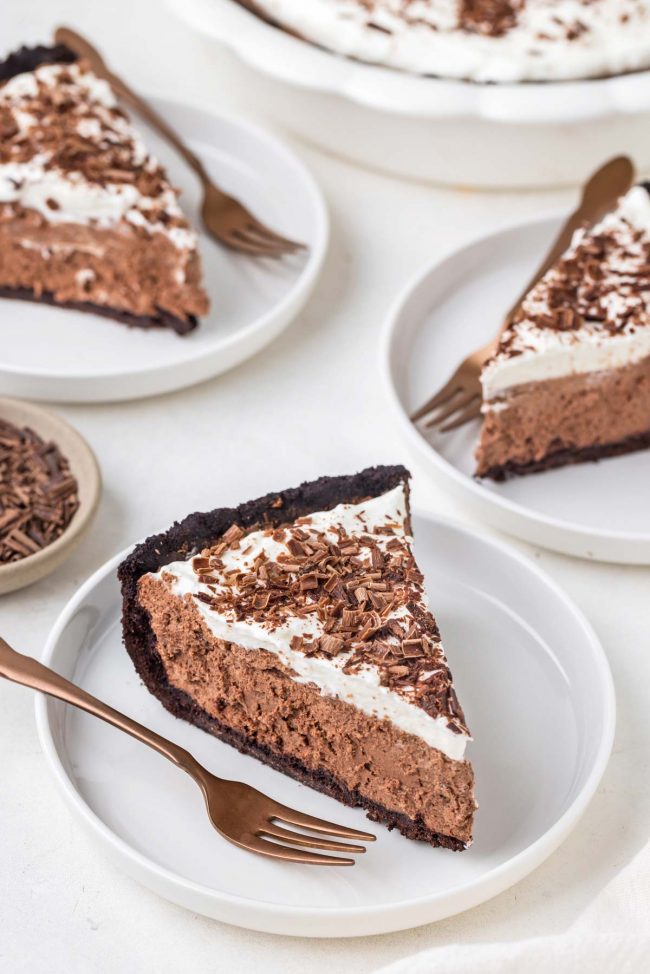
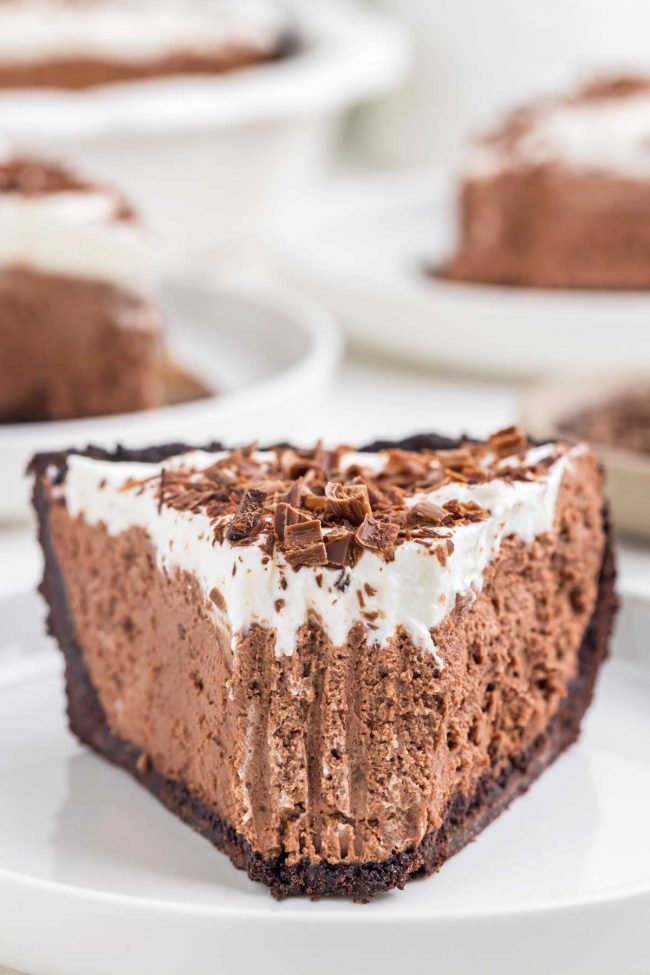
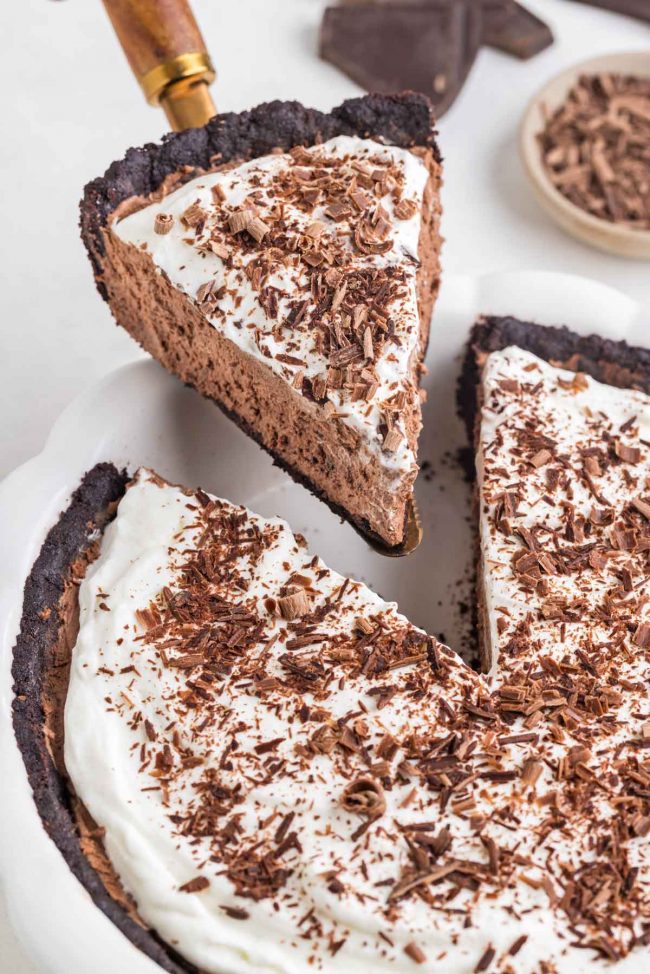
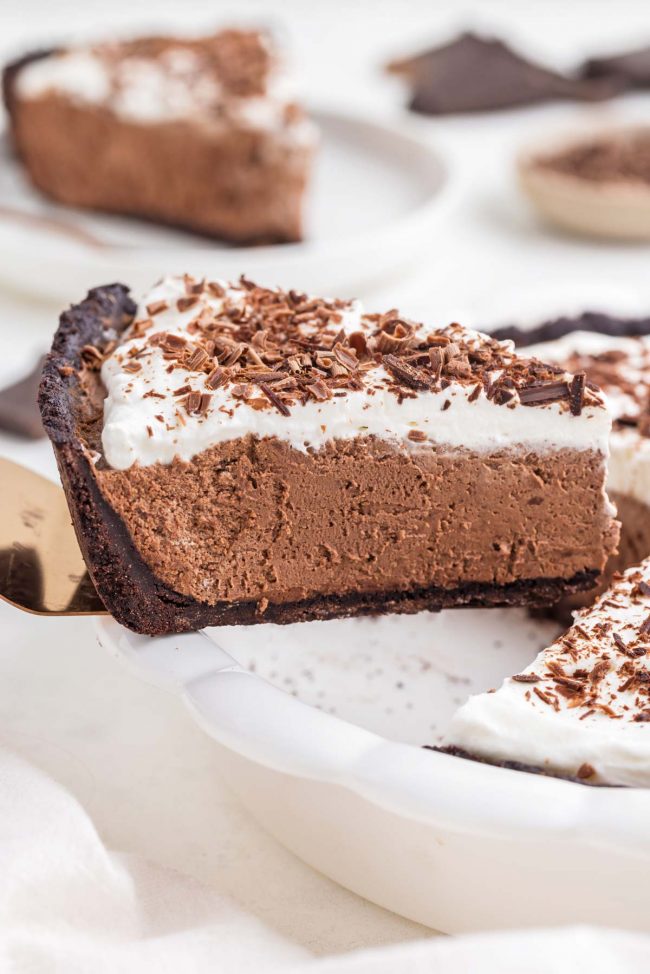
This chocolate mousse pie has a totally homemade Oreo-like cookie crust that’s made in just a few minutes. It can be made with all-purpose, whole wheat or gluten-free flour. The mousse is also very easy and only requires 4 basic ingredients.
Here’s a really easy last-minute treat for Christmas.
I’ll admit that it’s not super Christmasy. Add some peppermint extract to the chocolate mixture and bam! There’s your Christmas pie. ;)
Or smash up some candy canes, and throw them on top. Then it’s also festive looking!
And if you need a last-minute Christmas present, these Chocolate Covered Pecans, Candied Pecans and Pecan Clusters are great choices.
If you want something a little more involved, or just something without pecans, then these Healthy Peanut Butter Balls and this White Nutella would make excellent gifts.
I’ve made 6 batches of those peanut butter balls this holiday season. And I only ate about half of them. ;)
Ingredients
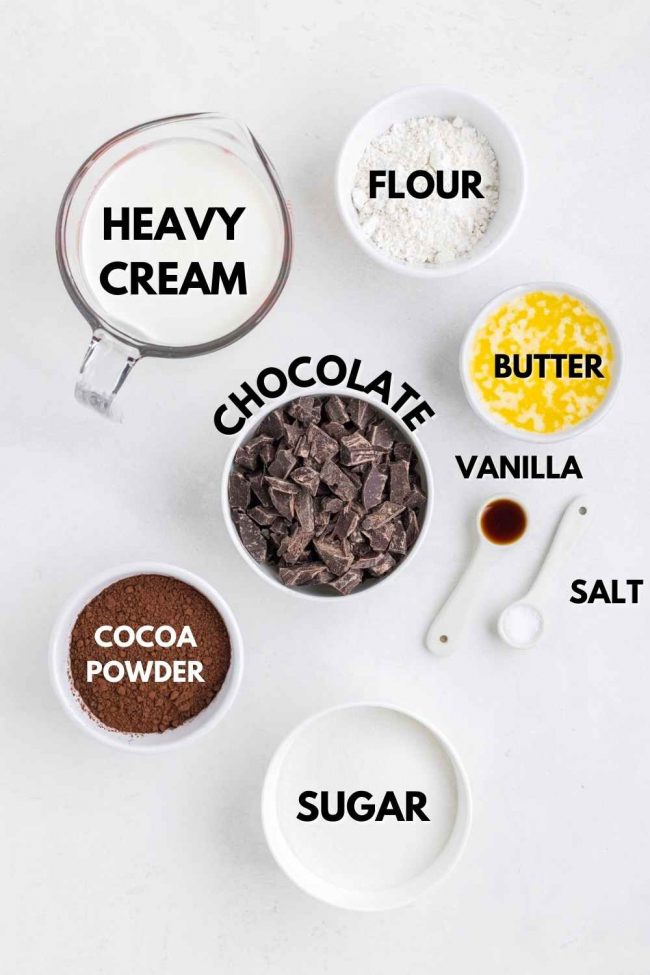
Here’s an overview of what you’ll need. If you want whipped cream and chocolate on top, you’ll also need some powdered sugar and shaved chocolate.
The full recipe is at the bottom of this post.
The crust
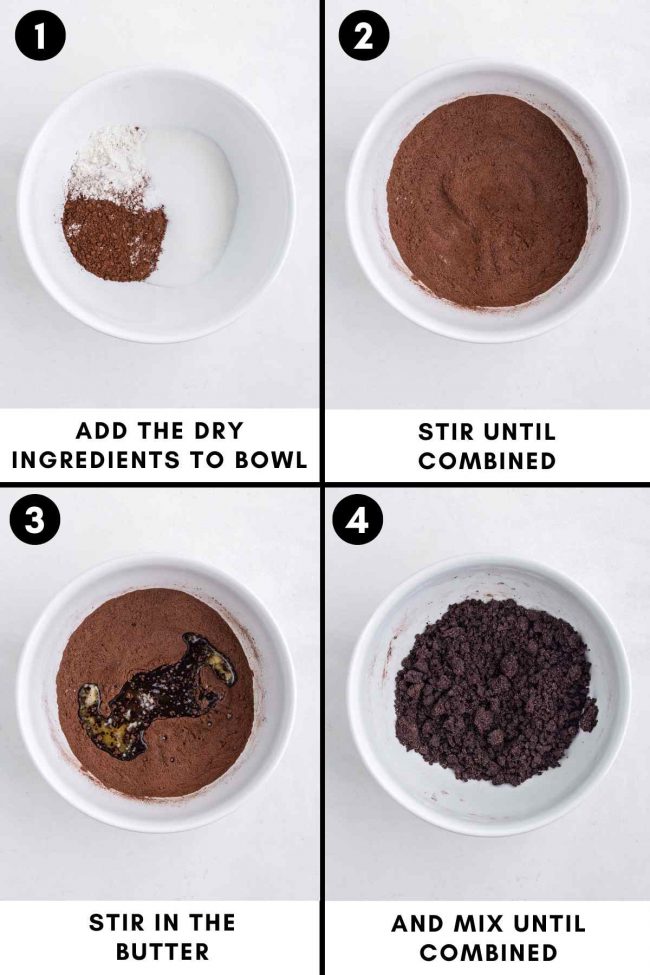
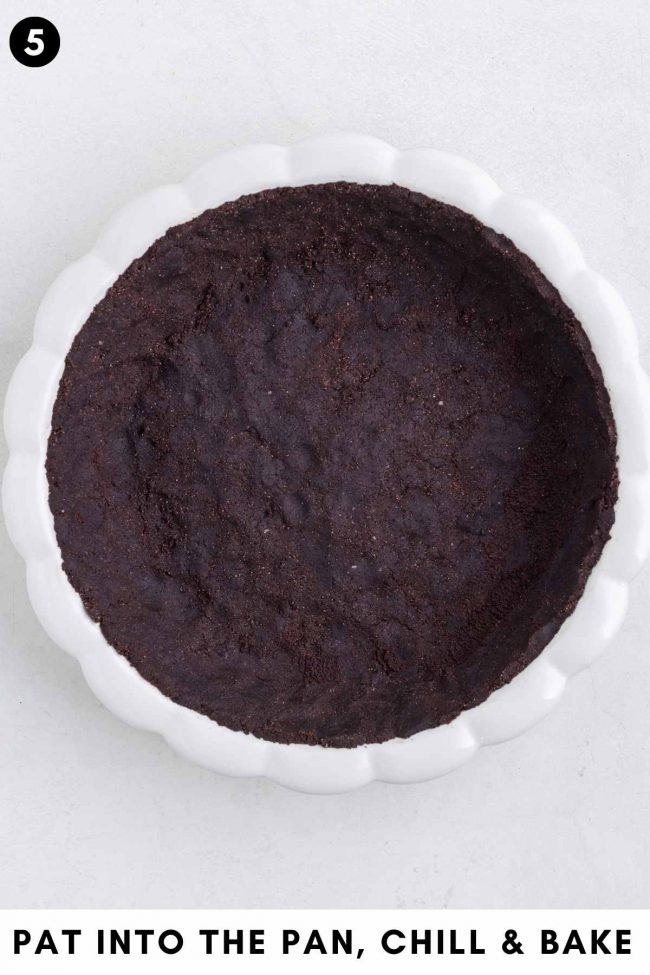
You don’t need any cookies or cookie crumbs for this tasty crust. You just mix 5 ingredients together in a bowl, pat into the pan, chill for 30 minutes, and bake.
I first tried this crust in a regular 9″ (23 cm) pie pan, and it wasn’t large enough. There was way too much crust for it.
If you don’t have a deep dish pie pan, you could use a springform pan or really any size pan.
Your crust and filling won’t be exactly as thick as mine are. And your crust baking time will be different.
Or you could use your regular 9″ pie pan and put the remaining crust and filling in a ramekin or two. Then you can have your own secret chocolate mousse “pie” before cutting into the pie. :)
How to make the filling
To make the mousse, you melt together the chocolate, some of the cream, vanilla and salt.
Then you remove it from the heat and need to let it come to room temp, about 70 °F (21 °C), before proceeding.
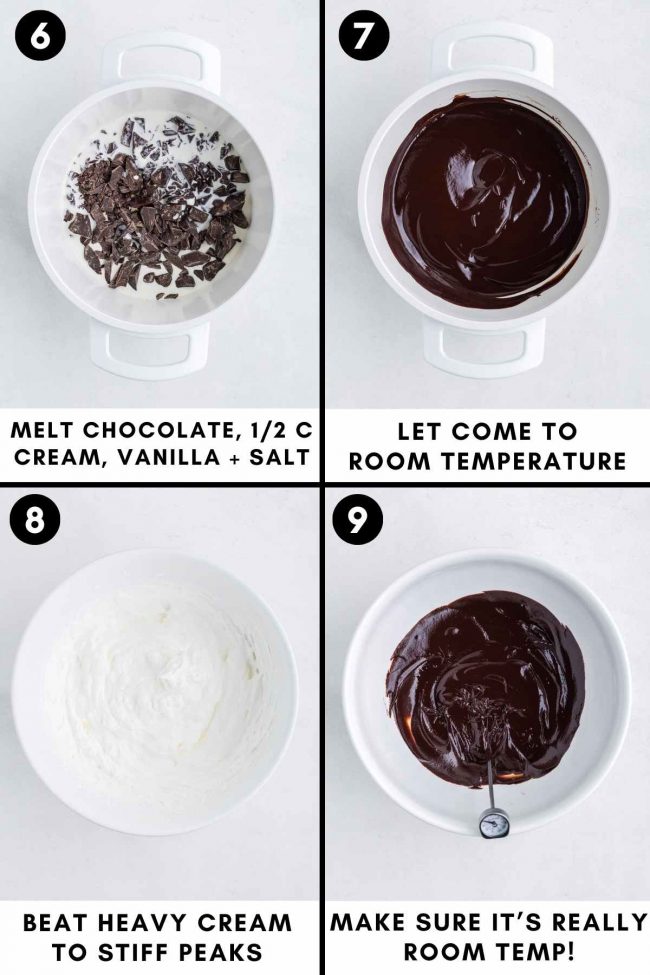
Your finger isn’t an accurate judge of room temperature. My finger (it was clean! and the pie all mine) thought it was room temperature at 30 °C.
If it’s too hot, it’ll melt the cream you’re about to whip. If it’s too cold, it’ll be difficult to fold the whipped cream into it.
It takes about 30 minutes to cool.
Can I use a different type of chocolate?
This pie would be too sweet with milk chocolate, but if you like dark chocolate, that would work. The pie will, of course, be less sweet.
It’d also be way too sweet with white chocolate. If you want to use that, find a white chocolate mousse pie recipe.
Only have unsweetened chocolate? Try this Chocolate Chess Pie!
Gluten-free version
As an Amazon Associate, I earn from qualifying purchases. For more info, see my disclosure.
You should use Bob’s Red Mill 1-to-1 Gluten-free Baking Flour. It’s the one in the blue bag.
I don’t recommend using a different type of flour. As I said in my Gluten-free Pie Crust Recipe, crusts are super finicky and you need to use whatever product/brand of gluten-free flour is called for.
I also tried it with oat flour, and while it tasted just as good, it was impossible to get out of the pan without digging at it. It was a struggle.
If you want to use oat flour, you can do that, but then make it a no-bake crust.
It’s still going to stick to the pan, so you need to line the pan with a piece of plastic wrap.
Or use a springform pan and line the bottom with parchment paper. But note that your mousse layer will be thinner and your crust a little thicker. But it would look much nicer than a pie with a plastic wrap lining!
If using parchment paper, then you can bake the pie crust because there’s no way it’s going to stick to the parchment paper.
Can I make it vegan?
I’ve never gotten lots of volume when I make whipped coconut cream. And you really need that for this recipe to work. So I don’t have a vegan option to offer.
I know that other types of vegan whipping cream exist, but I don’t use them, so I have no idea if they’d work. If someone tries it out, I’d love to hear how it goes!
Can I make it ahead of time?
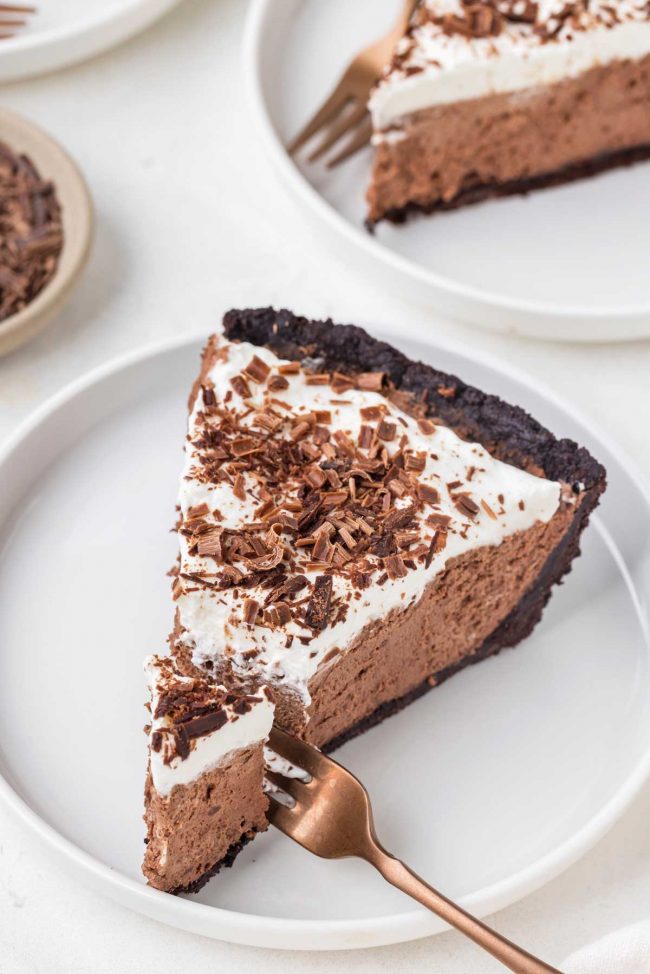
I think it’s best on the first two days.
Perhaps it’s my fault, and I just didn’t do a good job covering the pie, but on day 3, I thought the flavor had changed a bit.
I’m assuming it had taken on some fridge taste (it’s clean, and everything in there is in containers, but it still happens).
But you can make the crust several days ahead of time, wrap it up, and let it sit at room temperature for 2-3 days. You can also freeze it for up to 3 months.
Can I freeze it?
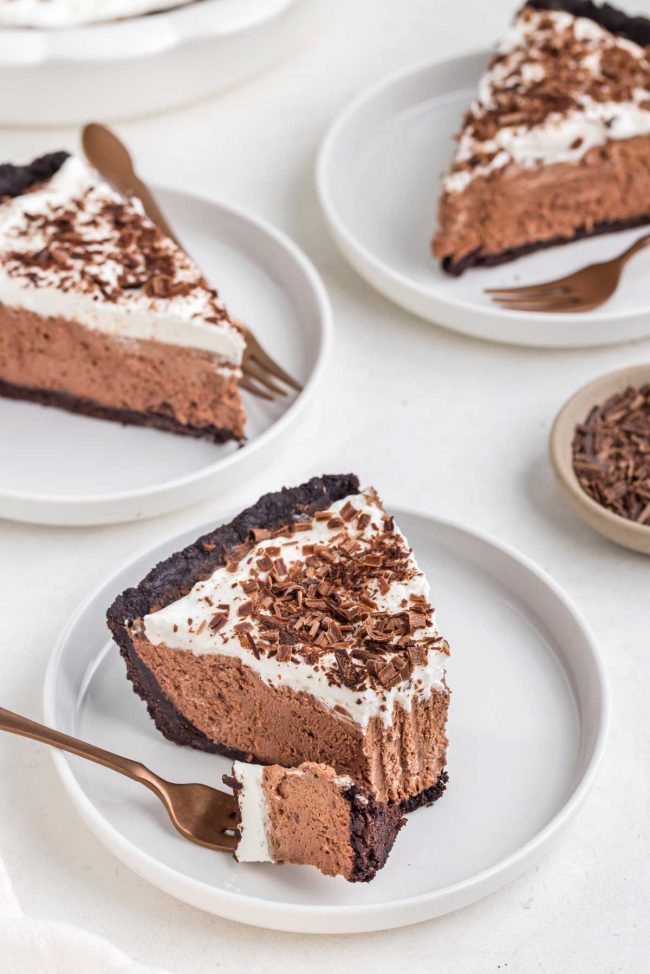
Yes! And it freezes great.
Just cover it up, wrap in a large Ziploc bag, and freeze for up to 3 months.
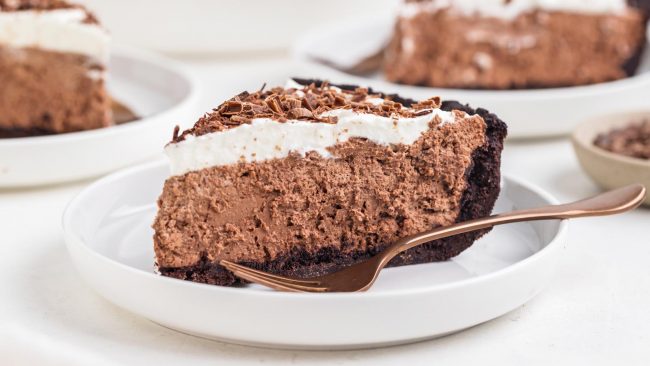
I hope you’ll enjoy this chocolate mousse pie! I’m going on Christmas break after I hit the publish button, so see you next year and have a happy Christmas, if you celebrate, and a great start to 2024. :)

Chocolate Mousse Pie

- Prep Time:
- Cook Time:
- Ready in:
- Yield: 8-12 slices
Ingredients
- 1/2 cup (63 grams) all-purpose or whole wheat flour or for gluten-free, use 1/2 cup (68 grams) Bob's Red Mill 1-to-1 Gluten-free Baking Flour
- 3/4 cup (150 grams) granulated sugar
- 1/2 cup + 1 tablespoon (65 grams) Dutch-process cocoa powder
- 1/8 teaspoon salt
- 6 tablespoons (84 grams) unsalted butter, melted
- 1 1/3 cups (226 grams) chopped semi-sweet chocolate
- 2 cups (473 ml) heavy cream, divided
- 1/2 teaspoon vanilla extract
- 1/8 teaspoon salt
- 3/4 cup (177 ml) heavy cream
- 3 tablespoons (23 grams) powdered sugar
- shaved chocolate
Crust:
For the filling:
Garnish:
Directions
- Get out a 9” (23 cm) deep dish pie pan. Set aside. Place a large mixing bowl and the beaters into the fridge now. This is to make them cold for when you whip the cream later.
- In a large mixing bowl, mix together all the crust ingredients except for the butter until well combined.
- Stir in the butter until combined.
- Pat into the ungreased deep dish pie pan. It’s not supposed to go up onto the rim, but up to the rim.
- Chill for 30 minutes.
- Preheat the oven to 350 °F (175 °C).
- Bake for 12 minutes or until it no longer appears wet. It’s still going to be soft but shouldn’t be wet.
- Let cool completely, about 1 hour.
- In a large saucepan over medium heat, mix together the chopped chocolate, 1/2 cup (120 ml) of the cream, vanilla extract and salt.
- Stir frequently until melted. It’ll look like ganache.
- Remove from the heat, pour the chocolate mix into another large mixing bowl, place in the fridge, stirring occasionally, and let cool until room temperature - 70 °F (21 °C). Your finger isn’t an accurate judge of room temperature. Mine thought it was room temperature at 30 °C. If it’s too hot, it’ll melt the cream you’re about to whip. If it’s too cold, it’ll be difficult to fold the whipped cream into it. This will probably take around 30 minutes.
- Once the chocolate mix is room temperature, beat the remaining 1 1/2 cups (354 ml) of heavy cream in the chilled mixing bowl until you have stiff peaks.
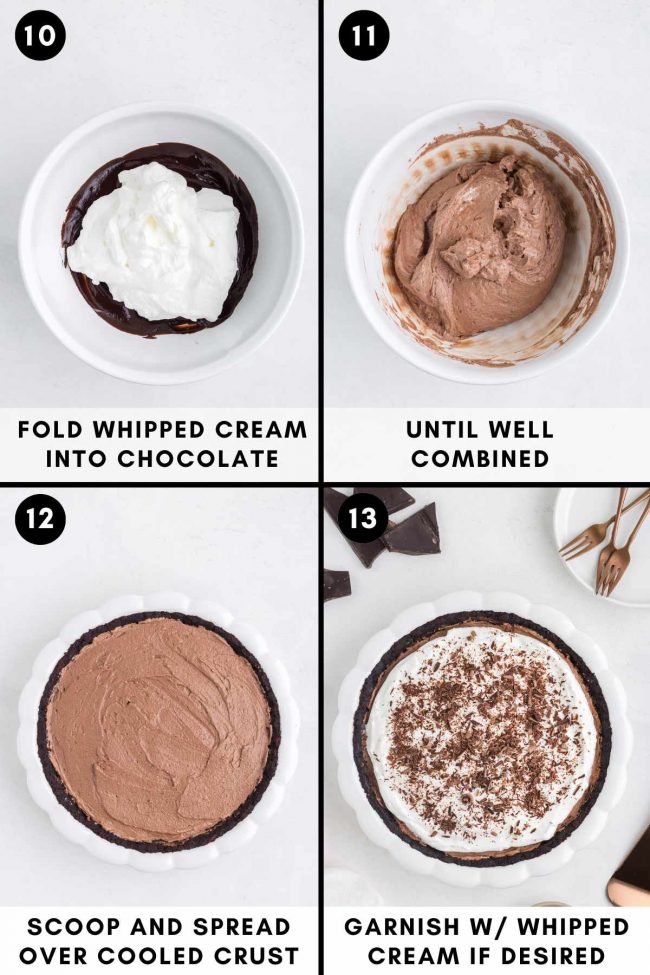
- Carefully fold the whipped cream into the room-temperature chocolate mixture. It’ll be very soft at this point but firms up as it chills.
- Pour the chocolate mixture into the cooled crust and chill for at least 4 hours or overnight. Mine was already set at 2 1/2 hours, but I’m saying 4 to be on the safe side.
- When it’s ready, beat the remaining 3/4 cup (177 ml) cream in a large mixing bowl with the powdered sugar until stiff peaks form.
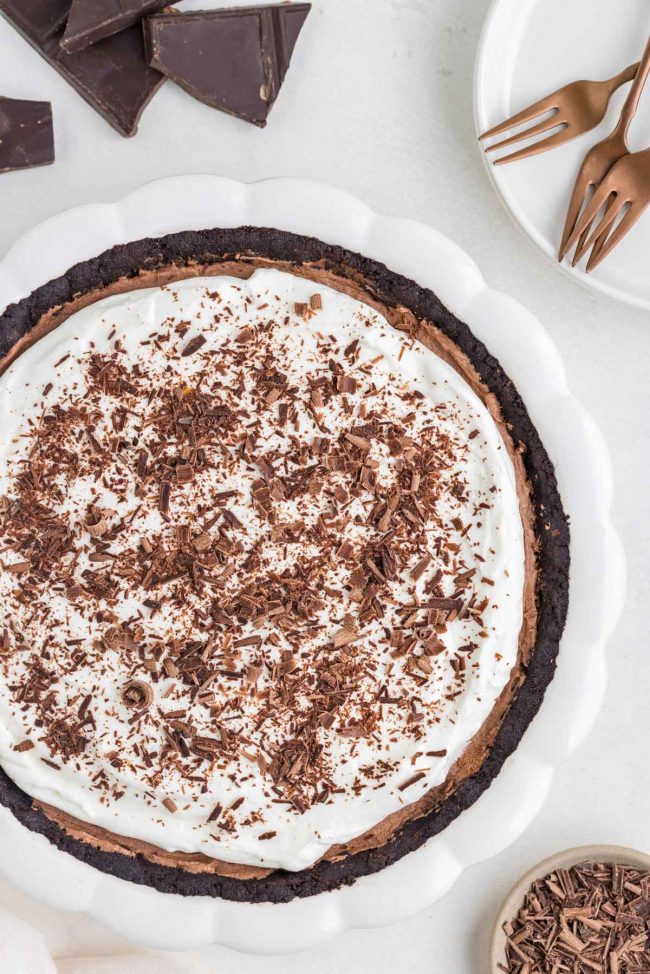
- Spread over the pie and top with shaved chocolate. It's best enjoyed on the day of making or the next.
- Cover and refrigerate for up to 2 days. It can also be frozen.



13 comments on “Chocolate Mousse Pie” — Add one!
4 comments are awaiting moderation!
This pie was delicious and an easy dessert to serve guests and was thoroughly enjoyed! I did not make the pie crust, I had a chocolate nut crust already prepared and used that.
We will be making this again for guests! Thank you!
I had a premade crust expiring so I used that and I love how I got to eat a bit of the leftover mousse. Haha. Nobody knew. It was magical. I’m going to make this again for VDay! I’ll add raspberries and I’m thinking it’ll look so fancy. It tasted so delicious.
Haha. I like that part, too! I’m so happy that you enjoyed it and will be making it again. :) I love your raspberry idea! Thanks for your feedback.
Lawdy. This was THE BEST! I made it with buckwheat flour and nobody knew it wasn’t regular flour. I’m not much of a baker, so I loved how easy this was. Mousse always seemed too complicated, but this wasn’t hard at all. My granddaughter was so, so, so happy. We were too. Thank you very much!
You’re welcome! That’s awesome that people didn’t know it wasn’t a regular crust. :) And I’m happy to hear that your grandkid was happy with the result. :D Thanks for your comment!
Girl this was SO good. I can’t wait to make it again for my boyfriend when he visits next month. It was easier than I thought and I LOOOVE the crust! So much better than Oreos. Thanks!
Oh, yay! I hope that he’ll like it as much as you seem to have! I totally agree with you on the crust. ;) Thanks a bunch for your feedback and I hope he has a fun visit!
My pie came out so creamy, light and smooth. The crust was terrific. I bet it would be good with a touch of espresso flavor too!
Ooh, that’s a great idea! I’ll have to try that. Thanks a bunch for your feedback! So glad that you enjoyed it.
I tried it because I was out of Oreos. So glad I did! The filling was insane. I might make that for Valentine’s Day as mousse with berries on top for my wife. The crust was also perfect! Thank you.
I’m so happy you liked it! I wish someone would make me mousse for Valentine’s Day. 😆 I bet she’ll love it! Thanks so much for your comment.
Oh my goodness, this pie is so delicious. I made it and everyone in our house loved it. Our guests asked for the recipe, too, and they never like anything. 😂 I can’t wait to try your other pie recipes!
I hope you’ll enjoy the other pies just as much! And awesome that your picky guests liked the pie! Nice of you to make anything for people who never like anything. ;) Thanks for your comment!