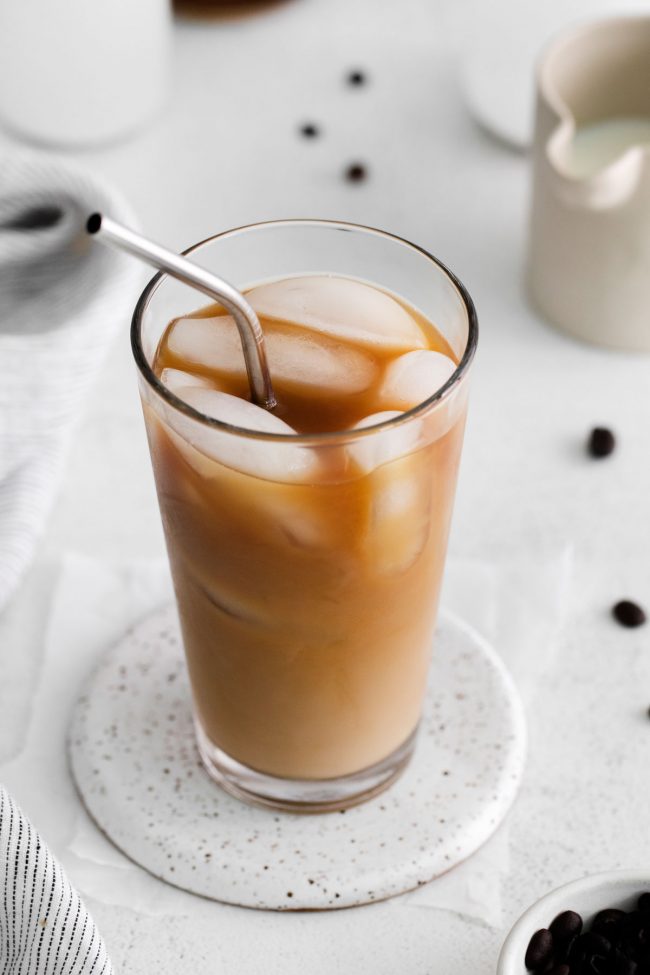
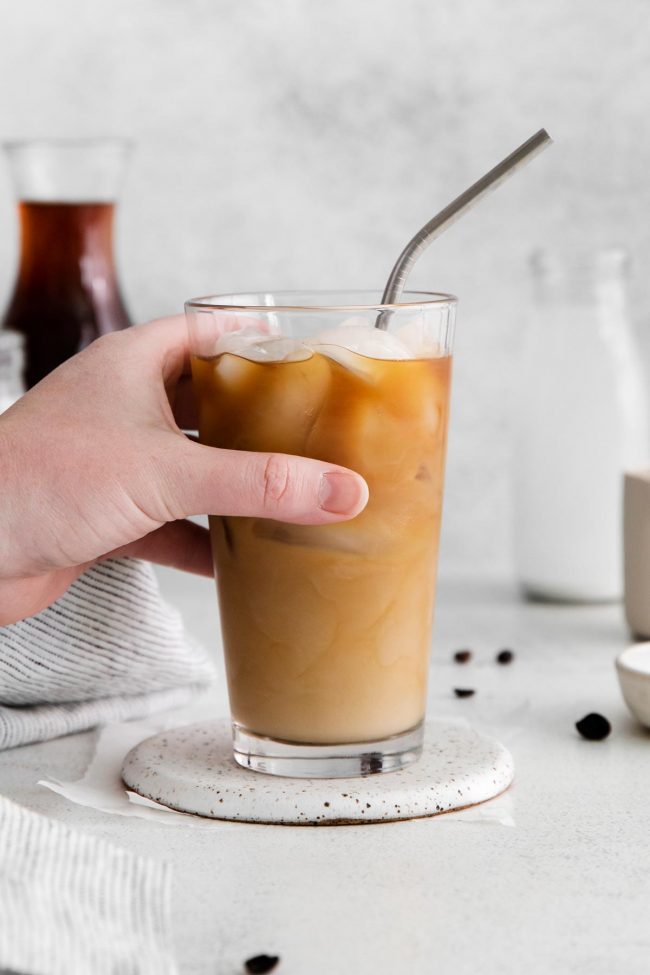
Cold brew espresso is the perfect cold coffee drink for hot summer days – or any other time! It’s bold and robust, yet smooth and flavorful, and super easy to make. Plus, it’s never bitter, and easier on the stomach. If you’re looking for a refreshing shot of espresso to perk up your days, this cold brew espresso is a great choice.
If you find yourself walking around half asleep fumbling to make yourself a morning coffee, you should try this cold brew espresso. You can make it the night before, let it brew in the fridge, then you’re ready to open your eyes to some smooth espresso.
By the way, since we’re just using a jar here and not pressurizing the coffee in an espresso machine, this cold brew espresso technically isn’t espresso – but espresso-like cold brew.
What is cold brew?
Cold brew is a type of coffee that’s steeped in filtered cold water overnight. That makes it less acidic, a bit sweeter, and less bitter than a regular cup of coffee. If you don’t like regular coffee, you might like cold brew.
It’s also easier on the stomach! I highly recommend giving it a try if you haven’t already.
It only takes 5 minutes to make, but it has to sit for 12-18 hours. You don’t want to rush it, or the flavor won’t be right. So plan ahead!
Difference between espresso and cold brew espresso
It all comes down to temperature. Normal espresso uses hot water that is pressurized and forced through coffee grounds to produce a shot of concentrated espresso.
Cold brew espresso, on the other hand, uses cold water from the start. So unlike an iced coffee that has been brewed in hot water and poured over ice, cold brew steeps in cold water overnight and is served chilled having never been exposed to heat.
Another noticeable difference is the time it takes. For a regular shot of espresso, you’re looking at 1 minute. But the cold brew espresso takes time to extract the oils and to produce a nice smooth shot, so some forethought is needed.
Here’s everything you need to know about making cold brew.
The method below uses a mason jar, but if you’d prefer to use a French press, check out my post on French Press Espresso.
How to make cold brew espresso
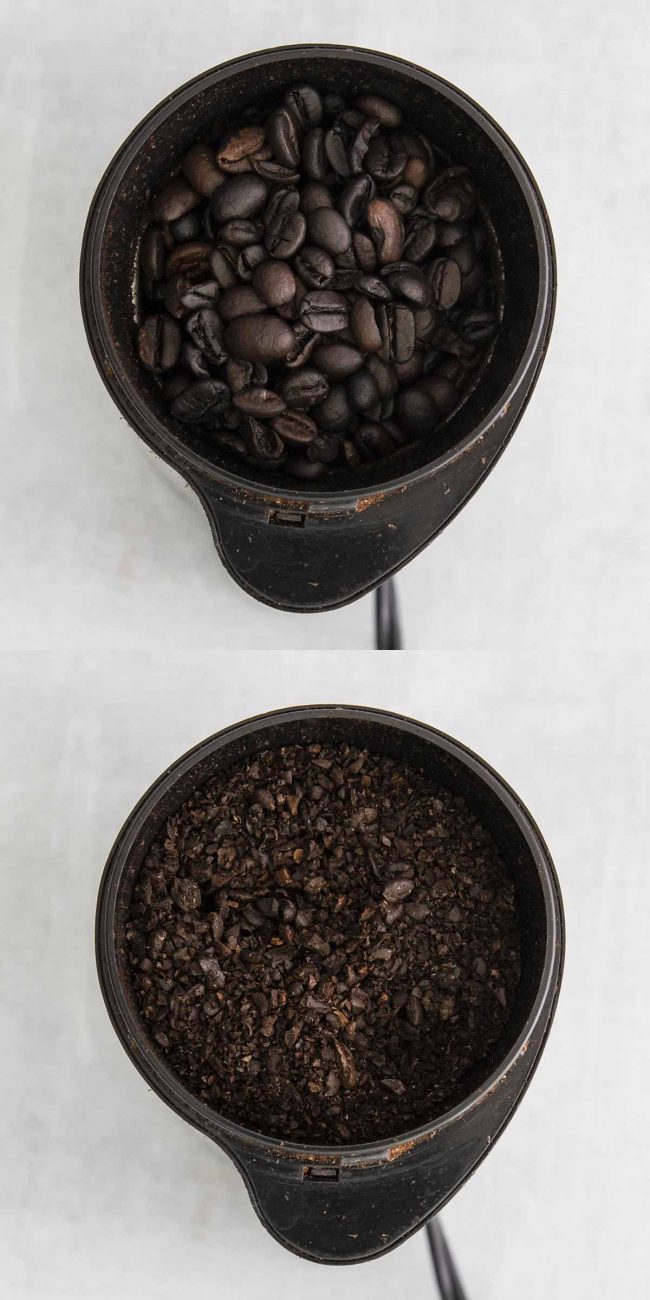
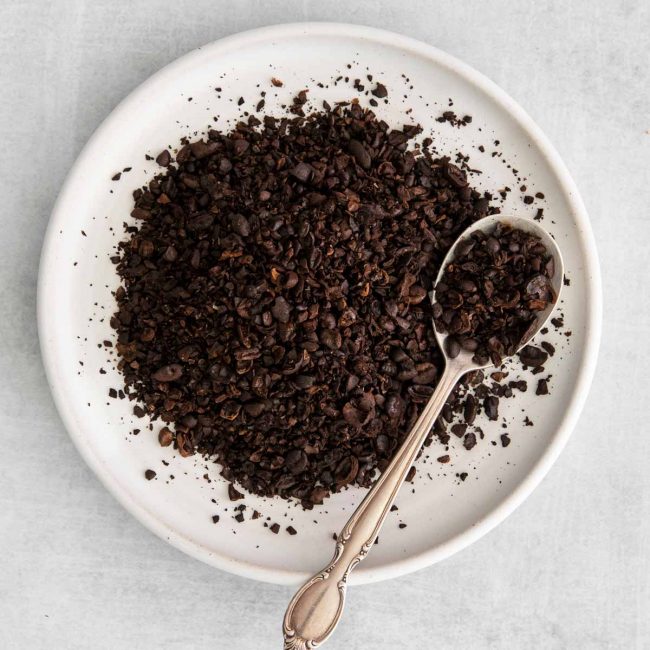
- Add the whole coffee beans to a coffee grinder and pulse about 6 or 7 times. They should still be very coarse, about the size of coarsely ground peppercorns.
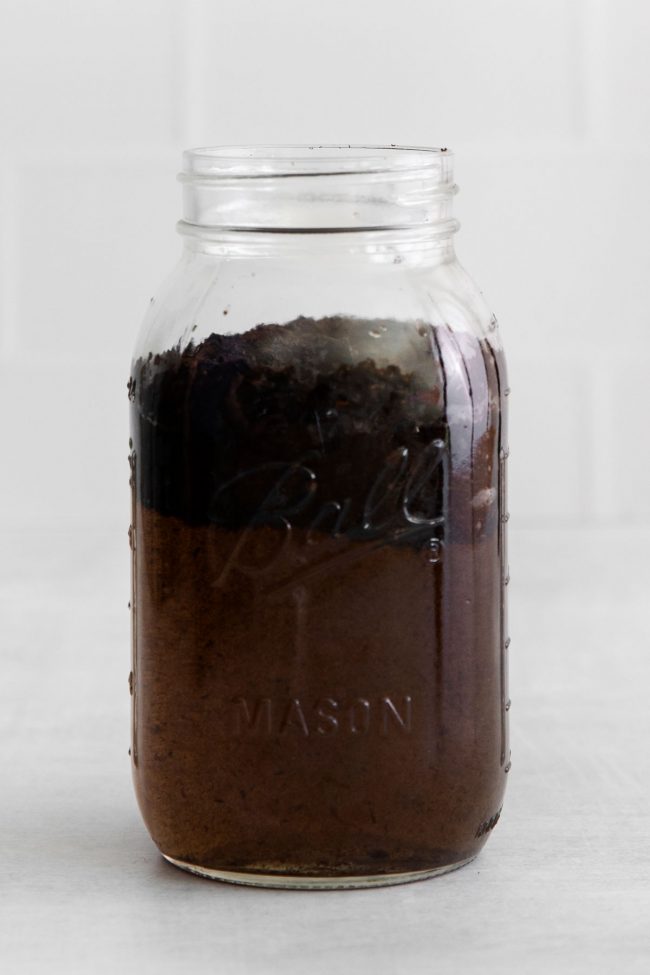
- Add the ground beans to a large jar with a tight-fitting lid.
- Pour the cold filtered water over the espresso and make sure the lid is tightly attached. Then shake the mixture for 15 seconds.
- Place the espresso mixture in the fridge for at least 12 hours (maximum 18 hours).
Some recipes say 24 hours, but I think 18 hours is ideal. When you let it steep longer than 18 hours, it starts to taste bitter, which is what we’re trying to avoid by making cold brew in the first place. 12 hours may be enough for you. It all depends on your preferences and your beans! - Test it starting at 12 hours. It may take one or two attempts to figure out the perfect timing because everyone prefers their espresso a different way.
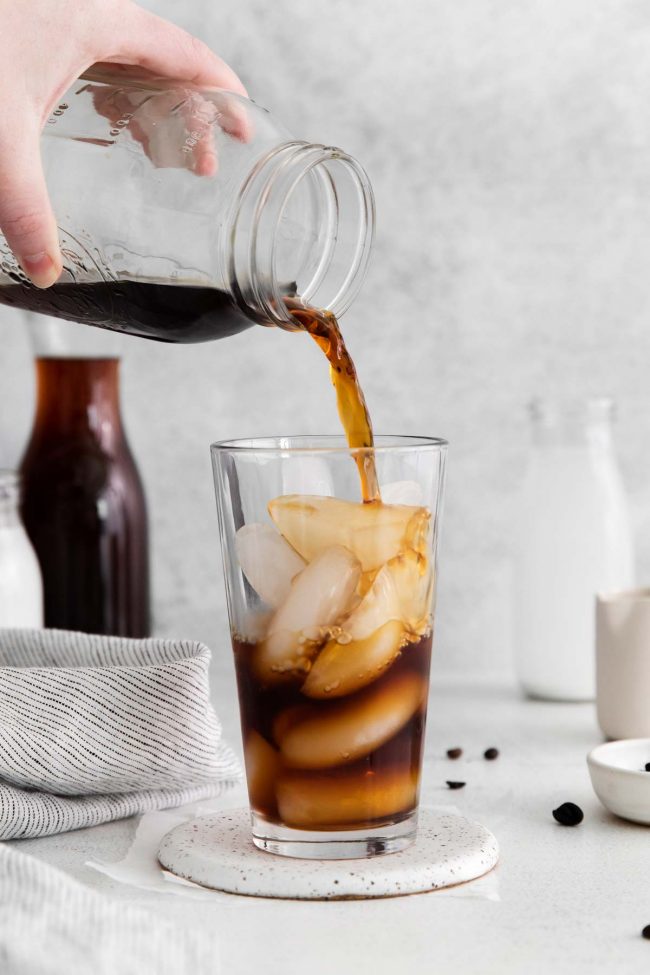
- Strain and serve!
Grind size
The grind size depends on what method you’re using to make espresso. The espresso grind is usually super fine, but that’s not what you want for cold brew espresso.
For cold brew, you usually want the coarsest, or almost the coarsest, grind.
If you use a grind that’s too fine, then too much oil will be extracted and that can result in a bitter flavor. The espresso will also be cloudy.
If you use one that’s too coarse, then your espresso will be underdeveloped and weak.
The coarse grind of the coffee beans makes the filtration process easier for this cold brew. The resulting espresso will also be much less bitter than if you had used finely ground beans.
So it’s important to get it just right for whatever method you’re using!
For this cold brew espresso, I recommend using a level of 9-10 out of 10. That’s about as coarse as peppercorns.
Even at level 10, my large coffee grinder doesn’t grind the beans coarsely enough. So I have to use a small electric blade grinder, like you see above, or the Twister Jar of my Blendtec.
Should you not have a grinder, you can try one of these 6 techniques to grind coffee without a machine.
Filtered water
All great coffee starts with filtered water – but why? Being 98% water, a shot of espresso is just that.
Water is the solvent used to extract flavors from the ground coffee beans, and you don’t want to add to the taste with tap water treated with chlorine, for example. Filtered water is odorless and tasteless and this allows the deep coffee flavor to be the star.
According to the Speciality Coffee Association, there are three key factors of water quality for making coffee. The water must be free from aroma, color, and chlorine to produce the full taste, body and smell.
Tap water can also have particles of dust, sediment and rust. All of which could distract from the true coffee taste.
If you use a coffee machine on most days, it’s extremely important to use filtered water. Calcium build-up could shorten the lifespan of your coffee machine, so using filtered water not only makes the coffee flavor shine, it keeps your machine in good working order.
While there are numerous considerations in making espresso, like the grind, the roast and the quality of beans, water quality is equally important.

Are espresso and coffee beans the same?
This can be confusing, especially because some espresso recipes call for espresso beans and some for coffee beans.
So are they the same? Yes! They’re labeled based on the recommended brew method.
If it says espresso on the package, it’s because that’s how the roaster recommends consuming the coffee. It’s a marketing tool that helps people know what to buy.
Beans that are labeled as espresso are usually dark roast, and if you buy it pre-ground, it will almost definitely be a super fine grind. That’s definitely not what you want for making cold brew espresso.
For cold brew, it’s best to buy the beans whole and then grind them yourself.
If you want to learn more, you can read my post on Espresso Beans vs Coffee Beans. And if you love espresso, why not enjoy it with these Coffee Cinnamon Rolls? :)
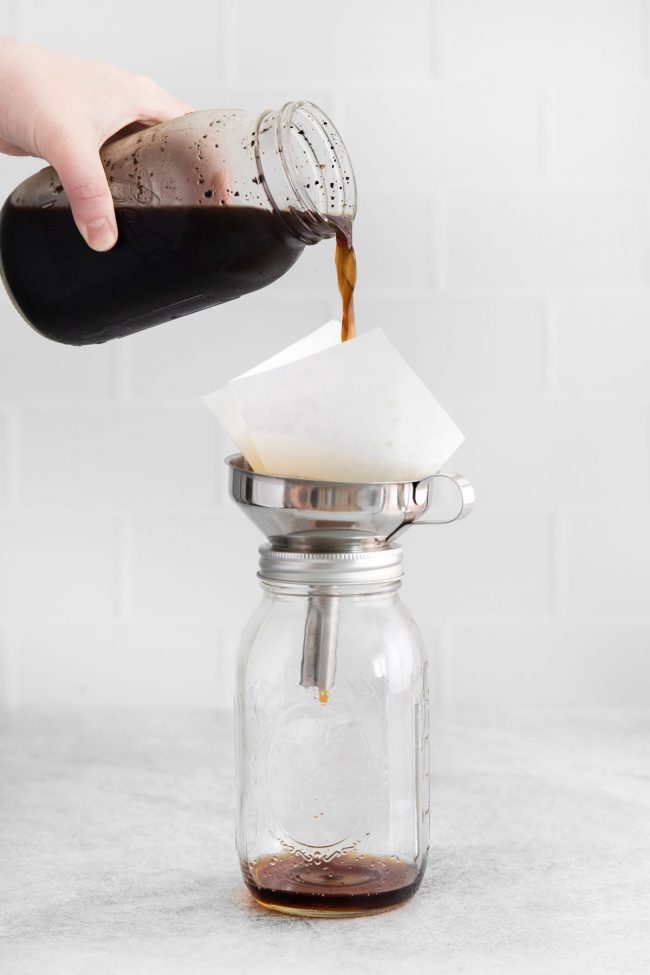
How to strain cold brew
To strain the espresso, use one of the following methods:
- Chemex – simply line the top of the Chemex with a filter and pour it through.
- Coffee filter – you can place a coffee filter inside of a funnel set over another jar and pour the espresso concentrate through the filter.
- Nut milk bag – place a nut milk bag inside of a large bowl and pour the espresso through the bag. This will remove any large pieces of espresso but may result in a slight grittiness left in the espresso – use it as a last resort!
Which roast works best?
The quality of the beans will have a major impact on the taste of the espresso, so be sure to get a good fresh bag of beans.
Roasted coffee beans vary from light to medium to dark.
Light roast has a full flavor, but no oily shine.
Medium roast is great for making a strong brew.
Dark roast has an oily shine and is dark brown. They’re full-bodied and robust, but less acidic than the lighter varieties.
For today’s recipe, you’ll want to use a medium-dark to dark roast. With a light roast, you’d be at risk of underextracting the coffee beans, which would result in an unenjoyable, flat-tasting cup of espresso.
If you want to learn more about the different types of roasts, check out this post.

Can I use this instead of regular espresso or coffee?
If you’re making a recipe that calls for regular espresso (like this Carajillo Cocktail!), regular coffee, or cold brew coffee, you can use this cold brew espresso in its place.
Espresso is more concentrated than regular coffee, meaning it has a stronger flavor. So anything you make with espresso rather than coffee will have a stronger coffee flavor.
For most coffee-flavored recipes, that’s a great thing. However, if you only want a hint of coffee flavor, like in my Vegan Baileys Recipe, normal coffee is preferable.
The difference between regular coffee and espresso and cold brew is that cold brew is less acidic, which results in a slightly sweet taste.
So if you’re making something that calls for regular coffee or espresso, feel free to use cold brew in its place. If it’s a coffee drink, you may want to use a little less sugar than you usually would in regular coffee. Then add more to taste.
But if you’re baking something, you don’t need to reduce the sugar to make up for the slightly sweet taste of the cold brew. You can keep the recipe exactly as is.
And if you’re looking for something to enjoy with your coffee, how about some Coffee Donuts? Or pair it with a healthy but calorie dense breakfast, and then you’re set for the morning!
These Asiago Bagels also look great and are really easy to make.
How to store cold brew
If you have any leftover espresso, refrigerate it in an airtight container for 7-10 days.
Also, the longer the espresso is exposed to air, the less flavor you’ll have for your next cup. So don’t be lazy and leave it uncovered at room temperature until bedtime. ;)
Should you want a hot cup of espresso, then you can heat it in the microwave.
If you have a wine pump, you might want to use it. You can use it when storing the cold brew to preserve the richness, and it will keep for many more days.
Other cool and refreshing drinks
- If you’re having a gathering, this Christmas Morning Punch isn’t just for the holidays. It’s a sparkling punch that is light and fruity with cranberry, orange and pineapple juice.
- This Honey-sweetened Fresh Peach Lemonade has all the tastes of summer.
- This Avocado Smoothie is ultra-rich and creamy and healthy to boot.
- Using cold brew, this Pumpkin Cold Brew with Sweet Cream is perfect for those that love pumpkin spice.
- If you’re not a coffee fan, this Pineapple Matcha Starbucks Copycat is perfectly sweet, energizing but made with matcha green tea. Vegan and paleo!
Did you try out this cold brew espresso? If so, I’d love to hear about it! Feel free to tag @texanerin on Instagram so I can check it out. Thanks! :)
Cold Brew Espresso

- Prep Time:
- Cook Time:
- Ready in:
- Yield: 2 cups (450ml)
Ingredients
- 1 3/4 cups (142 grams or 5oz) coffee beans
- 3 cups (680 grams or 24oz) filtered water
Directions
- Add the whole beans to a coffee grinder and pulse 6-7 times. They should still be very coarse – about the size of peppercorns. If your grinder has levels, choose 9 or 10 out of 10.
- Add the ground coffee beans to a large jar with a tight-fitting lid.
- Pour half (1 1/2 cups) of the water over the ground coffee, stir and wait one minute.
- Pour in the remaining water.
- Put on the jar lid and place in the fridge for 12-24 hours. I recommend trying it at 12 hours. If it's not strong enough, let it sit for a few more hours. I personally think 16 hours is best.
- To strain the espresso, use one of the following methods:
Chemex – simply line the top of the Chemex with a filter and pour it through.
Coffee filter – you can place a coffee filter inside of a funnel set over another jar and pour the espresso concentrate through the filter.
Nut milk bag – place a nut milk bag inside of a large bowl and pour the espresso through the bag. This will remove any large pieces of espresso but may result in a slight grittiness left in the espresso – use it as a last resort! - Store the espresso concentrate in an airtight container in the fridge for up to 7-10 days. Enjoy in any recipe that calls for cold espresso. It doesn't need to be diluted the way regular cold brew concentrate needs to be, but you can of course dilute it, if desired.
Notes
- I think 18 hours of steeping is ideal. When you let it steep longer than 18 hours, it starts to taste bitter. 12 hours might be enough for you. It all depends on your preferences and your beans! Test it starting after 12 hours. It may take one or two attempts to figure out the perfect timing because everyone prefers their espresso slightly different than the next person.
Join over 12,400 readers and sweeten up
your inbox with new posts for free!
This subscription is free of charge and can be canceled at any time.


