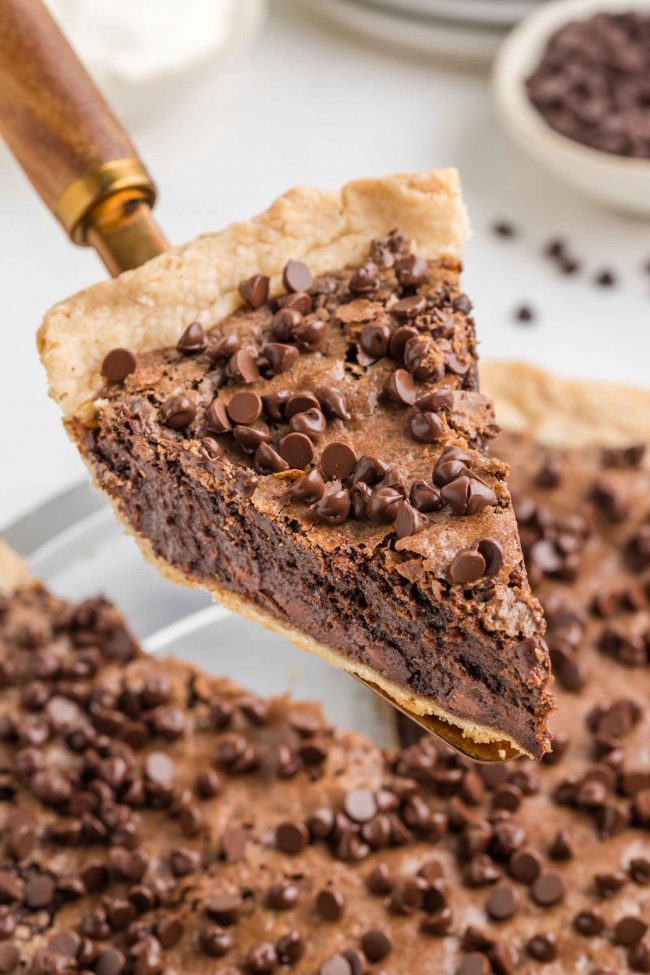
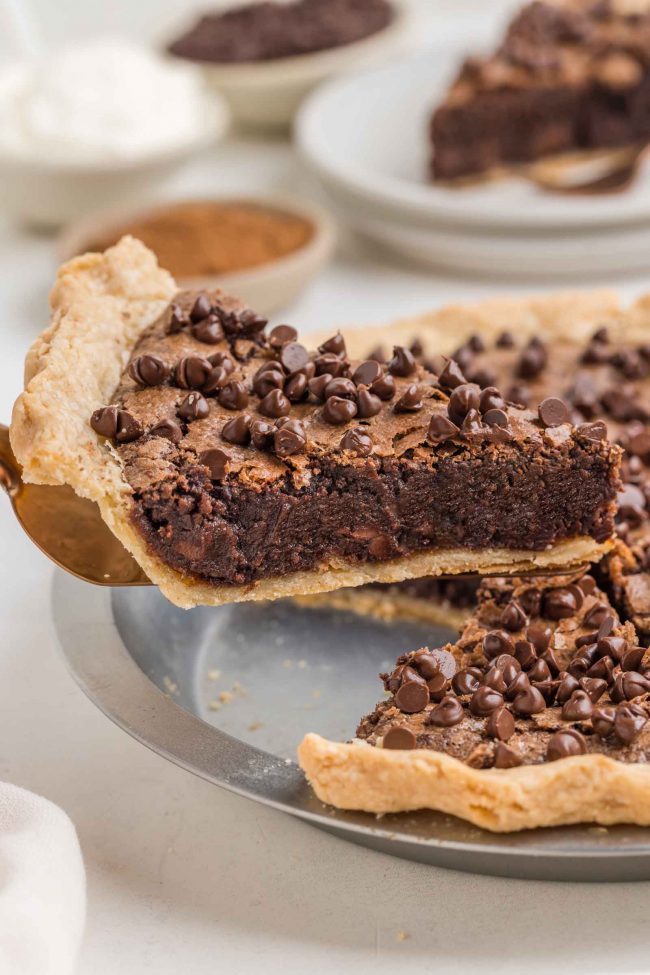
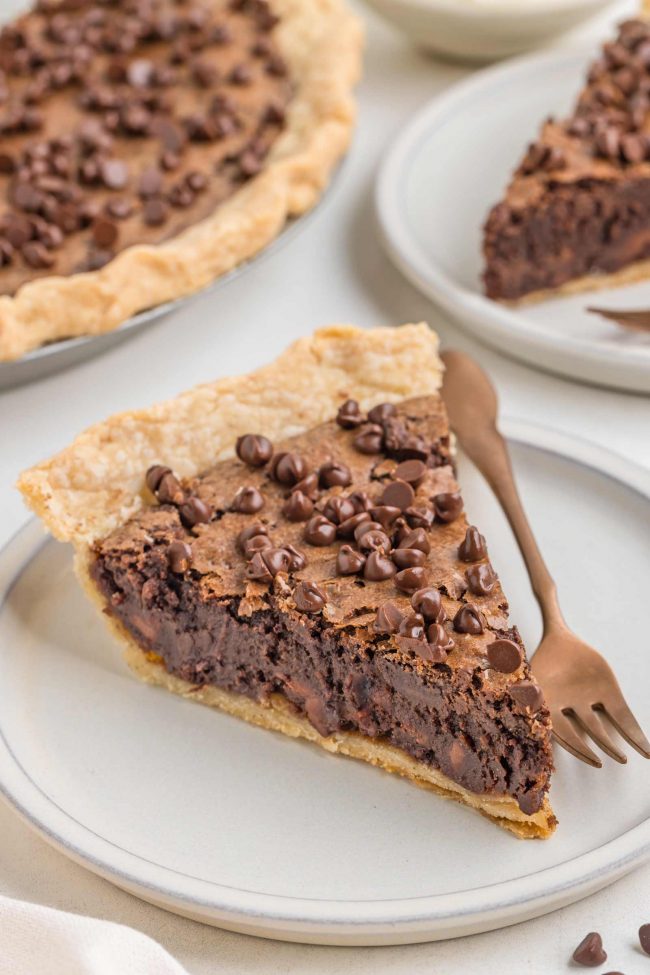
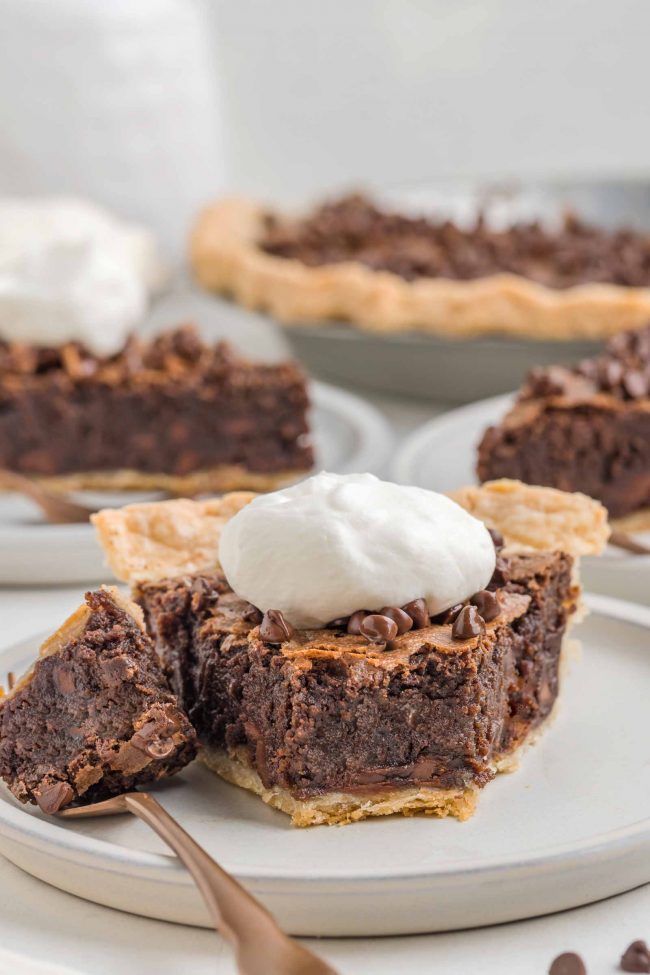
This chocolate cocoa pie has a fudgy brownie-like filling encased in a flaky, buttery crust. This pie is the perfect balance of gooey and crisp and is amazingly easy. Whether you’re a seasoned baker or a kitchen newbie, this recipe is straightforward and sure to impress. It can be made traditionally or with gluten-free flour.
This is a great pie for any time of year, but I do have some more summery pies and tarts coming up very soon. I have around 200 recipes ready to be shared, and I’m going to try my hardest to whittle down that enormous backlog.
All of these recipes and the photos just sitting around are causing me anxiety. 😆 It’s time I share them with you all.
It’s one of the reasons why I’m posting on Easy Wholesome again.
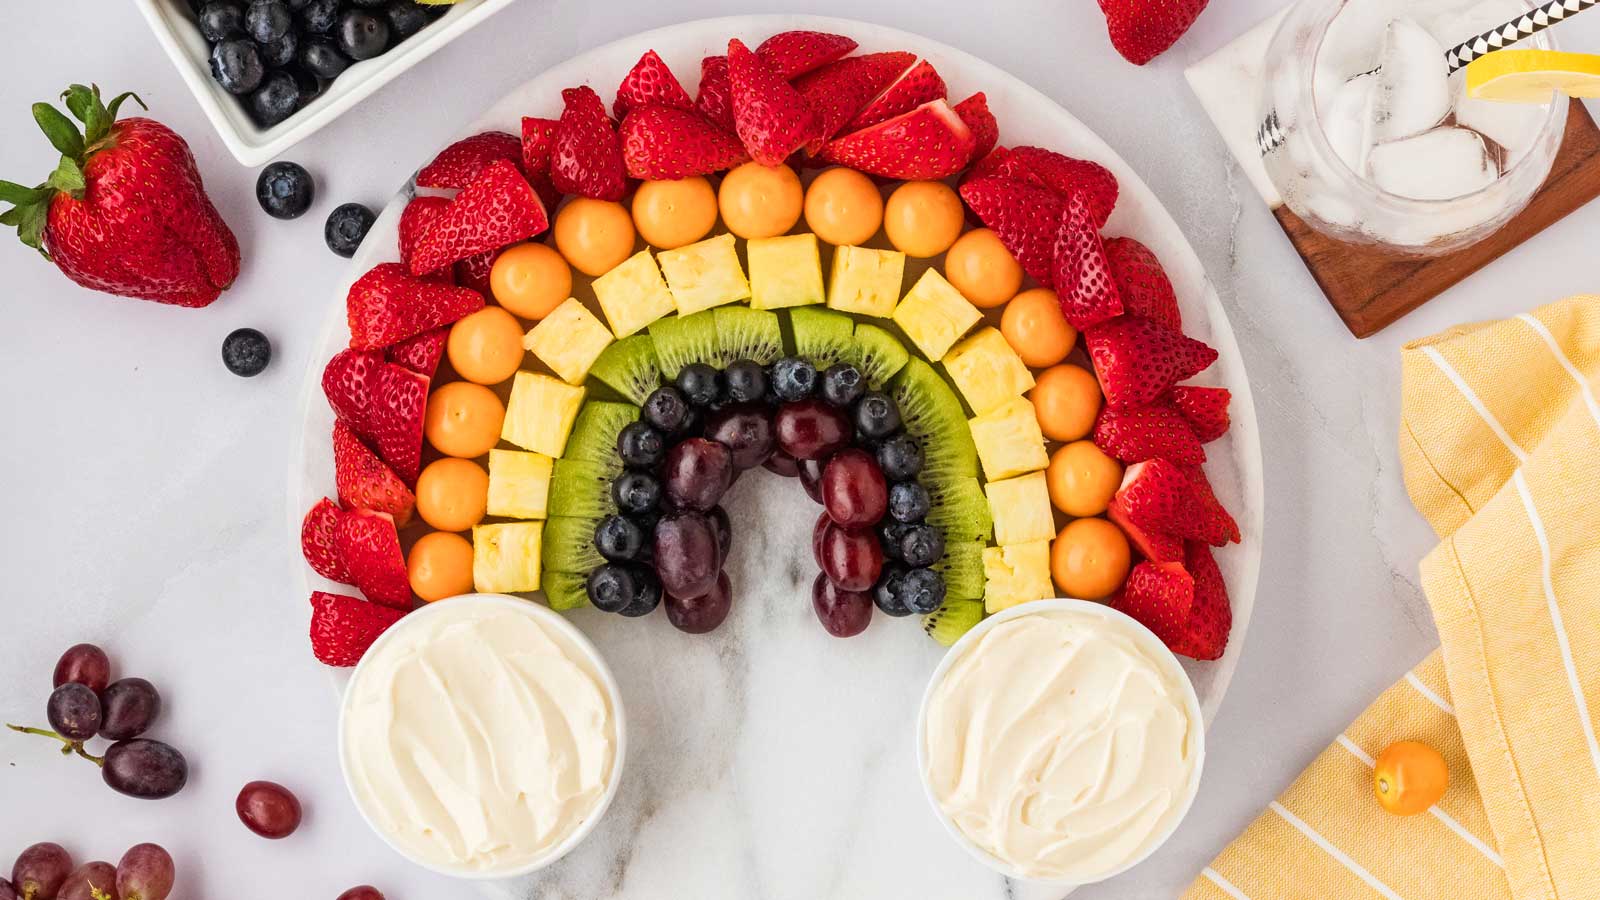
Here’s the Rainbow Fruit Platter I posted the other day! 🌈 It’s perfect for any kind of gathering, and you can even naturally sweeten the cream cheese dip if you’d like. :)
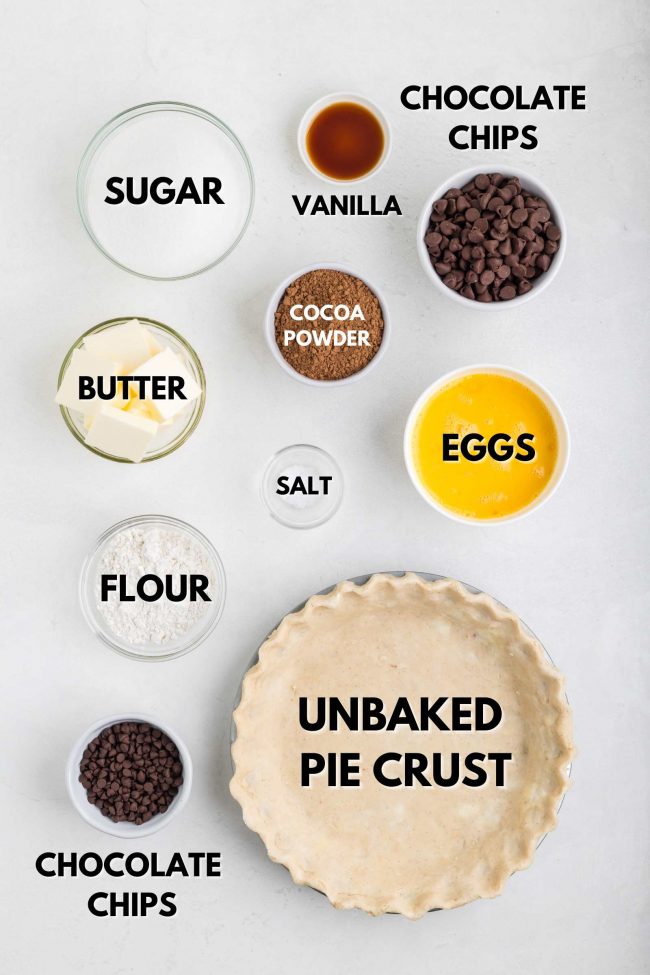
Ingredients
Here’s an overview of what you’ll need.
For the pie crust, I used my Gluten-free Pie Crust Recipe, but you can use any flaky pie crust you’d like.
You can make it yourself or use refrigerated or frozen pie crust. If using a crust that you need to roll out, roll it out into the pan and place it in the fridge for about 20 minutes before filling.
If using a frozen pie crust, you can pour the filling directly into the frozen crust unless the package directions say otherwise. If it says to defrost it a bit first, then you should do that.
There’s no need to blind bake the crust. I thought it’d be necessary, so I blind baked it once.
All of the other times, I didn’t. You couldn’t tell the 2 versions apart.
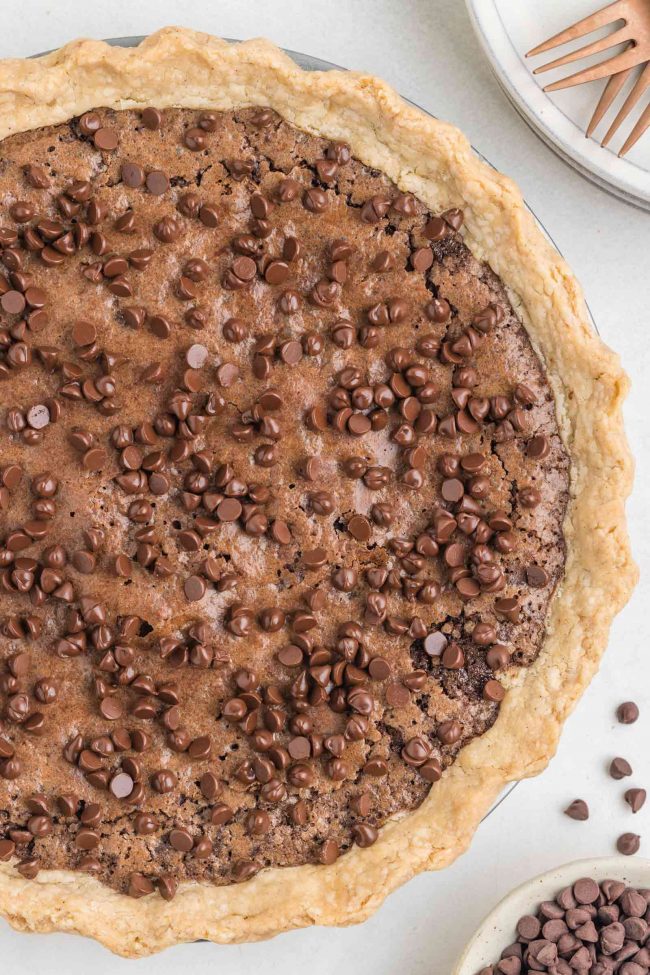
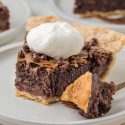
And look at that photo of the crust! It is SO flaky and crisp.
If your pie crust recipe or product isn’t good, you won’t get the same results. So I would go with a recipe or pre-made crust that you know works!
Can I use a graham cracker crust?
I really wouldn’t recommend it. It’s too sweet paired with the filling.
It also might make the crust too soggy. It’s hard to know without trying.
Cocoa powder type
This is the first recipe I’ve posted in 13 years of blogging that calls for a natural cocoa powder like Hershey’s. I always call for Dutch-process cocoa powder for its ultra-chocolaty flavor.
I tried Dutch-process in this recipe and thought it was too dark. When I think of cocoa desserts, I think of something reminiscent of hot chocolate.
So Hershey’s was perfect for this pie.
If you prefer, you can use Dutch-process cocoa powder. You don’t need to make any other adjustments to the recipe.
Do I have to use chocolate chips?
Nope! They’re optional.
You can alternatively add in some chopped nuts. If you want more of a nutty pie, this Cocoa Pecan Pie is amazing.
And also more gooey than today’s recipe. That recipe is a pecan pie with some chocolate flavor.
Can I omit the cocoa powder?
Please find a different recipe if you don’t have or like cocoa powder. ;)
Can I use chocolate instead of cocoa powder?
No, that’d require reworking the whole recipe. So I would recommend finding a recipe that already calls for chocolate instead of cocoa powder.
How to make this chocolate cocoa pie
The full recipe, along with ingredient measurements and instructions, are below the post and above the comments section. For now, I’ll let the pictures do the talking.
This recipe is super easy. The only thing you can really do to mess it up is overmix the filling.
Think of it as a brownie. The more you mix it, the cakier it’ll be.
And just like a brownie, you don’t want to overbake it. Or it’ll be cakey.
Do I have to bake the pie crust on a baking sheet?
No, but it’d be silly not to. This is why:
- Heat distribution – a baking sheet can help distribute heat more evenly to the bottom of the pie, which can help ensure that the crust cooks more uniformly. This can be particularly useful for pies with a delicate or very buttery crust that might otherwise bake unevenly.
Cook’s Illustrated did an experiment. The cherry pie they baked directly on the oven rack had a soggy, juice-soaked crust. The crust of the pie baked on the baking sheet was solid and not soggy. You can read the explanation why at the link. - Easy handling – placing a pie on a baking sheet makes it easier to handle, especially when putting the pie in or taking it out of the oven. It provides a stable surface, reducing the risk of accidentally tipping or spilling the pie.
- Crust protection – for some pies, especially those with very buttery crusts, the baking sheet can act as an extra barrier between the crust and the intense heat from the oven floor, preventing the bottom crust from becoming too brown or burnt.
- Spills and drips – one of the main reasons to place a baking sheet under your pie is to catch any potential spills or drips. As the pie filling bakes, it can bubble up and overflow, especially if it’s a fruit pie or has a particularly liquidy filling.
The baking sheet will catch any spills, preventing them from burning on the bottom of your oven and causing smoke or a mess that’s difficult to clean.
I’ve made this pie several times, and it was never bubbly or even close to overflowing. So you don’t need to worry about that with this recipe, but the other things I mentioned above are reason enough to use a baking sheet. :)
What kind of pie pan to use?
Since you’re going to be chilling the pie crust dough in its pan and then placing it in a hot oven, you’ll want to make sure it’s safe to do so with your pie pan.
Most ceramic pie dishes today should be safe to transfer from the fridge (or freezer) to the oven, but it’s not universal, so check the manufacturer’s instructions. Ceramic pie dishes heat slowly and evenly, and they can withstand sudden temperature changes.
When using Pyrex or glass bakeware, you’ll want to avoid extreme temperature changes because it may cause the dish to shatter and break.
Modern oven-safe glass pans are designed to withstand moderate temperature changes, so taking a dish from the fridge to the oven set at 325 °F (167 °C), which is what you need for this recipe, should be safe, but I wouldn’t do it with your grandmother’s pie pan. I recommend erring on the safe side unless you’ve done it before and are confident your dish can withstand the temperature change.
Metal pie dishes, often crafted from aluminum or aluminized steel, are excellent heat conductors. They’re ideal for blind baking or pre-baking pie crusts (which you’re not doing here but thought I’d mention it for future reference), ensuring the crust turns out nice and crisp.
Metal dishes can endure extreme temperature changes, allowing you to transfer them directly from the fridge or freezer to a hot oven. However, keep a close watch as they can heat up quickly and potentially overbrown the crust. If the crust is browning too fast, cover the edges with foil strips to prevent over-browning or use a convenient pie shield.
Serving size
This pie is pretty rich. I think cutting it into 8 slices, which is pretty normal for a pie, isn’t enough.
If making this for Thanksgiving, Christmas or any other occasion where there are multiple desserts, I’d definitely cut it into 16 slices. Or if that sounds silly to you, then at least 12 slices.
Garnish
I sprinkled mini chocolate chips over the top of the pie right after taking it out of the oven. But it’s really not needed.
The pie is sweet enough on its own! I just thought they’d look pretty.
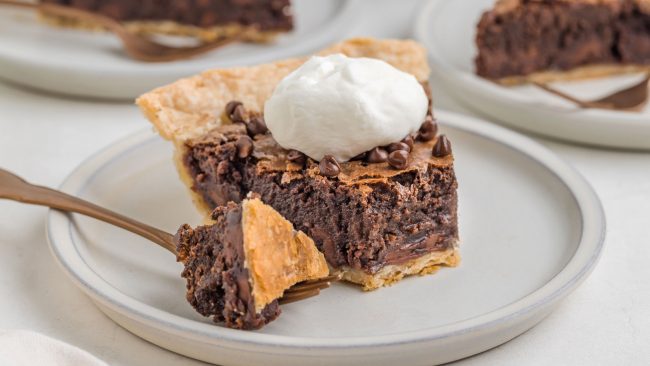
I do like a dollop of whipped cream on top as it cuts the sweetness a bit.
One time, I sprinkled some flaky sea salt over the the top of the pie before baking. It halfway dissolved or sank, so it doesn’t look especially nice, but it was a nice addition.
Can I freeze this pie?
Yes! It freezes great.
I made this pie several times before perfecting the recipe, so I have a LOT of leftovers in the freezer.
I cut the pie into slices, wrapped them in plastic wrap, and placed them in a Ziploc bag. You can defrost the slices overnight in the fridge or let them sit for about an hour at room temp before serving.
You could also freeze the whole pie, but I think freshly baked crust is always going to be better than frozen and defrosted. If you want to freeze it, then wrap the whole pie in plastic wrap, then in foil, and place in a Ziploc. Freeze for up to 3 months.
Gluten-free version
I’ve tried the filling recipe with Bob’s Red Mill 1-to-1 Gluten-free Baking Flour, King Arthur Flour Gluten-free Measure for Measure Flour and Cup4Cup Multipurpose Flour. They all came out great.
If you want to use my crust recipe, then only the Bob’s Red Mill flour works. I tried the other 2 flours for the crust, and the result wasn’t anywhere near as flaky as the Bob’s version.
They were good for a gluten-free pie crust, but not phenomenal. I want you to have the best pie crust possible, and for that, you need Bob’s!
So that’s it! I hope you’ll enjoy this chocolate cocoa pie if you give it a go. :)
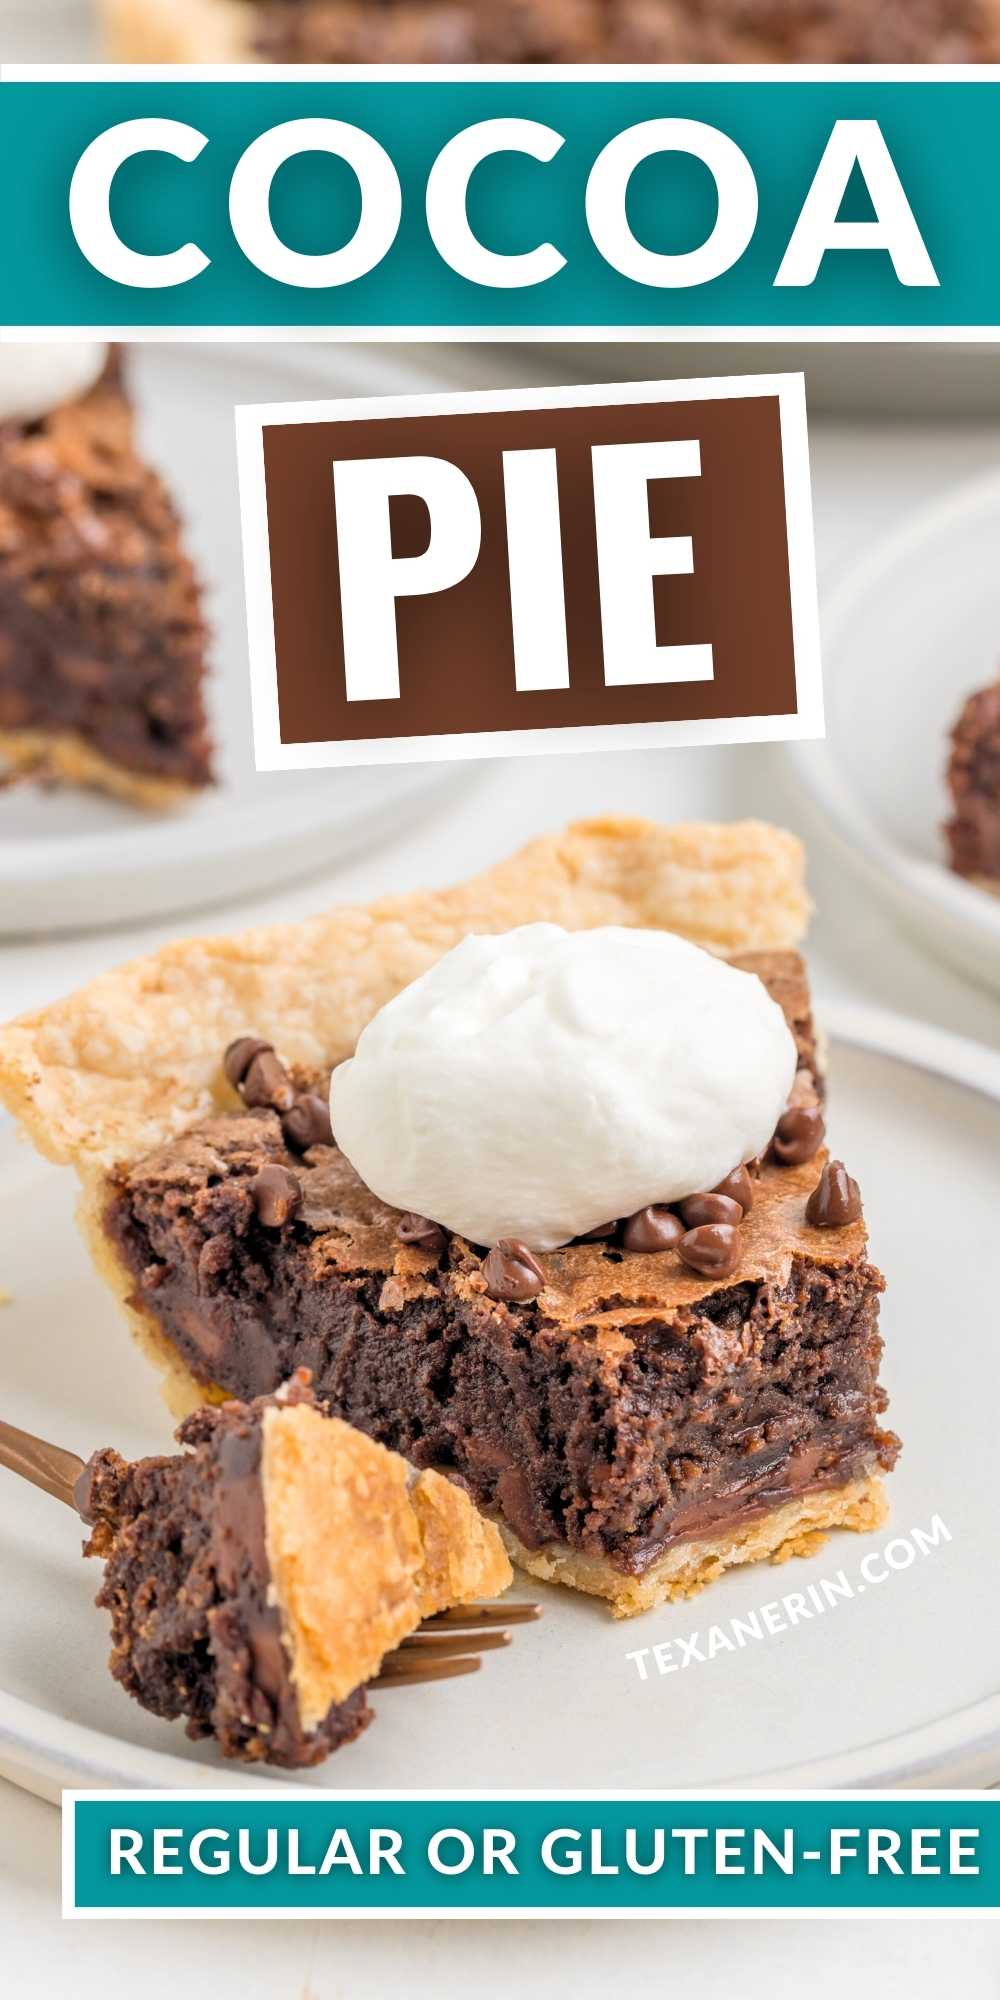
Cocoa Pie
- Prep Time:
- Cook Time:
- Ready in:
- Yield: 12-16 slices
Ingredients
- 1 unbaked pie crust for a 9" pan (for gluten-free, use this gluten-free pie crust)
- 1/4 cup + 2 tbsp (46 grams) all-purpose flour (see notes for gluten-free)1
- 1/4 cup + 2 tbsp (43 grams) natural cocoa powder (like Hershey's)
- 3/8 teaspoon salt
- 3/4 cup (168 grams) unsalted butter, cut into pats
- 1 1/3 cups (266 grams) granulated sugar2
- 3 large3 (150 grams) eggs, beaten and room temp
- 2 teaspoons vanilla extract
- 1 cup (170 grams) semi-sweet chocolate chips
- 1/4 cup mini chocolate chips to sprinkle on top after it comes out of the oven
- whipped cream
For the crust:
For the filling:
For the topping:
Directions
- If making a homemade crust, roll the dough out into the pie pan and chill for 20 minutes.
- Preheat the oven to 325 °F (162 °C) and position a baking sheet that will fit your pie on a baking rack in the lower third of the oven.
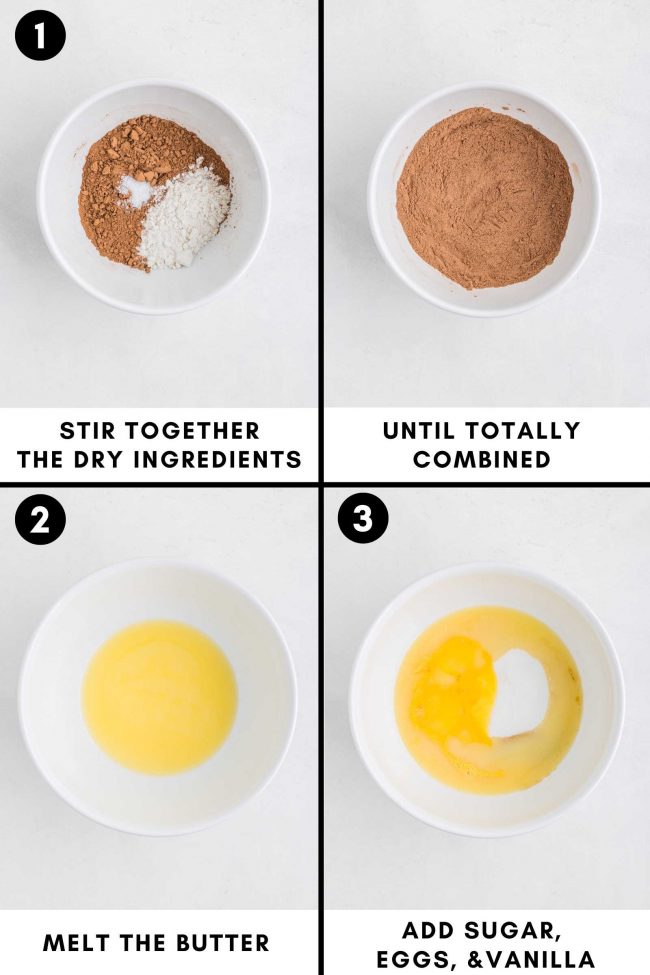
- In a small or medium mixing bowl, stir together the flour, cocoa powder and salt. Set aside.
- After about 10 minutes of pie crust chill time, melt the butter in a large microwave-safe mixing bowl in the microwave. I usually do 30 seconds at full power, then start doing 15-second increments, stirring after every one. But you can melt it however you normally melt butter in the microwave.
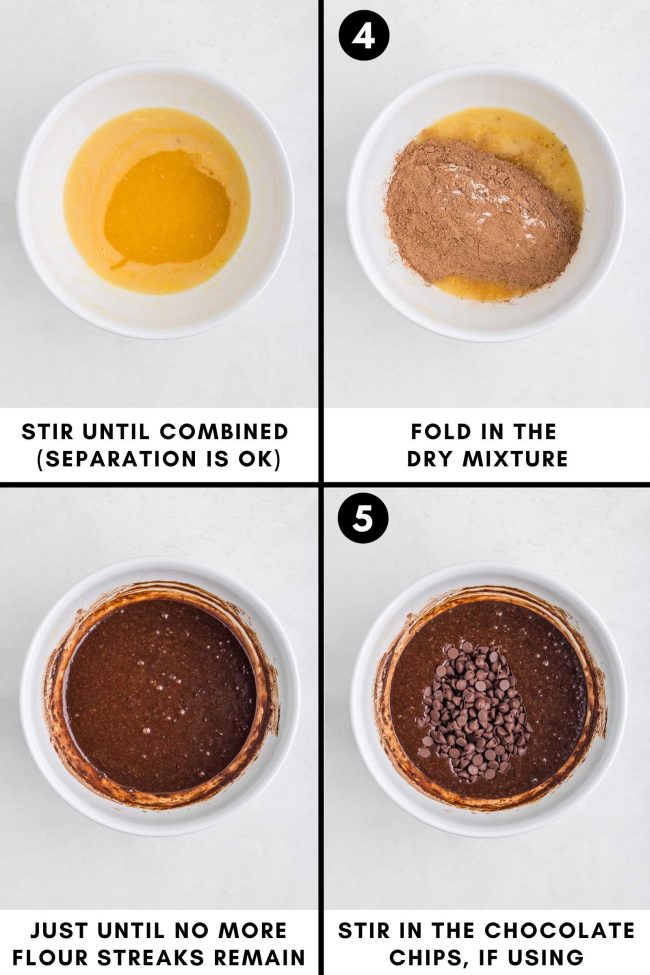
- To this bowl of warm butter (but it shouldn’t be so hot that it cooks the eggs), stir in the granulated sugar, eggs, and vanilla just until combined.
- Stir in the flour and cocoa mix just until no more streaks of flour remain.
- Fold in 1 cup of regular-sized chocolate chips.
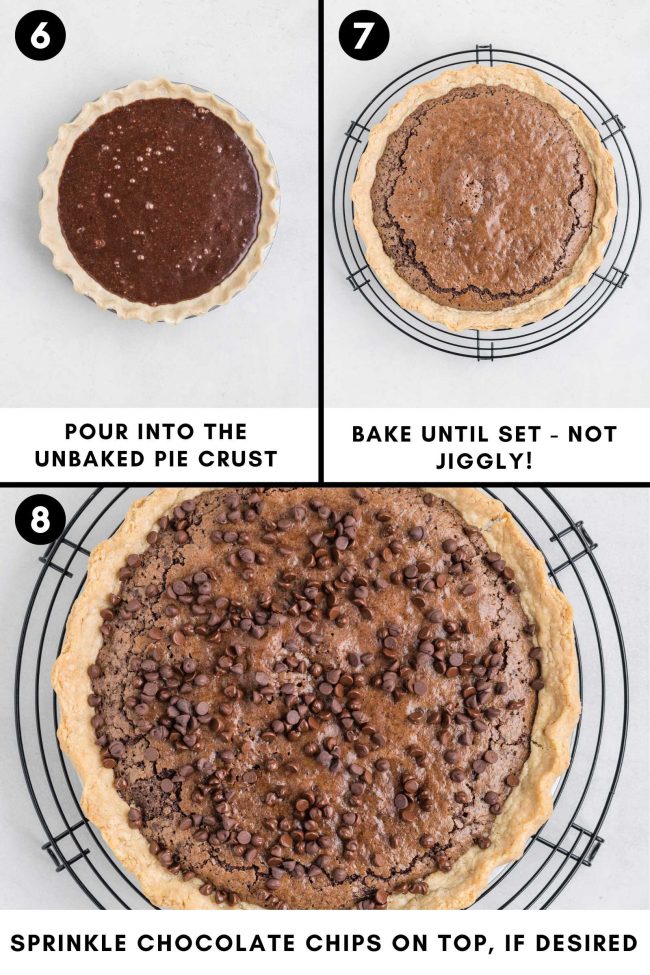
- Pour the filling into the chilled, unbaked pie crust and use a silicone spatula to spread it even.
- Bake for 35-44 minutes or until set in the center. If it jiggles in the middle, it’s not ready.
- Remove to a wire rack and sprinkle on the mini chocolate chips (I tried putting them on the unbaked batter but didn’t like how they sank - they looked better when sprinkled over the hot-baked pie).
- Let cool completely, about 2 hours.
- Cover and store at room temperature for up to 3 days or refrigerate up to 5 days. It can also be wrapped and frozen for up to 3 months.
Prepare the filling:
Notes
- Gluten-free options: I've tested the filling with 1/4 cup + 2 tbsp (51 grams) Bob's Red Mill 1-to-1 Gluten-free Baking Flour, 1/4 cup + 2 tbsp (46 grams) King Arthur Flour Gluten-free Measure for Measure Flour and 1/4 cup + 2 tbsp (46 grams) Cup4Cup Multipurpose Flour. They all worked great in the filling, but Bob's is definitely the best for the crust and the only one to make a super flaky pie crust.
- Instead of granulated sugar in the filling, you could use 1 1/3 cups (250 grams) coconut sugar.
- If you're in the EU, you should use medium eggs and not large.
Join over 12,400 readers and sweeten up
your inbox with new posts for free!
This subscription is free of charge and can be canceled at any time.


4 comments on “Chocolate Cocoa Pie” — Add one!
10 comments are awaiting moderation!
Wow, this looks amazing. And, ok, this is a dumb question, but here goes: is there a way make this pie without crust? I love pie. I think crust is boring and way too much work and too much butter for such a bland addition to the desert. I always just eat the inside. Which, of course, I could do here, but I don’t want to go to all the trouble of making (and wasting ingredients on) something I’m not going to eat. (And before you say: “my crust is amazing! Try my crust, you’ll be a changed woman!,” know that I’m sure it’s an excellent version of a thing I don’t like. All of your recipes are excellent and if I liked crust, I’m sure I’d like yours. But just as you don’t like vegetables and will never love even the very best kale salad, I will never like crust. So. Is there a way to make this come out the right texture without crust?) I know, I know, we out in internet land ask the most unreasonable things sometimes. But you’re a baking magician and I thought this was a trick you might just know :-)
This was like a brownie pie. So delicious and decadent. Was a fun treat for everyone!
Your cocoa pie looks amazingly delicious! I can’t wait to make ti.
We love this pie mainly because it tastes so decadent like a brownie and is so easy to make. I’m already craving this again so I’ll be making another one soon!