

Mummy Cookies
These mummy cookies get their black color and Oreo flavor from black cocoa and not food coloring! You can use all-purpose, whole wheat, or gluten-free flour. They’re naturally eggless but have a fantastic texture. If you use vegan candy eyes, then they’re also vegan.
Regular readers: if you’ve already read my post on Black Cookies, no need to read this one as it’s pretty much the same.
Black cocoa is what’s used to make Oreos, and that’s just what these cookies taste like. But with a better texture!
At least in my opinion. These cookies are perfectly chewy with crisp edges.
And when you press them down when they come out of the oven, they make the perfect base for decorating Halloween cookies!

Ingredients
- Flour – I’ve tested this cookie recipe with all-purpose, white and regular whole wheat, and 2 types of gluten-free flour. More details are below.
- Black cocoa powder – again, lots more detail below. :)
- Coconut oil – I always use refined coconut oil in non-coconut flavor goodies because I don’t want any coconut flavor. You can use unrefined if you’d like some coconut flavor in your cookies. I think it’d be weird in these cookies, but you can certainly experiment.
- Granulated sugar – keto and liquid sweeteners don’t work here, by the way.
- Brown sugar – you can replace this and the granulated with coconut sugar if you’d like, but it does detract from the Oreo flavor. More below.
- Baking powder, vanilla, salt and water
- Powdered sugar – no sub for this. It’s needed for the white decorations on top of the cookies, so it needs to be white.
- Milk of choice or water – any will work. I use unsweetened cashew milk.
- Candy eyeballs – note that Wilton and other store-bought candy eyeballs are not vegan! I link to my favorite homemade recipe below.

How to make them
It’s just a basic cookie recipe, and you don’t even have to chill the dough.
If you do chill the dough, it gets hard and weirdly crumbly in the fridge. Let it sit at room temperature until it becomes soft. Then, you can form balls, and it’ll bake up normally.
To make the cookies, you mix together the dry ingredients in one bowl.
Beat together the wet ingredients in another bowl, and then stir in the dry mix.
Roll into balls and bake!

When they come out of the oven, they’ll be a little puffy and perhaps a little cracked. Use the bottom of a flat, smooth glass to press the cookies down.
I spent half a day experimenting with how to get perfectly shaped cookies with this recipe (including the more mounded black cookies with chocolate chips). It was kind of absurd. But it was worth it to find the best way!
If you press them down before baking, they don’t look nearly as nice. Bake and press is the way to go.
Then you let them cool completely, make the icing, put it in a piping bag and decorate. I’m definitely not skilled when it comes to decorating things, and even I could make these mummy cookies look good. So you can, too. :)

Black cocoa powder brands
If you read my Black Ice Cream post, you can skip over this section about black cocoa powder.
For people who don’t know, I’ve been living in Germany for the past 14 years, but I test my recipes with US brands to make sure that we (because most of you are from the US) get the same results.
The problem with black cocoa powder is that there aren’t any brands in the US that I can have shipped to Germany, and none of the brands we have here can be bought in the US.

For the European readers, I tested my black cocoa recipes with Van Houten Intense Deep Black Cocoa, which is now called Noir Intense and is sold under the brand Cacao Barry. Everything I’ve made has come out perfectly with it.
My photographer lives in the US, so for her, I read a bunch of reviews on Amazon and picked the one with the best reviews and price. Most of them were tied when it came to the ratings, so I chose the cheapest one (or, rather, the cheapest at the time).
She used Modern Mountain’s black cocoa powder in the cookies you see here in the photos. And they looked exactly like my Van Houten/Cacao Barry cookies.

But then she sent me a picture of my Black Ice Cream, asking if it was supposed to be brown.
Definitely not. It’s supposed to be black! She then used black cocoa from The Cocoa Trader, and the ice cream came out black. Or very, very dark grey and almost black, but not jet black.

So if you want to buy black cocoa to use in some other recipes, I would recommend buying The Cocoa Trader black cocoa to guarantee that your results in other recipes will come out black and not brown.
Warning!
Black cocoa powder keeps its black color all the way through your digestive system.
Have you heard of the beet test? Should you not want to eat beets, these cookies also work for testing purposes. ;)
If you’re wondering why in the world I’m telling you this, it’s because I don’t want anyone to panic and think they have internal bleeding. Because that’s what you’ll find if you google the issue. No need for anyone to rush to the doctor/ER!

Gluten-free version
You need to use a 1:1 gluten-free baking blend that’s meant as a direct sub for all-purpose flour. So that means no oat flour, almond flour, coconut flour, and so on.
King Arthur Flour Gluten-free Measure for Measure Flour was my favorite in these cookies. Bob’s Red Mill Gluten-free 1:1 Baking Flour also worked, but the texture was better with KAF.
I have no idea if other brands will work as well because I haven’t tried them.
Can I use coconut sugar or another sweetener?
Yes to coconut sugar, but the flavor of the coconut sugar takes away from the Oreo flavor.
I preferred them with granulated and brown sugar, but if you have to use coconut sugar, I think you’ll still be pretty happy with the result.
I haven’t tried any other sweeteners, but I don’t recommend liquid ones like maple syrup as the wet-to-liquid proportions would be off.
Since this recipe uses regular flour and not a grain-free one, I didn’t try any keto sweeteners here. But if you do, please let me know how it works out!

Candy eyeballs
If you don’t like the ingredients in store-bought candy eyeballs or you’re vegan, you need to make your own. Wilton candy eyeballs aren’t vegan. Unfortunately, there aren’t any vegan candy eyeballs that you can buy.
But you can make your own! And what’s fun about that is that you can make them in different sizes.
I’ve made a few different vegan candy eyeball recipes, with this one being my favorite.

The ingredients are powdered sugar, cornstarch (or tapioca or arrowroot starch), vanilla, water and black cocoa. You already have the black cocoa powder for the cookie recipe, so there’s nothing special to buy!
If you take your time with them, you can really make them look perfect. But if you rush, you’ll definitely have sloppy-looking eyeballs.
It does take some time and a bit of patience, but you can make them now, and they’ll be good to go all through the Halloween season.

Having candy eyes opens up a lot of possibilities when it comes to Halloween treats! I have three more recipes coming up over the next few weeks with them.
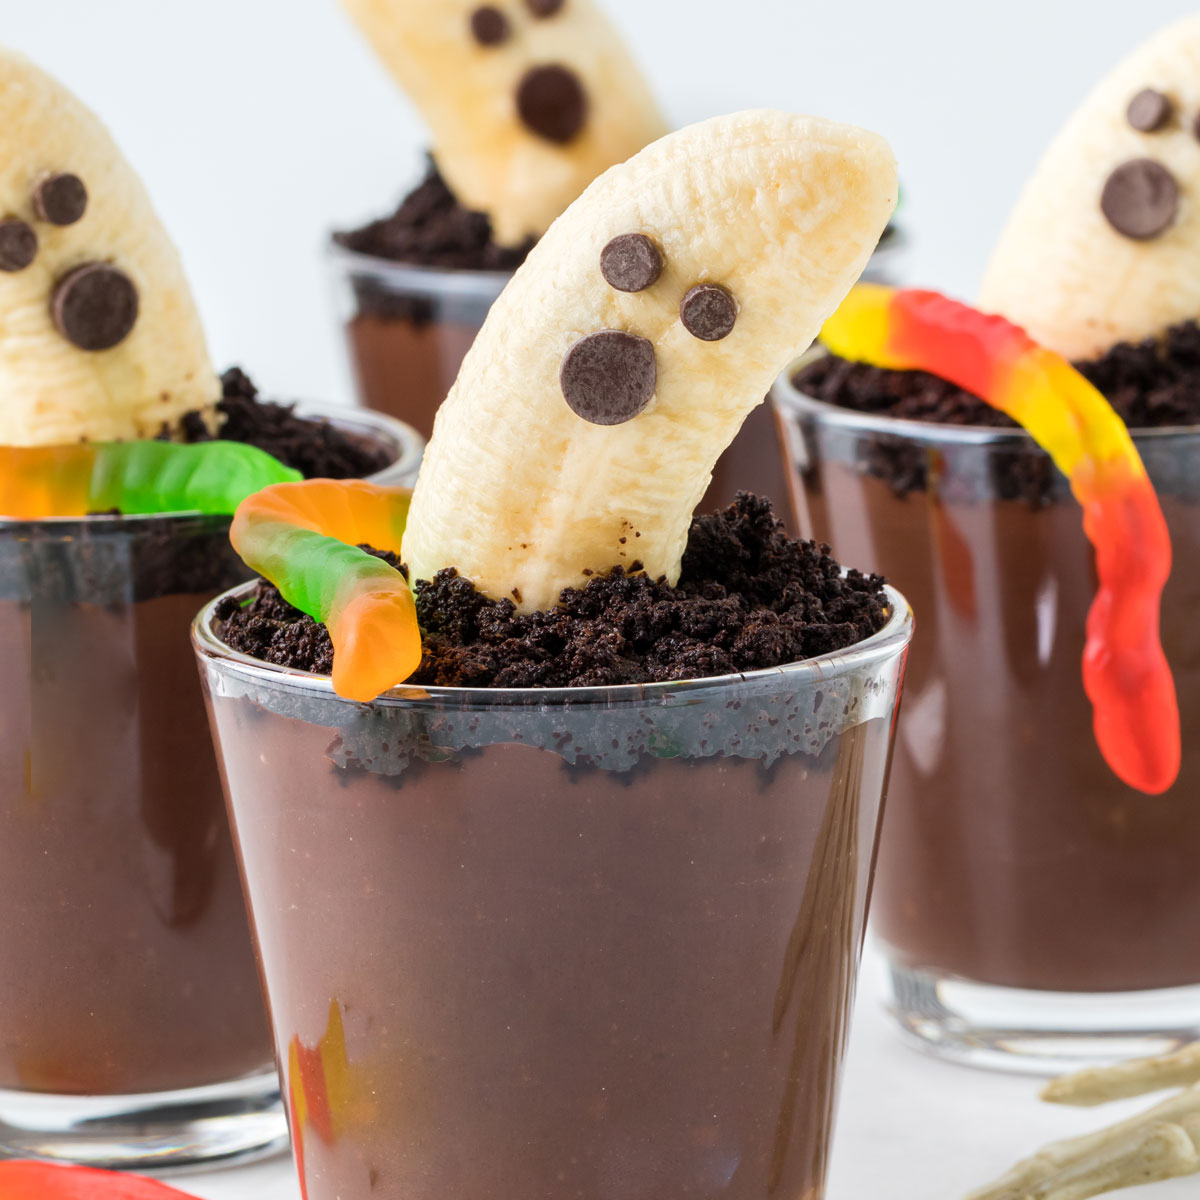
Other vegan Halloween recipes
After my last Halloween recipe, I got a reply to the newsletter from someone who just said, “DON’T DO HALLOWEEN!” In all caps. And nothing else.
If you don’t like Halloween or just aren’t in the Halloween spirit yet (or believe it’s evil or whatever) and are annoyed by free Halloween recipes that I pay the newsletter provider to send you, I recommend unsubscribing until November.
Halloween is my favorite holiday and is the only one where I can do really fun and creative recipes, as all the cute stuff for Thanksgiving and Christmas seems to require processed food and/or food coloring. Thanks. :)

I hope you’ll enjoy these mummy cookies! Please let me know what you think if you try them out. :) Thank you!

Mummy Cookies
Ingredients
Cookies:
- 1 1/2 cups (188 grams) flour see notes
- 1/2 cup (58 grams) black cocoa powder I recommend The Cocoa Trader brand
- 1 tablespoon baking powder I recommend aluminum-free for taste reasons
- 1/2 teaspoon salt
- 7 1/2 tablespoons (105 grams) refined coconut oil slightly softened but NOT at all melty, see notes
- 1/2 cup (100 grams) granulated sugar
- 1/2 cup (100 grams) light brown sugar packed
- 1/4 cup (60 ml) water
- 4 teaspoons vanilla extract
Mummy decorations:
- 3/4 cup (90 grams) powdered sugar
- 1 1/2 to 2 teaspoons milk of choice plant-based for vegan
- 1/4 teaspoon vanilla extract
- candy eyeballs use vegan, if needed
Instructions
Prepare the dough:
- In a medium mixing bowl, stir together the dry ingredients (flour, black cocoa, baking powder, and salt). Set aside.1 1/2 cups (188 grams) flour, 1/2 cup (58 grams) black cocoa powder, 1 tablespoon baking powder, 1/2 teaspoon salt
- In a large mixing bowl with a stand mixer or electric hand mixer, beat together the coconut oil, sugar and brown sugar until light and fluffy.7 1/2 tablespoons (105 grams) refined coconut oil, 1/2 cup (100 grams) granulated sugar, 1/2 cup (100 grams) light brown sugar
- Beat in water and vanilla until well combined.1/4 cup (60 ml) water, 4 teaspoons vanilla extract
- Beat the flour mixture in on low until totally combined.
- Let the dough sit for about 10 minutes to allow the flour time to absorb the moisture. Meanwhile, preheat the oven to 350 °F (176 °C) and line a cookie sheet with a piece of parchment paper.
- Roll into eighteen 35-gram balls. They usually feel a little greasy, but not very. Sometimes, they’re more greasy than just a tiny bit, but they still bake up fine and didn’t come out greasy.
- Place the balls about 3″ apart on the parchment-line baking baking sheet. No need to press them down.
- Bake for 9 minutes. Then press them down slightly with the bottom of a flat glass, just enough to make them level so you can decorate them more easily. You’re basically just removing all puffiness at the top of the cookies.
- Let them cool completely on the baking sheet.
- Store in an airtight container for up to 5 days. They can also be frozen (dough or baked cookies) for up to 3 months.
Make the mummy faces:
- Stir together the icing ingredients (powdered sugar, milk and vanilla) in a small bowl. Transfer to a piping bag fitted with Wilton tip #3 or a similar one.3/4 cup (90 grams) powdered sugar, 1 1/2 to 2 teaspoons milk of choice, 1/4 teaspoon vanilla extract
- Pipe a tiny bit of icing on the back of 2 eyes and place them on a cookie to create the mummy eyes.candy eyeballs
- Then pipe the bandages around the eyes. Do this for each cookie.
- Store in an airtight container for up to 4 days. If you want to refrigerate or freeze the cookies, I recommend putting on the eyes after the cookies have come to room temp. Just to be on the safe side!
Notes
- For the flour you can use all-purpose, whole wheat, or white whole wheat flour. If you’re gluten-free, I recommend using King Arthur Flour Gluten-free Measure for Measure Flour. Bob’s Red Mill Gluten-free 1:1 Baking Flour also works, but the texture was better with KAF. Other brands that are meant as a 1:1 sub for all-purpose flour should work, but I haven’t tried them.
- The coconut oil shouldn’t be rock hard – but also not melty – or the cookies will be greasy, and there’s no way to fix it.
- The nutrition information does not include the candy eyes.
- The nutrition information provided is calculated as a courtesy and is only an estimate. I am not a licensed nutritionist or dietitian. For the most accurate nutritional data, consult a professional or use your preferred calculator.


Tried these out for a Halloween party! They’re super cute and so tasty. Love them! :)
I’m so glad to hear that! Thanks so much for your feedback. :D
These cookies were perfect! We bought candy eyes today and found this recipe when looking for Halloween ideas using them. Sooooo yummy. ???? Will definitely make them again for Halloween!
I made these with my niece who is already into Halloween! She thought they were so fun to make and I’m obsessed with the taste. Who knew black cocoa was so good! Thanks.
Aww, yeah! That’s so nice to hear! Your niece sounds like me. :D Thanks so much for your comment!
Such fun cookies and more importantly, the flavor was to die for. A+! Will make again for the kindergarten Halloween party.
I skipped the mummy design and just made the plain cookies and they were crazy good. Thank you!
You’re welcome! I’m glad that you enjoyed the cookies. Thanks so much for your comment! :)
These cookies turned out so stinkin cute! Me and my kids made them as a practice go for our Halloween party and they were gone within a day!
Aww, yay! I love to hear that! We also do practice runs for Halloween. :D Thanks so much for your feedback!
I didn’t make the mummy part but did make the base and they were perfection. Thanks!
I’m thrilled to hear that! Thanks a ton for your comment. :)
These cookies are so cute and perfect for Halloween! Can’t wait to make these again with my daughter, she will love them!
I hope she will! I love that your test batch came out well. :) Thanks for your comment!
These cookies were so good, they tasted like an elevated Oreo cookie decorated for the spooky season!
Aww, yay! I’m so happy that they came out well for you. :) Thanks for your feedback!
Hi Erin! These look so yummy and gooey and I just ordered some black cocoa today. Can’t wait to try these and your other black cocoa recipes!
Hi Kelly! That’s great. I’m excited to hear what you think. :) I hope they’ll all be huge hits. I wish you a great weekend!
These cookies look so much fun. I cant wait to make them with the kids this Halloween.
I hope you’ll both enjoy them! :)
Halloween special and fun with my kids for sure. Love the idea and love your detailing to this recipe.
I hope you’ll get to try them out. :)
These cookies are the cutest thing I have seen all week. Thank you so much for sharing this recipe, I am going to be making this this weekend for sure!
You’re welcome! I hope that you’ll enjoy them! :)