

Butterscotch Ice Cream
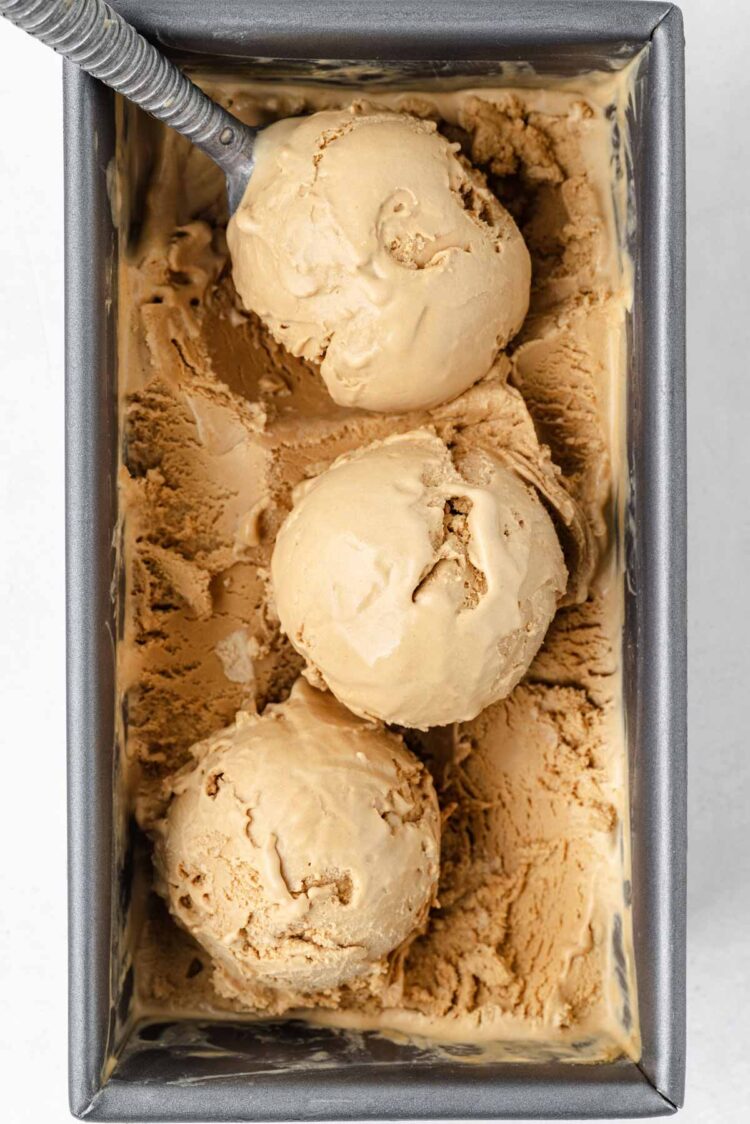
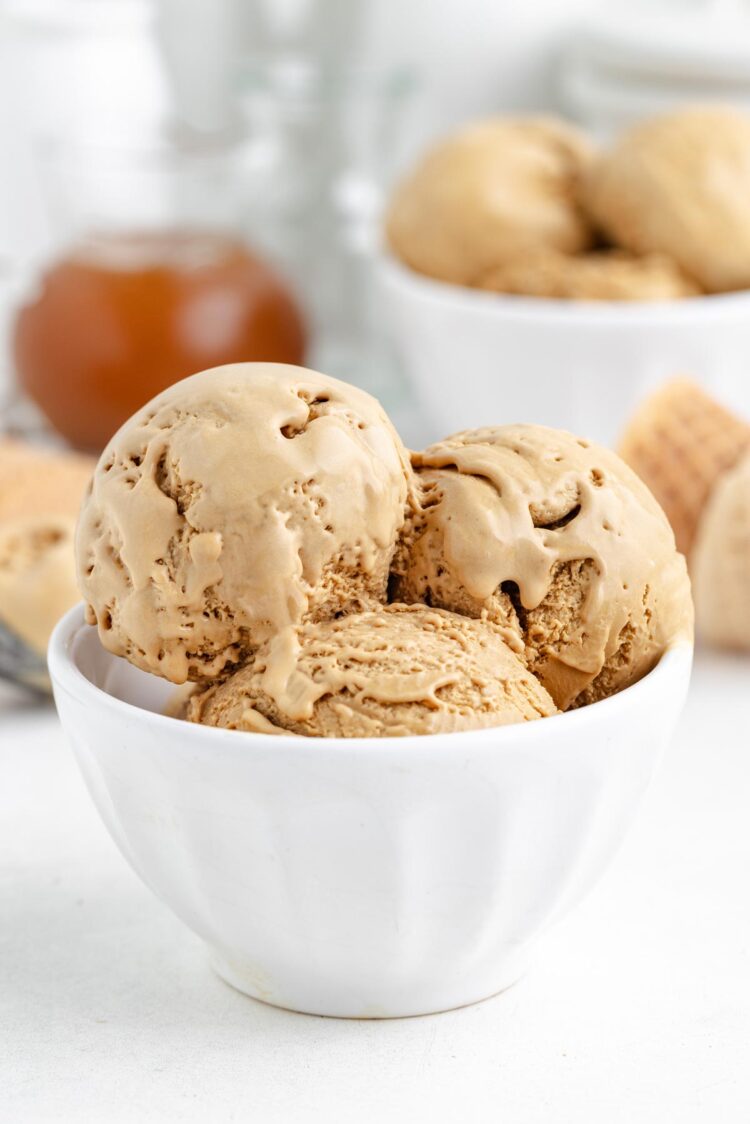
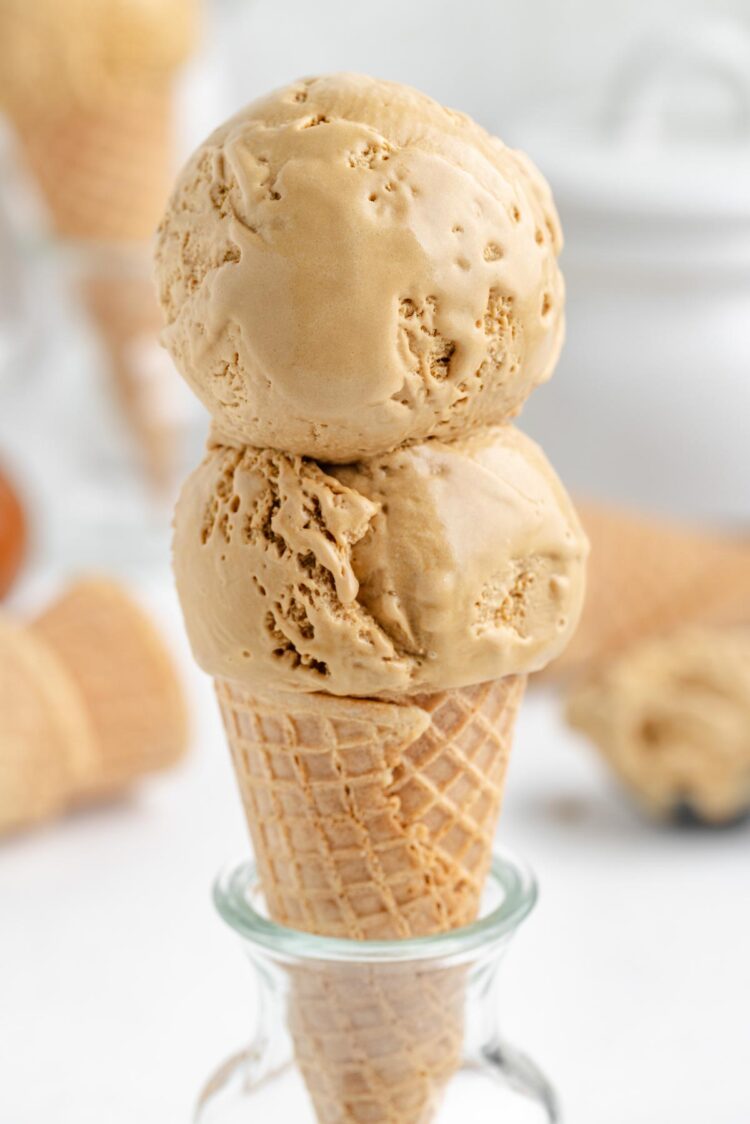
This butterscotch ice cream has a buttery brown sugar flavor and a creamy custard base. The brown sugar and butter are cooked together before being combined with milk, cream and egg yolks, which gives the ice cream a much deeper butterscotch flavor than simply adding butterscotch sauce to a vanilla ice cream base.
I know a lot of bloggers have moved on to fall baked goods, but I’m still very much enjoying my ice cream recipes!
Today’s recipe is sweet and caramel-like, with enough salt to keep the flavor from becoming one-dimensional. The vanilla rounds everything out without making it taste like vanilla ice cream.
You can churn it for the smoothest texture, or make it without an ice cream maker if you don’t have one.
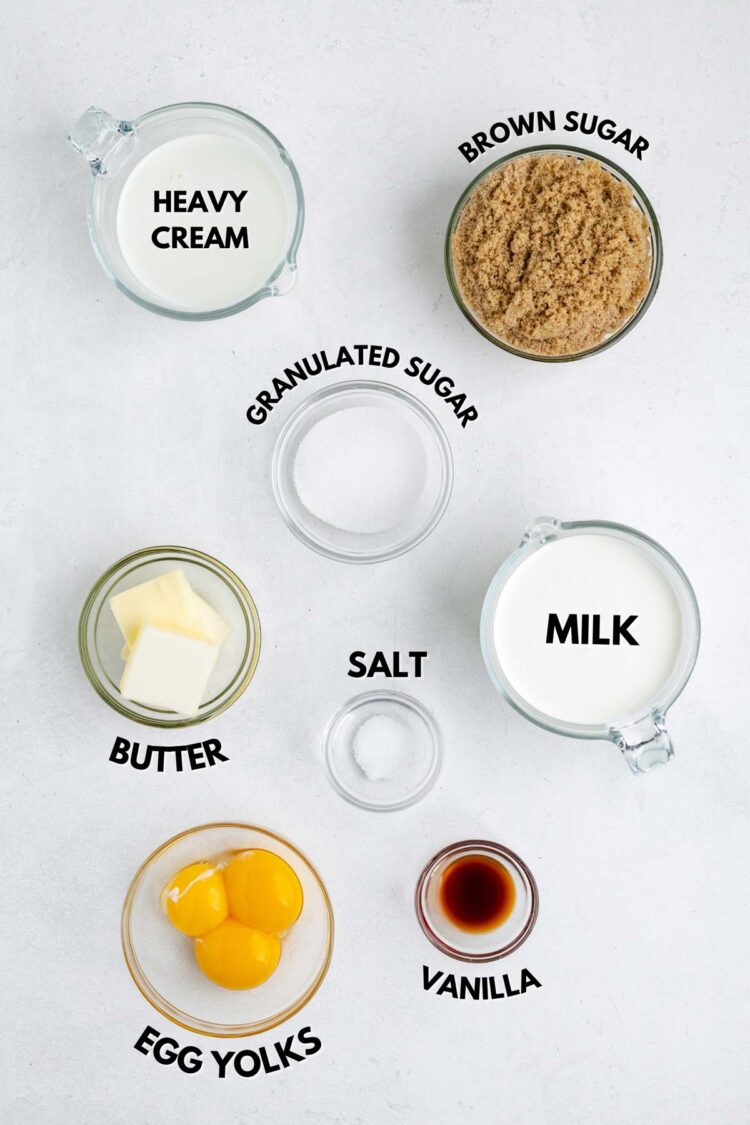
Ingredients
- Butter – this is what gives the ice cream its characteristic butterscotch flavor. It may sound unusual in an ice cream base, but it blends into the finished custard without making the ice cream taste greasy.
- Brown sugar – light brown sugar gives the ice cream its caramel-like flavor without making it taste too strongly of molasses.
- Heavy cream – provides the fat needed for a creamy texture. You’ll use some to temper the egg yolks and the rest to cool the finished custard. Whipping cream with 30% to 36% fat also works, but I prefer the richer texture from heavy cream. Don’t substitute milk or half-and-half.
- Egg yolks – these thicken the custard and help give the finished ice cream its smooth texture. You can’t substitute whole eggs here.
How to Make Butterscotch Ice Cream
Start by whisking 1/4 cup of the heavy cream with the egg yolks. Pour the remaining cream into a large mixing bowl and set a fine-mesh sieve over the bowl. You’ll pour the finished custard through this sieve later.
Melt the butter in a medium saucepan over medium heat. Add the brown sugar, granulated sugar and salt and cook, stirring constantly. The butter may initially look like it’s separating from the sugar, but the mixture will come together as it warms. Once it’s hot, bubbling and cohesive, take it off the heat. Don’t let it become dry or crumbly. If that happens, continue with the recipe anyway – the mixture can slowly dissolve again once you add the milk.
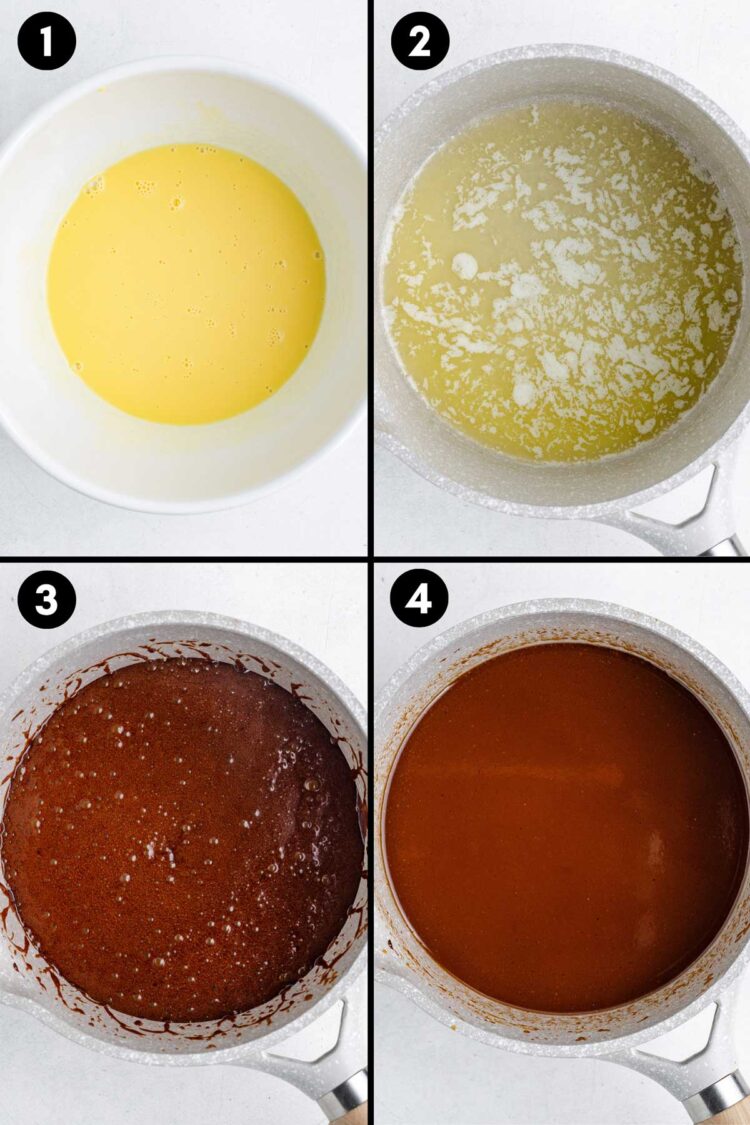
Remove the saucepan from the heat and slowly whisk in the milk. Be careful because the mixture may bubble vigorously when the milk is added. Return the saucepan to the heat and cook until the mixture is hot and steaming.
Slowly pour about 1 cup of the hot milk mixture into the egg yolk mixture in a thin, steady stream while whisking constantly. This gradually raises the temperature of the yolks so they don’t scramble when they go back into the saucepan.
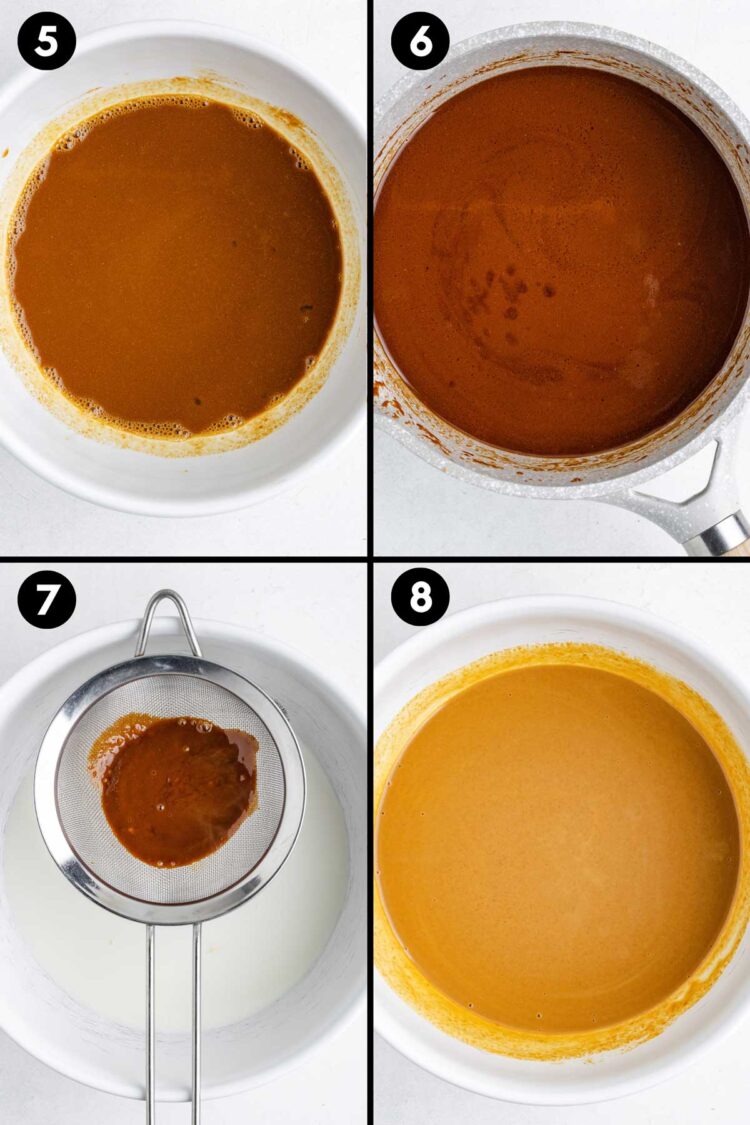
Pour the tempered egg mixture back into the saucepan and cook over medium-low heat, stirring constantly, until the custard reaches 170-175 °F (77-79 °C). Don’t let it boil.
Pour the custard through the fine-mesh sieve and directly into the cold cream. Stir in the vanilla extract.
Cover and refrigerate until completely cold, preferably overnight. If you’re in a hurry, you can put the mixture in the freezer and stir it every 20 minutes until it reaches about 33 °F (1 °C).
Churn the chilled custard according to your ice cream maker’s instructions. Transfer it to a freezer-safe container and freeze until firm enough to scoop.
Can You Make This Without an Ice Cream Maker?
Yes. I’ve also made this as a no-churn ice cream, and it’s still good without churning. Simply pour the completely chilled mixture into a freezer-safe container and freeze until firm.
The main difference is the texture. The no-churn version is a little icier than the churned version because churning incorporates air and continuously breaks up ice crystals as the mixture freezes. If you don’t have an ice cream maker, though, it’s still a worthwhile way to make this recipe.
You’ll have to let it thaw a little before scooping after it’s completely frozen.
- Use a thermometer for the custard – the 170-175 °F (77-79 °C) range is more reliable than trying to judge the consistency by eye. Don’t let the custard boil.
- Don’t overcook the butter and sugar – once the mixture is hot, bubbling and cohesive, move on to the milk. If it becomes dry or crumbly, it’s been cooked too far.
- Chill the base thoroughly – the colder the custard is before churning, the better the ice cream maker can do its job. Overnight chilling is ideal.
- Strain the custard – even if the custard looks completely smooth, straining it removes any tiny bits of cooked egg and gives you a smoother finished ice cream.
How Long Does Homemade Ice Cream Take to Freeze?
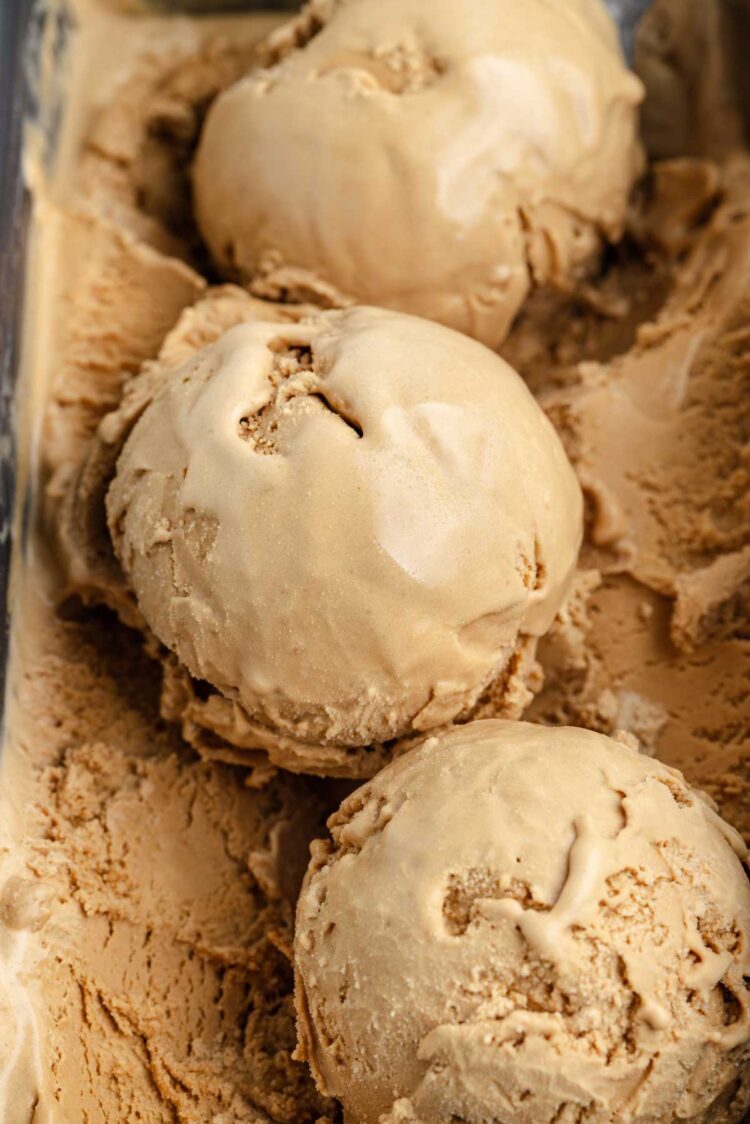
Freshly churned ice cream will be soft and needs additional time in the freezer to become scoopable. Mine was still fairly soft after about 4 hours, but freezing time varies considerably between freezers.
How quickly it firms up depends heavily on your freezer. When I left mine in a freezer on the “super freeze” setting overnight, it became extremely hard. After transferring it to another freezer without that setting, it became scoopable within about an hour. I still let it sit at room temperature for another 5-10 minutes to make scooping easier.
If your ice cream is taking much longer to freeze than expected, make sure your freezer is cold enough and that the ice cream maker bowl was completely frozen before churning.
Preventing Ice Crystals
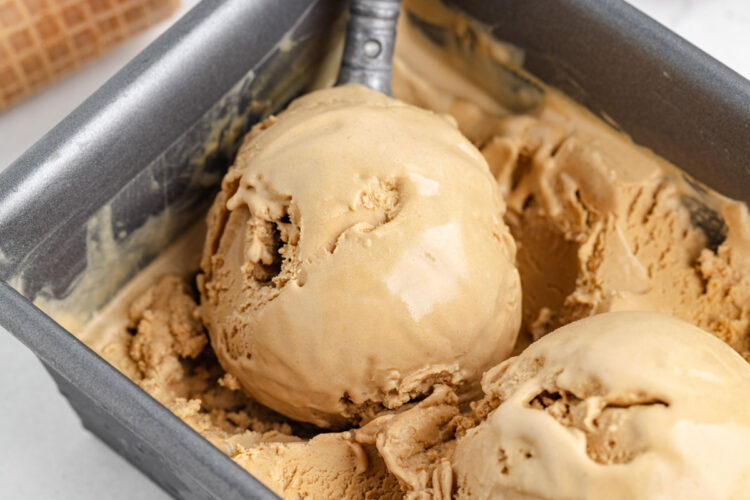
Homemade ice cream is generally best eaten within about two weeks because it can develop larger ice crystals and lose its creamy texture over time. Unlike many commercial ice creams, it doesn’t contain stabilizers that help maintain a smooth texture during long-term freezer storage.
That said, I’ve kept this ice cream smooth for several months by following a few simple storage tips:
- Press plastic wrap directly onto the surface before putting the container in the freezer. This limits air exposure and helps prevent ice crystals from forming on the surface.
- Use a shallow container, such as a loaf pan, so the ice cream freezes quickly and evenly.
- Avoid repeatedly thawing and refreezing the ice cream. Each thaw-and-refreeze cycle gives larger ice crystals a chance to form.
- Keep the container tightly covered and toward the back of the freezer, where the temperature tends to be more stable.
more ice cream recipes
- French Vanilla Ice Cream – a classic custard-style ice cream with plenty of vanilla flavor.
- Honey Ice Cream – a creamy homemade ice cream sweetened with honey.
- Maple Ice Cream – a creamy ice cream with a pronounced maple flavor.
- Nutella Ice Cream – a chocolate-hazelnut ice cream with a creamy custard base.
- Lime Ice Cream – a tart, refreshing option if you want something completely different.
Butterscotch Ice Cream
Ingredients
- 1 1/2 cups (355 ml) heavy cream, divided
- 3 large egg yolks
- 1/4 cup (56 grams) unsalted butter
- 1/2 cup + 2 tablespoons (125 grams) light brown sugar, packed
- 2 tablespoons (25 grams) granulated sugar
- 1/2 teaspoon fine salt
- 1 cup (236 ml) whole milk
- 1 1/2 teaspoons vanilla extract
Instructions
- Whisk together 1/4 cup (59 ml) of the cream with the egg yolks.3 large egg yolks
- Pour the remaining 1 1/4 cups (295 ml) heavy cream into a large mixing bowl. Set a fine-mesh sieve over the mixing bowl.
- Melt the butter in a medium saucepan over medium heat.1/4 cup (56 grams) unsalted butter
- Add the brown sugar, granulated sugar, and salt. Cook, stirring constantly, until the butter and sugars are hot and thoroughly combined. It might look like the butter isn’t combining with the sugar at the beginning, but the mixture will come together as it warms up. The mixture should be cohesive and bubbling, but do not continue cooking if it becomes dry or crumbly (after the liquid, runny stage). That happened with my first batch. If that happens to you, you can go on to the next step and let it slowly dissolve in the milk.1/2 cup + 2 tablespoons (125 grams) light brown sugar, packed, 2 tablespoons (25 grams) granulated sugar, 1/2 teaspoon fine salt
- Remove the saucepan from the heat and slowly whisk in the milk. The mixture may bubble vigorously at first. Return the saucepan to the heat and cook until the mixture is hot and steaming.1 cup (236 ml) whole milk
- Slowly pour about 1 cup of the hot butterscotch mixture into the egg yolk mixture in a thin, steady stream, whisking constantly.
- Cook over medium-low heat, stirring constantly, until the custard reaches 170-175 °F (77-79 °C). Do not let it boil.
- Pour the hot custard through the fine-mesh strainer directly over the cold cream. Stir in the vanilla extract.1 1/2 teaspoons vanilla extract
- If using an ice cream maker, you can cover the mixing bowl and refrigerate until completely cold, about 4 hours but preferably overnight (the colder it is, the better it'll churn). If making the no-churn version, transfer the mixture to a freezer-safe container that will fit in your freezer. Refrigerate the custard until it's completely cold, about 4 hours.
- For the churned option: churn the chilled custard in an ice cream maker according to the manufacturer's instructions. Transfer to a freezer-safe container and freeze until firm enough to scoop, about 4-8 hours.
- For the no-churn option: transfer the custard to the freezer and freeze for about 8 hours or until solid enough to scoop.
- Freeze for up to 3 months. For the best texture, press a piece of parchment paper or plastic wrap directly against the surface before putting the lid on.
Notes
- This recipe yields about 1 quart (950 ml).
- The nutrition information provided is calculated as a courtesy and is only an estimate. I am not a licensed nutritionist or dietitian. For the most accurate nutritional data, consult a professional or use your preferred calculator.
Nutrition
Categories:
Desserts, Frozen Desserts, Gluten-free Desserts, Ice Cream, Seasonal Recipes, Summer Recipes,



Get New Recipes In Your Inbox!
Subscribe to get all the latest healthy sweets & treats delivered straight to you!