

Vegan Key Lime Pies (No-bake, Paleo)
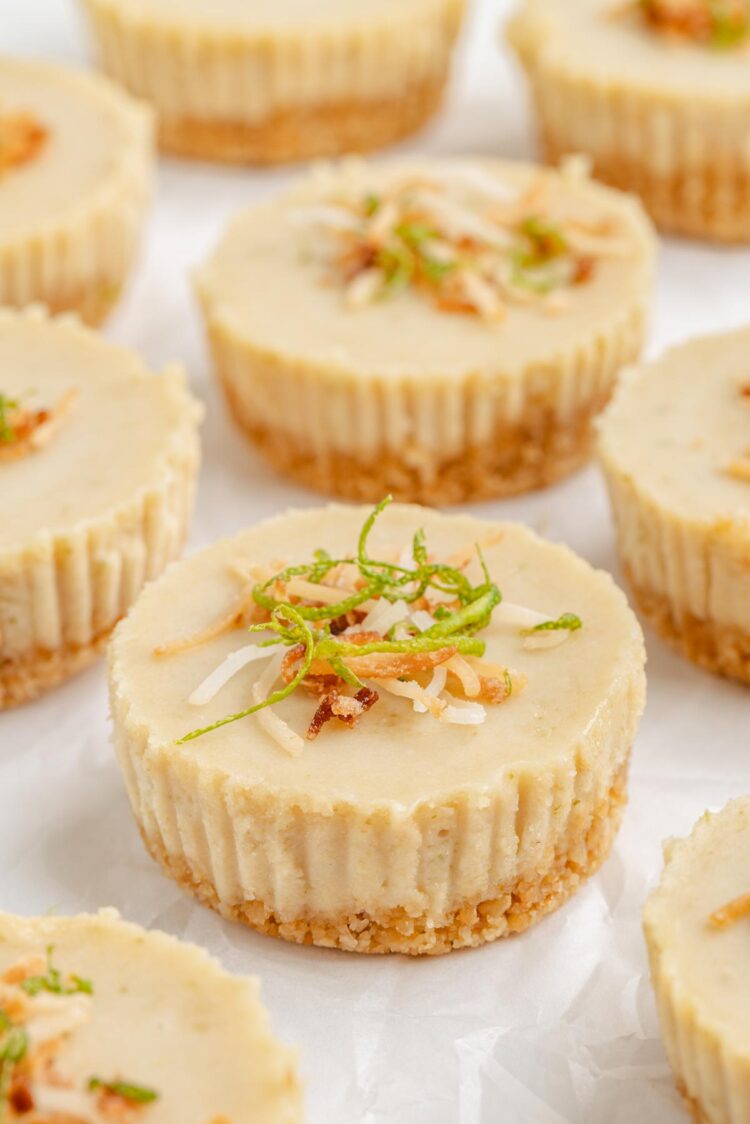
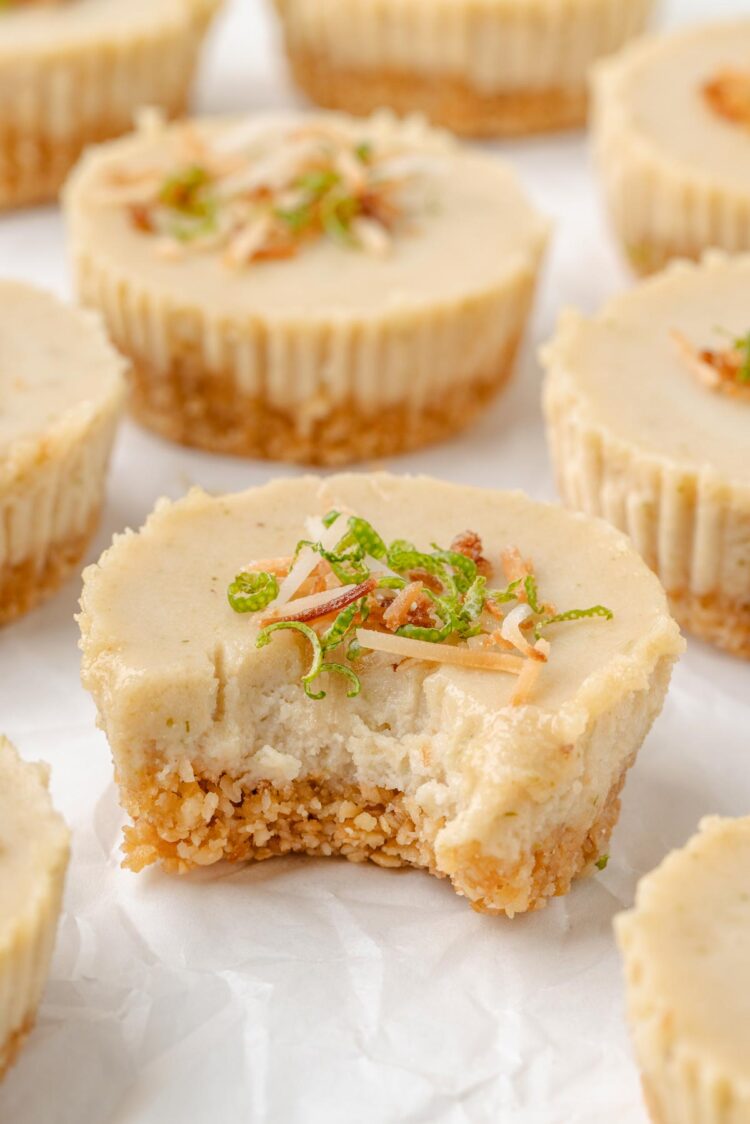
These vegan key lime pies are a simple no-bake dessert with a creamy lime filling and a nut-based crust that comes together without turning on the oven. They’re naturally gluten-free, dairy-free, and sweetened without refined sugar. This recipe was originally published in 2016 and updated in July 2026 with new photos and tips, but the recipe remains unchanged.
The filling is smooth and tart with just enough sweetness, while the crust is sturdy enough to hold together without being overly firm.
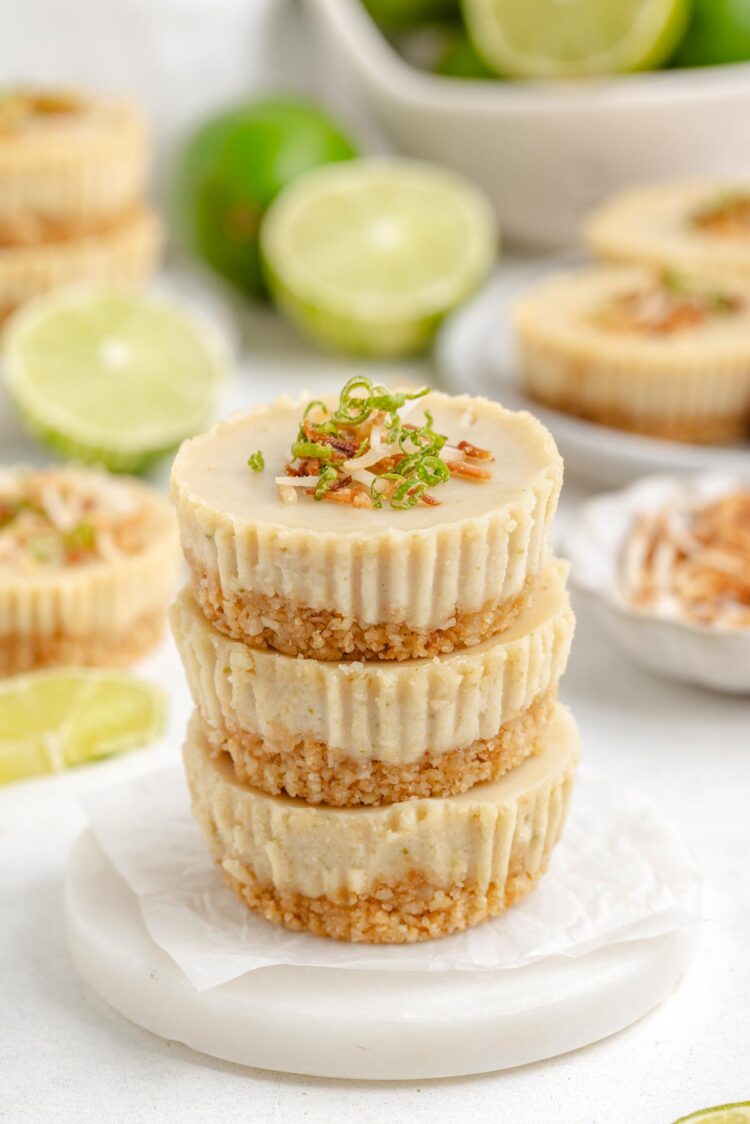
They’re especially good in warmer months when you want a no-bake dessert you can make ahead.
If you’re looking for a traditional baked version instead, my Gluten-free Key Lime Pie Bars have a thick, creamy filling and an easy coconut cookie crust.
- No baking required – everything sets in the fridge or freezer.
- Simple ingredients – nothing complicated or hard to find.
- Make-ahead friendly – they need time to chill anyway.
- Individually portioned – easy to serve and store.
Ingredients
These are just some notes on selected ingredients. Scroll down for the full recipe.
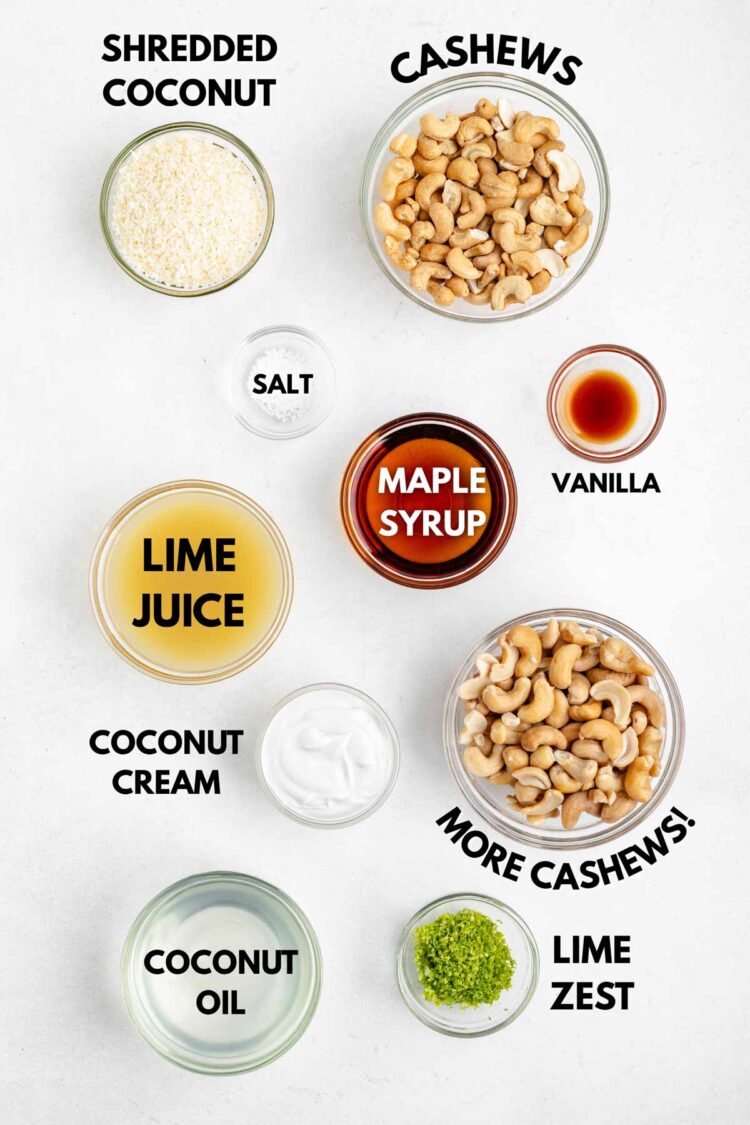
- Cashews – need to be soaked so they blend smoothly. If you skip this, the filling won’t be as creamy. I’ve tested these pies with both raw and roasted cashews and prefer the extra flavor roasted cashews add. If yours aren’t already roasted, see my How to Roast Cashews guide.
- Lime juice – use freshly squeezed, not bottled. You could probably get away with using half bottled and half fresh, but I don’t recommend using only bottled juice.
- Coconut milk – use full-fat canned coconut milk. Refrigerated coconut milk or coconut beverage won’t work.
- Coconut oil – helps the filling firm up once chilled. Refined or unrefined both work, but I used refined because I wanted as little coconut flavor as possible.
If you prefer to use lemon juice or to make bars, check out my No-bake Lemon Bars, which use a very similar filling.
How to Make Them
Start by soaking the cashews in hot water for at least an hour, then drain and rinse them. This step is important for getting a smooth filling.
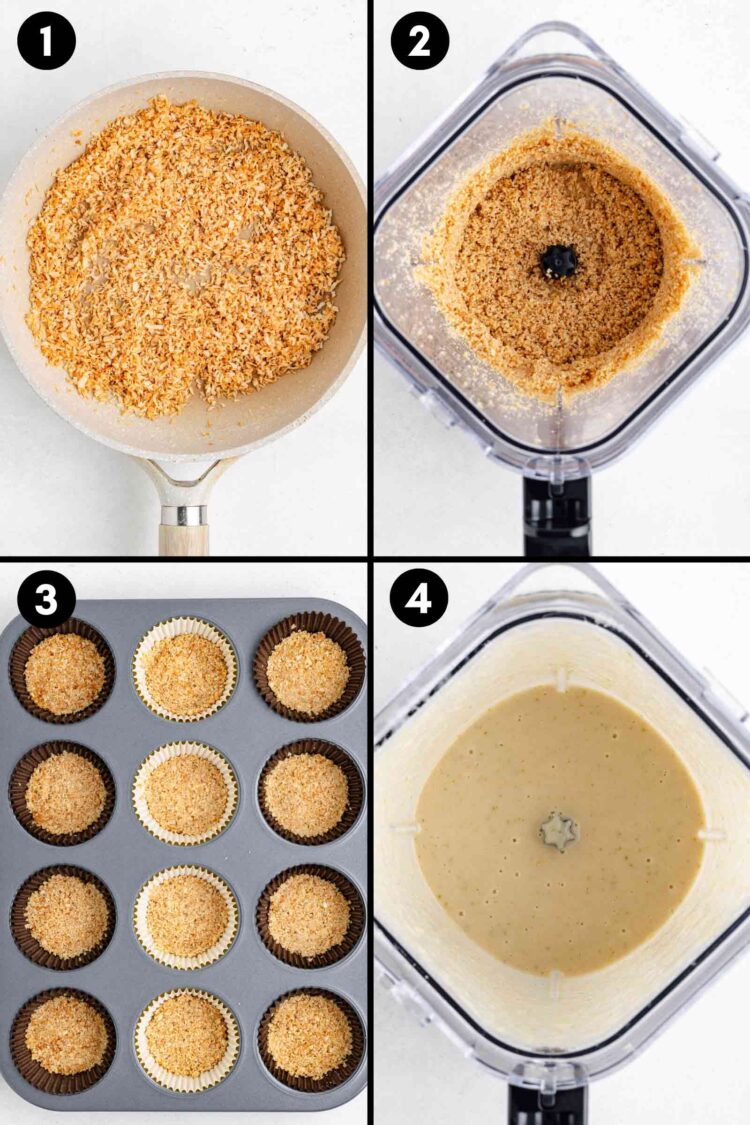
To make the crust, blend the crust ingredients until the mixture sticks together when pressed. Press it firmly into the bottoms of your molds or muffin liners.
For the filling, blend the soaked cashews with the other filling ingredients until completely smooth. Scrape down the sides as needed and blend long enough to remove any graininess.
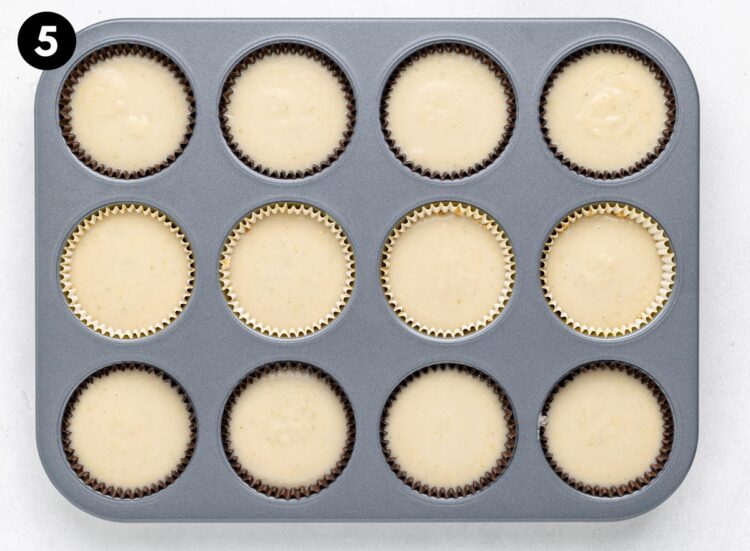
Divide the filling over the crusts and smooth the tops. Chill until firm. This can be done in the fridge for a softer texture or in the freezer for a firmer result.
- Soak the cashews long enough – this is key for a smooth filling.
- Blend thoroughly – stop and scrape the bowl to avoid graininess.
- Taste the filling before chilling – you can adjust sweetness or lime at this stage.
- Press the crust firmly – helps it hold together when serving.
- Use silicone molds if possible – they’re much easier to unmold than paper liners or muffin tins.
Troubleshooting
- Filling isn’t smooth – cashews weren’t soaked long enough or not blended enough.
- Filling too soft – needs more chilling time.
- Crust falling apart – wasn’t pressed firmly enough or needs more moisture.
How to Make Ahead, Store and Freeze
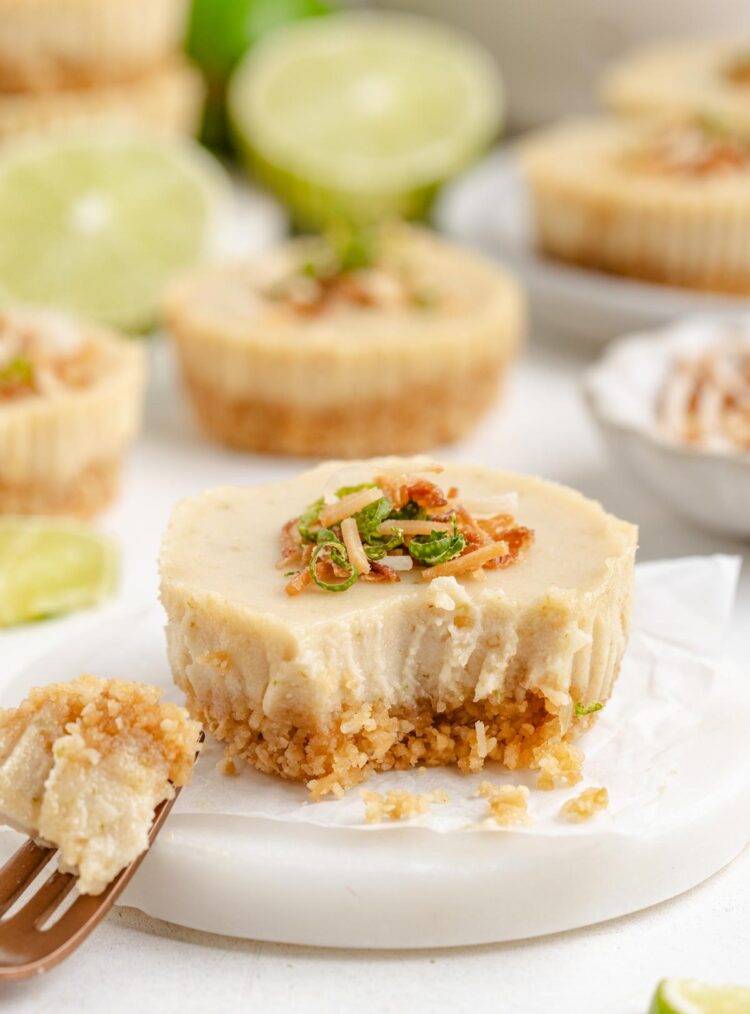
These are ideal for making ahead. Prepare them fully, chill until firm and refrigerate for up to 4 days.
If frozen, let them sit at room temperature for a few minutes before serving so they soften slightly.
More Vegan No-bake Desserts
- Vegan Chocolate Ice Cream – a rich, creamy chocolate ice cream that’s naturally dairy-free, with a paleo option.
- Vegan Caramel Pecan Cheesecake – an ultra-creamy no-bake cheesecake topped with homemade caramel and pecans, with a paleo option.
- Vegan Turtle Cheesecake – a rich no-bake cheesecake with chocolate, caramel and pecans, with a paleo option.
- Vegan No-bake Peanut Butter Pies – creamy individual peanut butter pies that are perfect for making ahead, with a paleo option.
- Paleo Raspberry Cream Pies – another creamy no-bake mini pie with a nut-based crust.
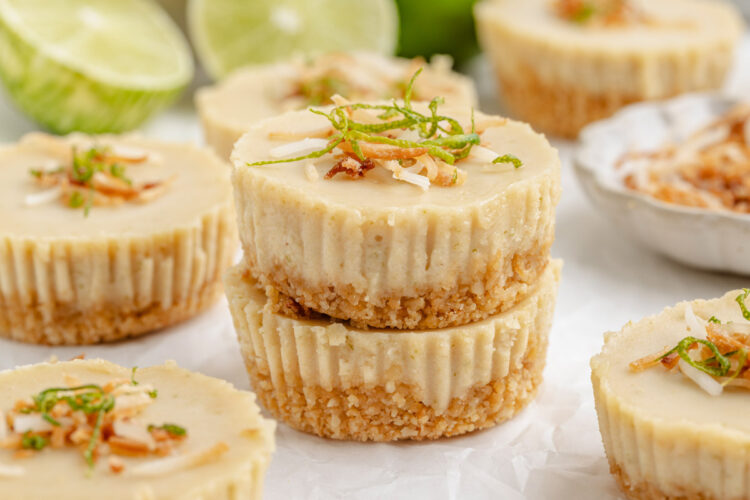
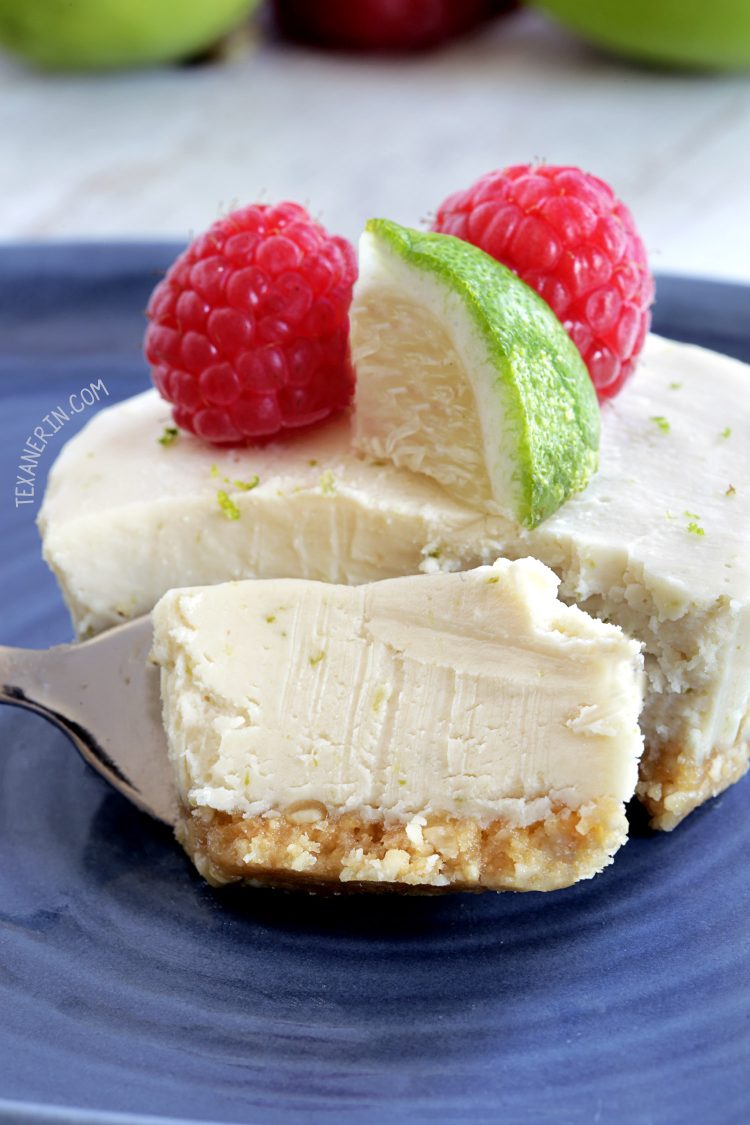
The recipe is exactly the same as when it was first published in 2016. If you’re looking for the version you made before, here’s one of the original photos for reference. The below photo is of a frozen pie.
I prefer them frozen after thawing for a few minutes, but you might prefer them straight from the fridge. I recommend trying them both ways!
Vegan Key Lime Pies (No-bake, Paleo)
Ingredients
For the crust:
- 1/2 cup (43 grams) unsweetened shredded coconut
- 1 cup (145 grams) roasted salted cashews
- 1 1/2 tablespoons (30 grams) maple syrup
- 1 teaspoon vanilla extract
- pinch salt
For the filling:
- 1 cup (145 grams) roasted salted cashews
- 3/4 cup (168 grams) unrefined coconut oil very soft or melted
- 1/4 cup (60 grams) coconut cream
- 1/2 cup (120 ml) lime juice or Key lime juice, freshly squeezed
- 6 tablespoons (120 grams) maple syrup I recommend Grade A
- 2 tablespoons (8 grams) lime zest
- 1 teaspoon vanilla extract
- pinch salt or more to taste
Instructions
Soak the filling cashews:
- Place the cashews for the filling (not the crust!) in a heatproof bowl and cover with boiling water. Let soak for at least 30 minutes (or up to 1 hour), then drain and rinse. If you don't have a high-powered blender, soak them for the full hour or overnight in cold water.1 cup (145 grams) roasted salted cashews
Prepare the crust:
- Line a muffin pan with 12 muffin liners. Prepare the crust. Heat a pan over medium-high heat and add the coconut. Stir frequently until nicely toasted. Do not walk away from the pan as the coconut starts to burn very quickly! Pour the coconut into a small bowl and let cool for about 5 minutes. You can skip the toasting step but I think it adds so much flavor to the crust.1/2 cup (43 grams) unsweetened shredded coconut
- Place all the crust ingredients in a high-powered blender and process at low speed until the mixture starts to clump together. Don't process so long that it becomes pasty. When you pinch some of the mixture between your fingers, it should easily clump together. If it doesn't, add a tiny bit of water and process again until it does.1 cup (145 grams) roasted salted cashews, 1 1/2 tablespoons (30 grams) maple syrup, 1 teaspoon vanilla extract, pinch salt
- Divide the mixture between the liners (17 grams per liner) and use the bottom of a shot glass or your fingers to press the mixture firmly over the bottom of the liners.
- Place the pan in the freezer or refrigerator while you prepare the filling.
Prepare the filling:
- Rinse and drain the soaked cashews.
- Wipe out the blender jar using a paper towel and place all the filling ingredients (including the soaked cashews) in there. Blend for about 30-60 seconds at high speed until totally smooth.1 cup (145 grams) roasted salted cashews, 3/4 cup (168 grams) unrefined coconut oil, 1/4 cup (60 grams) coconut cream, 1/2 cup (120 ml) lime juice, 6 tablespoons (120 grams) maple syrup, 2 tablespoons (8 grams) lime zest, 1 teaspoon vanilla extract, pinch salt
- Pour about 1/4 cup (50 grams) of filling over each crust.
- Refrigerate for about 4 hours or until firm. If you’re in a hurry, place the pan in the freezer.
- Refrigerate the pies in an airtight container for up to 3 days. If you freeze them for a while, they'll need about 70-80 minutes at room temperature to defrost or about 1 1/2 – 2 hours in the refrigerator. Once properly defrosted, they should be totally creamy. I prefer them frozen after thawing for a few minutes, but you might prefer them straight from the fridge. I recommend trying them both ways!
Notes
- While I’m sure the crust can be made in a food processor, I’m not sure about the filling. It definitely wouldn’t be as smooth (using a high-power blender, it’s totally smooth) and it may not work at all.
- Coconut cream is the top, solid part from a can of full-fat coconut milk that’s been refrigerated overnight. Do not use just canned coconut milk or more coconut oil. It must be coconut cream. You can also buy ready-to-use canned coconut cream.
- The nutrition information provided is calculated as a courtesy and is only an estimate. I am not a licensed nutritionist or dietitian. For the most accurate nutritional data, consult a professional or use your preferred calculator.





Salted or unsalted cashews?
I used salted.
Thanks! I’m glad bc my boyfriend bought salted without waiting for a text response. I like to try new recipes completely as is.
That’s a very good quality! I wish everyone were like that instead of making insane subs the first time round. ;) Hope you’ll enjoy the pies!
I want to make these but someone in the family hates maple. Is there a substitute I could use? Honey or something?
Normally that’d be an ok sub but you’d be able to taste it in these and I think it wouldn’t be good. You could try agave. And sorry for the slow reply! I’m in the process of moving and haven’t had internet since Sunday.
Can I use 228g only of coconut cream instead of coconut oil + coconut cream? Will the cheesecake firm the same just in the fridge? Thanks Erin!
I really don’t think so. Refrigerated coconut oil is a lot firmer than chilled coconut cream and I’m thinking after chilling, it’d be like almost melted ice cream. It’s just a guess though! But I really do no recommend trying it. ;)
Have you ever made this as a pie instead of as tarts? I’d like to create a medium sized pie in a spring-form pan. Do you think the recipe is enough to accommodate? Thanks.
I’m not so sure about the crust – if it’d be enough or if it’d do well as a pie crust. I’m thinking if you press it over the bottom and up the sides, fill it, freeze (or freeze partially) and then cut, it’d do well. It’s just a guess, though! The filling should be enough. I’d love to hear how it comes out!
Why do the cashews need to be roasted and if doing yourself how long at what temp oven? I made another vegan cheesecake with unroasted cashews for the filling and it tasted perfect.
I tested the recipe with raw and then roasted cashews and thought the pies were much better with roasted. I’ve made other vegan cheesecake recipes where I tested both, and sometimes raw wins. In this one, I much preferred roasted. Here’s how you can roast cashews.
Made these and shared them with a few friends. They loved it as much as I do. Thank you for a great recipe.
That’s wonderful! I’m so happy that you and your friends enjoyed them. :) Thanks a bunch for your comment!
Just made them! They are so delicious. Little bites of creamy, zesty goodness. Next time I want to make them in a mini muffin pan so we have little Key Lime Bites! Thank you for the recipe! I love knowing my family and I are eating treats with healthy fats and no refined sugar.
Yay! I’m so happy that you enjoyed them. I love your idea of key lime bites. Although maybe I’m too impatient to create all those mini crusts. ;) Thanks a bunch for your feedback!
Tried these tasty little gems today. Oh my! So decadent! Tastes like the real deal! I did in fact use a food processor for the filling. I have a top of the line Kitchen-aid food processor and it got it 100% smooth and delicious! Thank you for the yummy recipe!
Oh, that’s great! I really wasn’t sure if these would work in a food processor so that’s good to know. I’m so happy that you enjoyed them! Thanks for your comment. :)
Wanted to know the calorie content of these?
I don’t have that info but you can copy and paste the recipe here for the nutritional profile, if you’d like. :)
I made these for the first time today, they are still cooling so I can’t say how they turned out yet or if I liked them… I think I will! However, I wanted to give the feedback that this took WAY longer than 20 minutes to make – especially when the first step is to soak the cashews for an hour. Plus making the crust in my blender took forever, the mostly dry ingredients didn’t make its way to the blades on its own and I had to keep stopping the blender to stir. All in all it probably took me 1.5-1.75 hours. Can’t wait to taste them to see if all this hard work was worth it!
I hope you do! And oh my goodness. That sounds like a pain! I’m sorry. The active hands-on time was actually less than 20 minutes for me but I put down 20 to be conservative. So I’m wondering… what kind of blender did you use? By the way, I changed the Ready In time to 80 to reflect the soaking time. :) Thanks for your comment!
Looks yummy! Going to try this for my daughters 7th bday tomorrow! I already have organic maple syrup from Costco has anyone tried it with a darker maple syrup? The lighter one sounds great maybe I’ll try that next time:)
I hope she’ll enjoy the pies and that she has a great birthday! I haven’t tried these with the darker kind of syrup. I’d love to hear how they come out!
Could I add cocao to the base?
And will standard limes be ok if I can’t get key limes?
I haven’t tried it but I bet you could! Standard limes are great. They’re what I used. :)
Thanks Erin
Merry Christmas
Hey, just wondering, can these be frozen?
Hi there! They freeze wonderfully. Hope you’ll enjoy them! :)
Dang, these look so good! Key lime pie has always been a favorite of mine and I’m loving the sound of this paleo version!
Thank you! :)
Sounds great but I’m confused about the cashews. Dry roasted unsalted? Buy raw and roast yourself?
I used dry roasted and salted but since you soak the cashews, a lot of the salt comes off. So you can choose salted or unsalted. You can also buy them raw and roast them yourself. :)
Do you soak the cashews for the crust also?
Nope! Enjoy. :)
I love key lime everything! These look so darn good and the maple syrup is pretty genius!
Same here! And thank you. :)
I always joke with people that because I’m Canadian I have maple syrup running through my veins. Canada has exceptional maple syrup. My folks grew up in Quebec, and we spent a lot of time there as kids visiting our grandparents. Everyone had this maple syrup in their pantries. When I grew up my Dad would always make sure my own pantry was stocked with this maple syrup. It’s the best there is. It’s my favourite to this day. The quality is stellar.
I love that you used maple syrup for this recipe. Key lime pie is so iconic and I’m totally digging you did a no bake version for summer. Not only is it gorgeous, but I bet it tastes out of this world. I’m always so impressed with your recipes. You always put so much thought into healthier ingredients. The care you put into recipe development shines through.
I couldn’t agree with you more! Canadian maple syrup is the way to go. :) And I would love to visit Quebec one day! Thank you so much for your super thoughtful comment. It made my day!
Québec is the best! I took my students there in 2015 – in the middle of the winter season! We got to go to a cabin à sucre and see their maple groves, they even let the kids try to make their own maple butter! I’m making these tonight, for Easter tomorrow – can’t wait!
What a fun experience that must have been! I’ve been wanting to try making maple butter (I’ve never even tasted it but it sounds SO good!). I hope you’ll enjoy the pies and that you have a great Easter! I’d love to hear how the pies come out.
Key lime desserts are the way to my younger son’s heart. And I love that this is sweetened with maple syrup. All of that adds up to “I need to make this!”
I hope you’ll make them and that your son will enjoy them! :)
These are the perfect summer dessert! We love key lime pie at my house!
Thanks, Ashlyn!
Absolutely delicious and so perfect for summer! They look so cute, loving how you decorated the tops!
xo
Thanks so much! :)
These look amazing! I am seriously going to make them this weekend! I can’t wait!!!!!
Yay! Let me know how they come out! :)