

Air Fryer Butternut Squash (only 3 ingredients!)
Air Fryer Butternut Squash is a super way to get an amazing, healthy side dish with minimal effort. With just 4 ingredients, cooking this butternut squash in the air fryer makes a simple dish that is seasonal, colorful and flavorful. Whether you’re paleo, vegan or Whole30, this recipe will work for you.
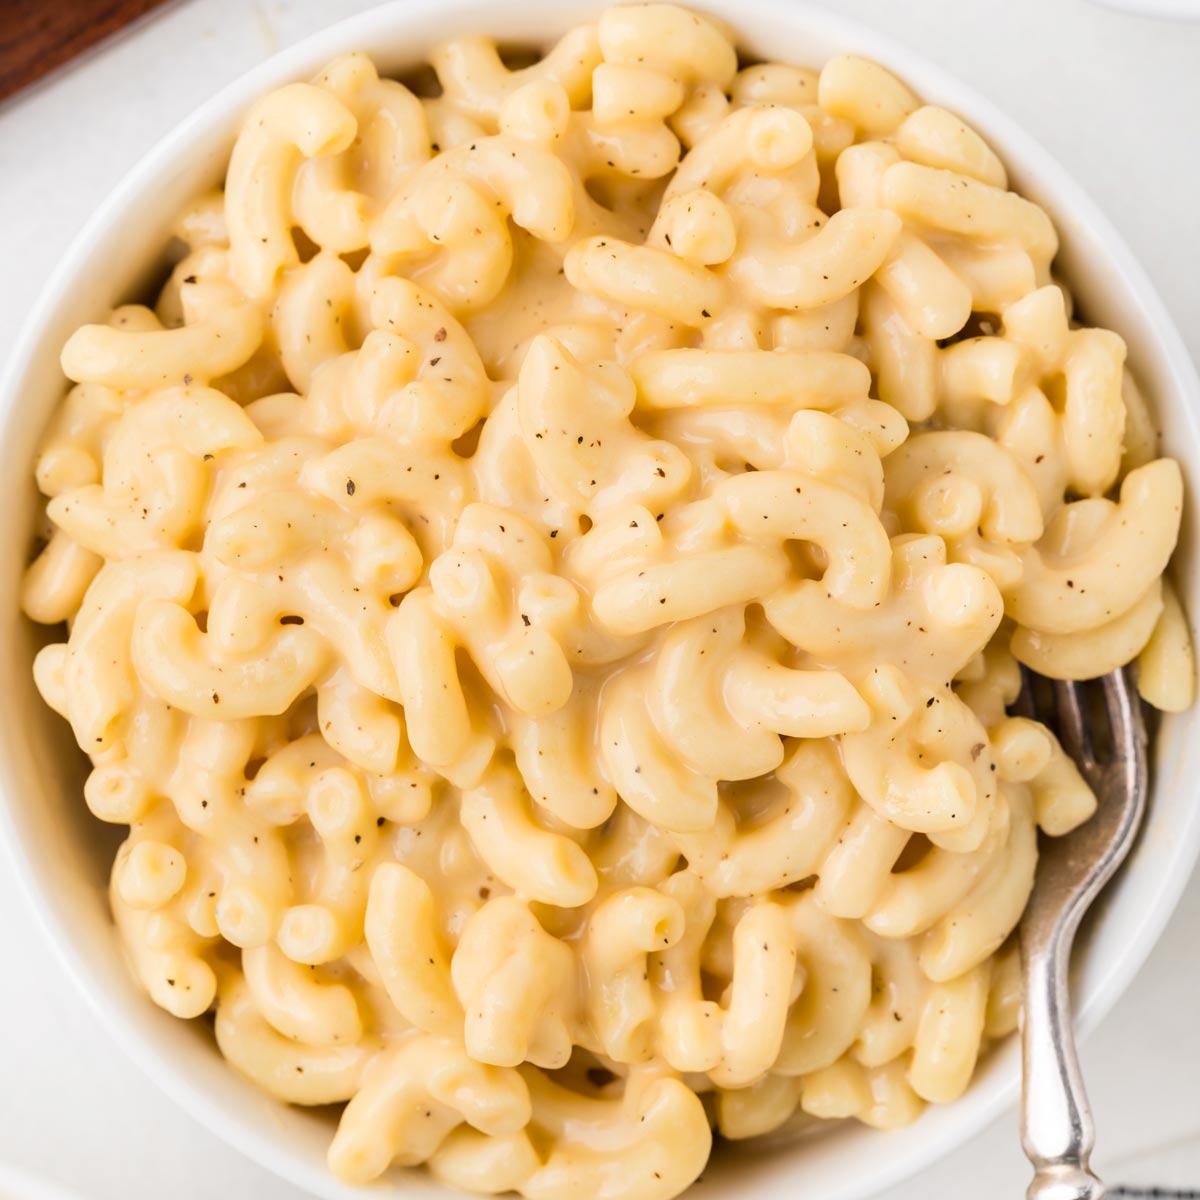
Cinnamon-roasted butternut squash is a great side dish for Thanksgiving (as is this Gluten-free Mac and Cheese!), but it can also add a pop of color and a slightly crispy crunch of flavor to salads or quinoa bowls throughout the year.

Using the air fryer means you get slightly crusty, tender butternut squash in a fraction of the time using a conventional oven. Just like with these Air Fryer Baked Potatoes, you get a hearty, healthy side dish in no time at all.
Ingredients:
- Butternut squash
- Olive oil
- Cinnamon
- Salt

How to cook butternut squash in an air fryer:
It’s so easy!
- Just peel and cut the butternut squash into cubes.
- Stir together the olive oil, cinnamon and salt.
- Add in the squash and stir until coated.
- Transfer to the air fryer basket.
- Cook for 10 minutes.
- Stir and cook for another 10-15 minutes or until the squash is tender and nicely browned.
You don’t want them burned, but some will get crunchy browned corners.
Be sure to check out the recipe box below for full details!

Cutting butternut squash
Cutting butternut squash isn’t complex, but you do need to pay attention because the skin can be tough.
- First, with a knife, chop off the top and bottom of the squash.
- Then, using a sharp peeler, shave off the skin.
- Carefully cut the squash lengthwise in half and scoop out the seeds.
- Now that you have two halves, you can cut them into half-moons and then into cubes.
You can cut butternut squash in lots of different ways: half-moons, halves, homestyle cuts, etc… But for this recipe, I like the cubes.
It makes them equally-sized in small bites, which work nicely in the air fryer, but don’t overcrowd the basket or you’ll get unevenly cooked squash.

Do I have to peel the skin?
You should peel butternut squash before eating it, and the same applies to kabocha squash, as its texture is not ideal for consumption. But that’s not true for all squash.
Smaller varieties, like acorn and delicata, have soft and tender skins, so there’s really no need to peel them unless you’re just dying to. It’s edible and nutritious and saves you time and energy.
No adjustments are needed for seasoning, so simply follow the same directions.
It can be a pain to peel the skin off butternut squash. It’s hardy, so be sure to use a sharp peeler.
How to soften butternut squash skin
If you’ve ever tried to peel butternut squash, you know all too well that it can be tough. But you can soften the skin to make it easier, though!
Use a fork to poke holes all over the squash. Then put it in the microwave for a couple of minutes, and then it should be easier to take off the skin.

Seasoning butternut squash
When I cook, I like to keep things simple and save my energy for baking!
I don’t skip on taste, but I use simple ingredients to get the best wholesome flavor. With this butternut squash recipe, you only need a bit of olive oil, cinnamon and salt. It’s fresh and perfectly seasoned for fall.
If you like creamy flavors like in this Pumpkin and Sweet Potato Soup, using those fall flavors like cloves, cinnamon and nutmeg all pair well. But I wouldn’t go overboard and risk overpowering the natural flavor of the butternut squash. Maple syrup would also be great, just maybe not in the air fryer. ;)
For something different, if I were to cook this butternut squash to top off a salad, I might go for more earthy herbs like oregano, thyme or parsley.
Or go bold, by adding a dash of cayenne or red pepper flakes to perk it up a bit.
Also, this air-fried butternut squash makes great butternut squash fries, and adding those extra spices to the butternut’s creamy texture makes a great balance.
So feel free to try this recipe, then get creative throughout the year.
Is squash good in the air fryer?
I think so! Using the air fryer to cook squash is quick and easy, and the squash turns out firmer and flavor-forward. The advantage of using an air fryer, besides cooking foods quickly, is that it cooks more evenly than in a conventional oven.
Plus, when compared to sauteing squash, you not only use a lot less oil, but air frying helps to keep the shape of nicely cubed bites. Also, be sure to check out this Air Fryer Zucchini and Squash!
And most importantly, by using the air fryer, you’ve freed up the oven to bake this Crustless Pumpkin Pie! ;)
Should you want to sauté your squash, check out this Sauteed Butternut Squash.

Do I have to use an air fryer?
No, it’s not mandatory. Cooking butternut squash in the oven is just as easy (and it leaves room in your oven for these Gluten free Biscuits!). It just requires a little more stirring to make sure the cubes cook evenly, that’s all.
To do that, just preheat the oven at 400 °F (204 °C), put the seasoned butternut squash cubes on a lined baking sheet. Roast them for about 20 minutes, stirring occasionally to ensure even cooking.
And for another great air fryer side dish, try this Air Fryer Corn on the Cob!
How to buy butternut squash:
Getting the best produce at the market can sometimes be tricky. Butternut squash is available year-round, but it’s best in early fall through the winter.
You want to look for a darker shade of beige, a squash that feels heavy without bruises, cuts or mold, one with a fat neck and small bulb for the most meat. And stay with the matte and not the shiny ones. Do the thump test – it should sound hollow.

How long does butternut squash last?
Because of its hard shell, butternut squash can last a pretty long time, and when it’s stored properly, it can get even sweeter. But don’t store it in the fridge! (unless it’s peeled)
Unpeeled, whole butternut squash can be stored in a cool, dark place like a pantry for about a month.
If you peel it ahead of time, the squash should be stored in an airtight container for up to 5 days before you cook it.

Can you freeze butternut squash?
Absolutely! If you’ve fallen in love with butternut squash, buy it when it’s in season (or on sale!) and freeze it. In fact, freezing butternut squash can be done whether it’s raw or after it has been cooked. The fact that it’s been cubed is not a problem!
Just freeze it like you would freeze bananas for this Banana Orange Avocado Smoothie. Peel and place the cubed pieces on a lined baking sheet, leaving a little space in between each slice. Then put them in the freezer for a few hours until they are very firm and frozen through.
Transfer the chunks to a freezer bag, squeeze out the air and seal it. Date the bag, and you’ll have butternut squash cubes throughout the year.
Some people like to blanch their veggies before freezing. If you’re interested in this process, check out this Blanched Broccoli post from my other blog, Food Doodles. You can use the same method to blanch squash before freezing – just skip the shocking phase.
You don’t even need to thaw the squash before you use it! That’s pretty much true for all veggies that you freeze.
Do I have to use butternut squash with this recipe?
No, if you have acorn or delicata, those would work just as well with this recipe.
Really, any squash will work well in an air fryer, so during squash season, you can try many different recipes with all the different types of squash. And for another Thanksgiving butternut squash recipe, check out this Butternut Squash Bruschetta!
This Honeynut Squash Recipe looks great, for example.

Other holiday side dishes:
While I’m posting this butternut squash recipe before Thanksgiving, it surely isn’t just for the holidays. Just like these other side dishes, they’re also great anytime you want to try them!
These Dairy-free Mashed Potatoes are rich and creamy, they don’t use unusual ingredients, and they’re never gummy using the tips in the recipe. Paleo, vegan and Whole30-friendly.
These Rainbow Carrots are maple-glazed and the most gorgeous side dish you can serve! Plus, they’re super easy with paleo and vegan options.
These Healthier Sauteed Apples are lightly maple-sweetened and quick and easy. They’re also gluten-free, vegan, paleo and dairy-free. Want to use the air fryer? Try these Air Fryer Apples.
Learn How to Make Cranberry Sauce this Thanksgiving! You only need cranberries, orange juice and zest with a little sweetener. Can be made vegan and paleo.
This Apple Cider Mimosa Recipe is easy and glamorous! So here’s to family and friends and all things that make us grateful!
These Keto Dinner Rolls also look fantastic! I hope to try them soon. And this Buttermilk Chicken would also go great with this squash.
What’s your favorite side dish for Thanksgiving? Leave a comment below and let me know what you think of this Air Fryer Butternut Squash.


Air Fryer Butternut Squash (only 3 ingredients!)
Ingredients
- 1 small butternut squash mine was 1.5 pounds / 680 grams
- 1 1/2 tablespoons olive oil
- 1/2 teaspoon cinnamon
- 1/2 teaspoon salt
Instructions
- Peel the butternut squash. Cut it into 1/2″ cubes.
- In a mixing bowl, stir together the olive oil, cinnamon and salt.
- Add the squash cubes and stir to coat them in the mixture.
- Transfer the coasted cubes to the air fryer.
- Cook at 380 °F (190 °C) for 10 minutes. Stir the squash around and cook for another 10-15 minutes or until the squash is tender and they’re nicely browned.
- Serve and let any leftovers cool completely. Refrigerate in an airtight container for up to 4 days.


This looks delicious. I had never eaten butternut squash until a few years ago. We were eating at our sons and they had roasted some. I LOVED it. I bought one and tried it and it was very good. They are hard to peel.
They are annoying to peel! I usually have my husband do it. ;) I hope you get to try these!