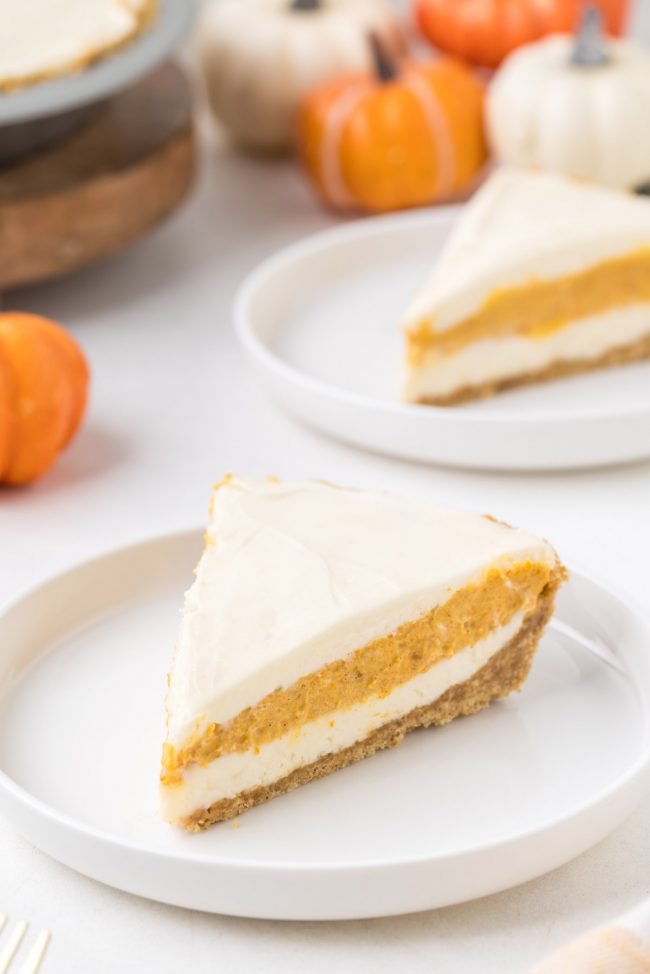
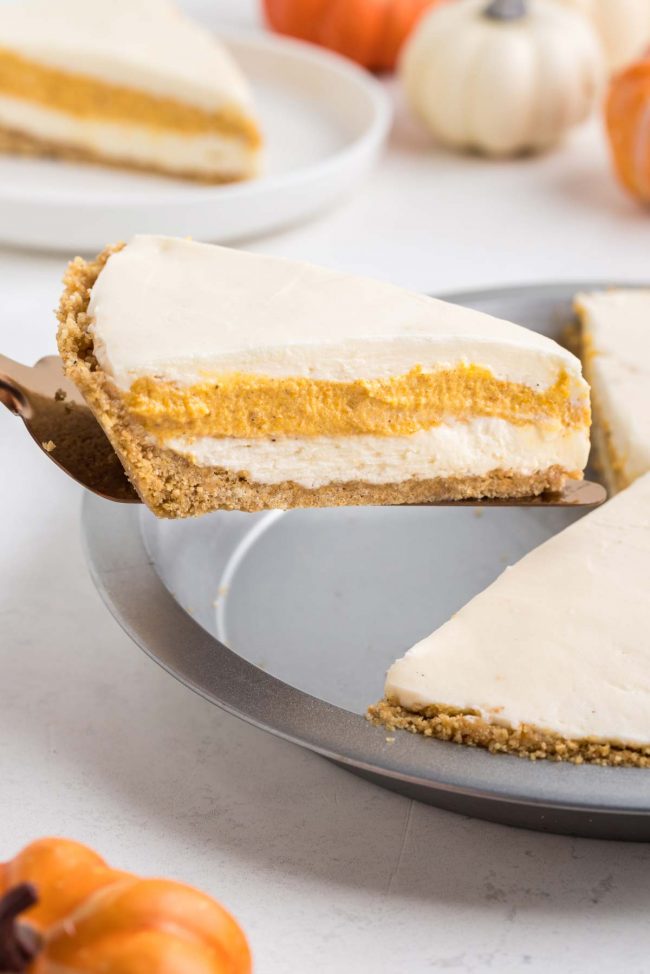
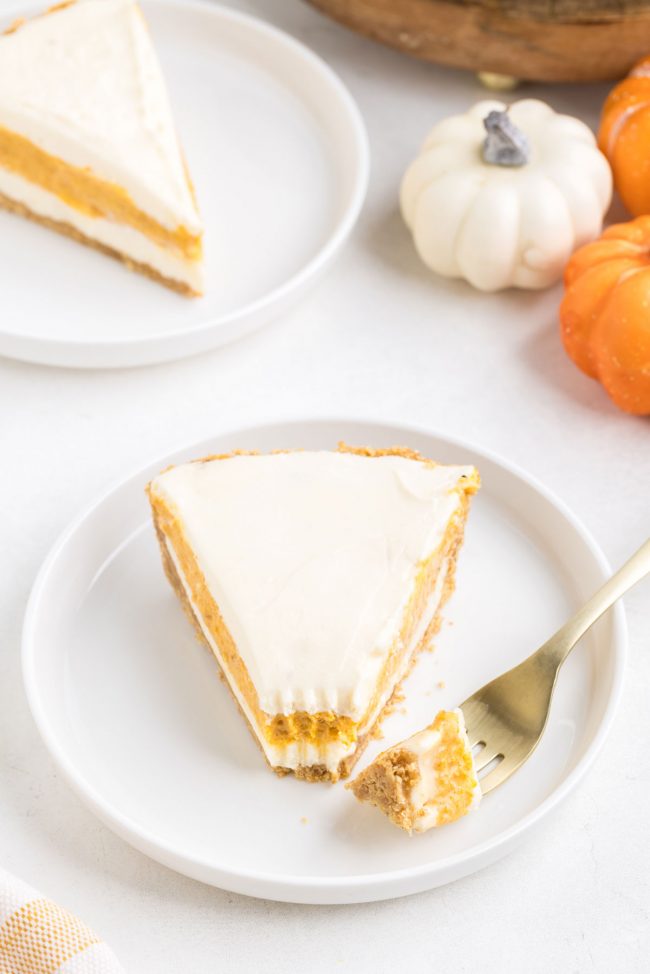
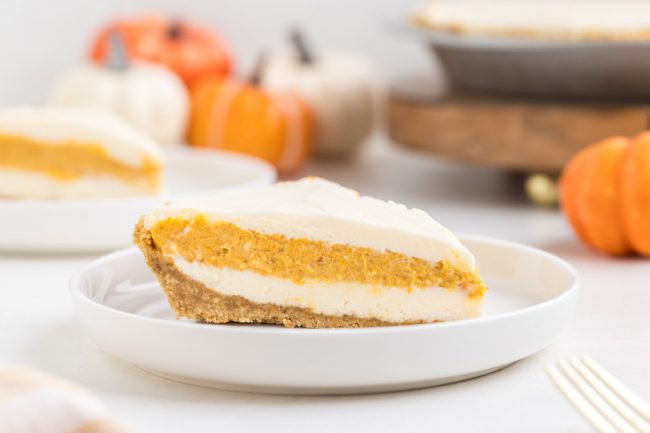
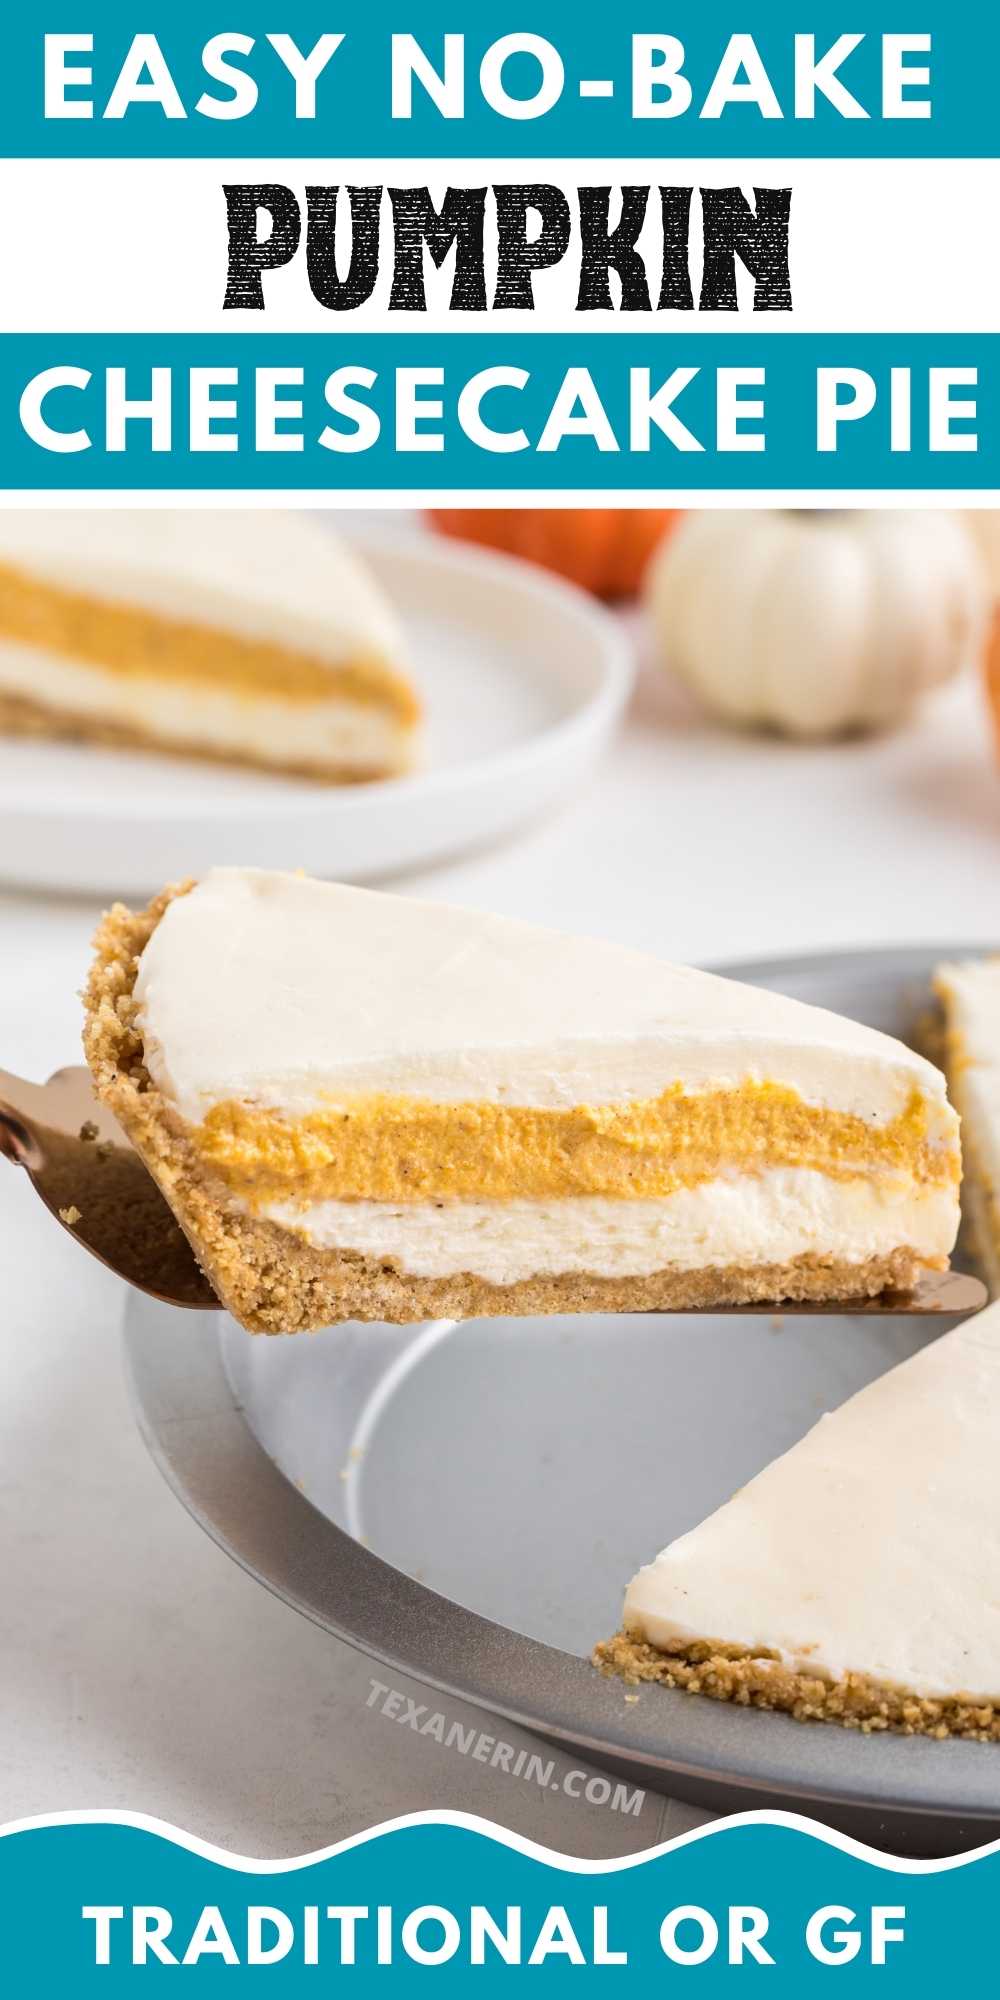
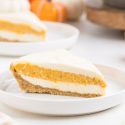
This no-bake pumpkin cheesecake pie has a graham cracker crust and three layers, but it’s actually super easy. You make the cheesecake filling, remove a fourth, and add pumpkin puree and pumpkin pie spice to that. It can be made traditionally, whole wheat or gluten-free.
It also freezes great, so you can prepare the pie now and pull it out during Thanksgiving dinner, as it defrosts pretty quickly. Same with these Chocolate Pecan Pie Bars!
This is the same recipe as my Spider Pie, so if you’ve read that post, there’s no need to read this one. It’s the same recipe, minus the spiderweb and spider family on top.
Since I received multiple “Halloween is evil” emails this year, I thought I’d post this pie again as an option for Thanksgiving dessert! Without that menacing mama Oreo spider and her babies.
As I typed this out just now, I realized I’ve never gotten a “Thanksgiving is evil” email, although it definitely has a more problematic history than Halloween. 🤔 Anyhow. Nobody is here for that discussion, so here’s a pie!
And I’ll be back in a few days with a totally new pie recipe perfect for Thanksgiving or any other day.
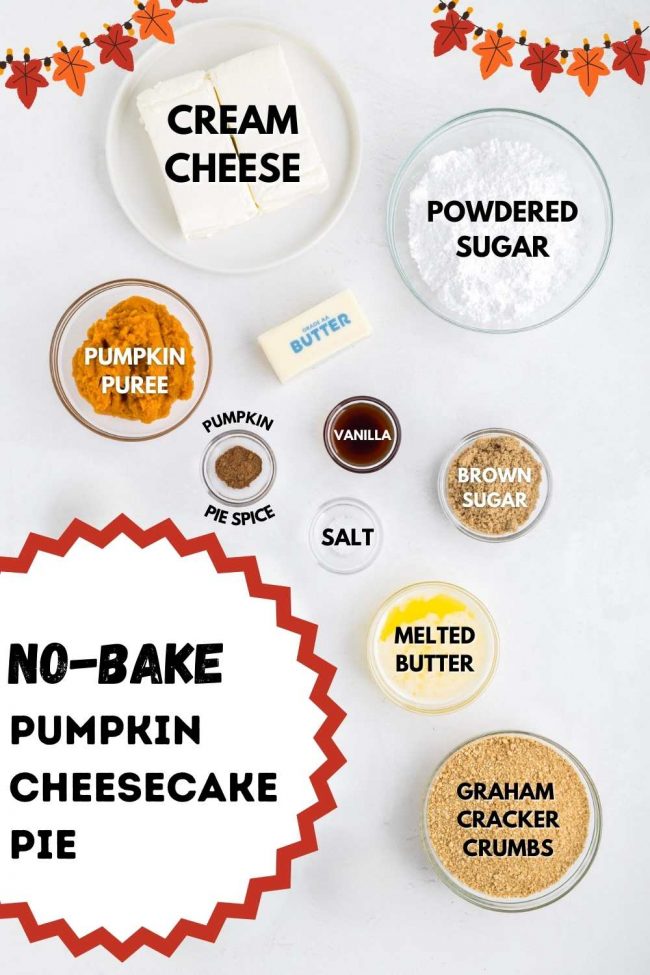
Ingredients
Here’s an overview of everything you’ll need for this pie.
The full recipe with measurements and instructions is at the bottom of the post, before the comments section.
The crust
It’s your basic but incredibly tasty, no-bake graham cracker crust. You can use store-bought graham crackers or make your own homemade graham crackers if you’re looking for a time killer.
Making homemade crackers and then smashing them to crumbs would be a bit time-consuming and to me – a bit sad, but the option is there should you not like the ingredients in store-bought graham crackers.
I use the grain-free Honey Cinnamon Seed & Nut Flour Sweet Thins from Simple Mills. My photographer used regular graham crackers in the photos.
You’ll need a box and a half of the Simple Mills cookies, and they’re pretty expensive, so that isn’t exactly an ideal solution. But I had two boxes about to expire, which had gotten lost in the pantry, so it was the perfect use for them. And the crust was fantastic.
So what you do for the crust is mix together all the crust ingredients and press into the pie pan. Then, you freeze it while you prepare the filling.
Freezing each layer as you go makes it easier to get neat, clear layers. If you’re in a hurry and don’t have time to freeze each layer, as was the case for me several times, the layers still come out looking pretty decent. Just not quite as perfect.
If you have some other no-bake pie crust that you like in place of a graham cracker crust, you can use that. A gingersnap crust would be a great alternative!
You could also use a store-bought graham cracker crust for an even quicker option.
Can I use an Oreo crust instead?
I made this pie a few weeks before Halloween, added natural food coloring to the vanilla layer, and froze it until our party. When I defrosted it, I decided not to serve it to guests because it tasted so odd.
I think it was the chocolate crust. Or maybe it was the food coloring, which is made from fruits and vegetables. But the coloring is supposed to be flavorless.
I’m not a huge fan of mixing chocolate and pumpkin together, so maybe it was just me. I don’t know. I would highly recommend the graham cracker crust to be on the safe side!
By the way, this pie freezes great with the graham cracker crust. I did that multiple times during the testing process, and the taste and texture were perfect after defrosting.
Cheesecake filling
All of the no-bake pumpkin cheesecakes I found use pudding mix or other processed stuff I try to avoid. I didn’t use anything like that, and I’m really so happy with the results here!
Yes, the graham crackers are processed, but I give homemade options for those.
The cheesecake part of this pie contains all the usual pumpkin cheesecake ingredients but no eggs. If you enjoy tasting unbaked pumpkin cheesecake batter, you’re going to love this recipe.
The filling of this pie is firmer than unbaked batter but has the same taste.
And you don’t need to make separate vanilla and pumpkin cheesecake filling. Like I said above, you make the vanilla filling, remove 1/4 of it, and then add the pumpkin puree and pumpkin pie spice.
Then you spread half of the vanilla filling over the prepared frozen crust, followed by the pumpkin layer, and the remaining vanilla filling goes on top.
Gluten-free option
You can use any gluten-free graham crackers for the crust. I love the “graham crackers” from Simple Mills, but using those makes this a super expensive pie.
I hope you’ll enjoy this no-bake pumpkin cheesecake pie! I’d love for you to leave a comment below if you try it out. Thanks!
Other Thanksgiving pies
No-bake Pumpkin Cheesecake Pie
- Prep Time:
- Cook Time:
- Ready in:
- Yield: 8 slices
Ingredients
- 1 1/2 cups (180 grams) graham cracker crumbs (from about 12 full sheets)
- 1/4 cup (50 grams) brown sugar
- 1/8 teaspoon salt
- 6 tablespoons (84 grams) unsalted butter, melted
- two 8-ounce (225-gram) packages full-fat cream cheese1, room temp
- 1/2 cup (113 grams) unsalted butter, room temp
- 2 cups (240 grams) powdered sugar
- 1 tablespoon vanilla extract
- pinch of salt
- 1 teaspoon pumpkin pie spice
- 7.5oz (212 grams) canned pumpkin puree (that's 1/2 of a 15-ounce can)
For the crust:
For the filling:
Directions
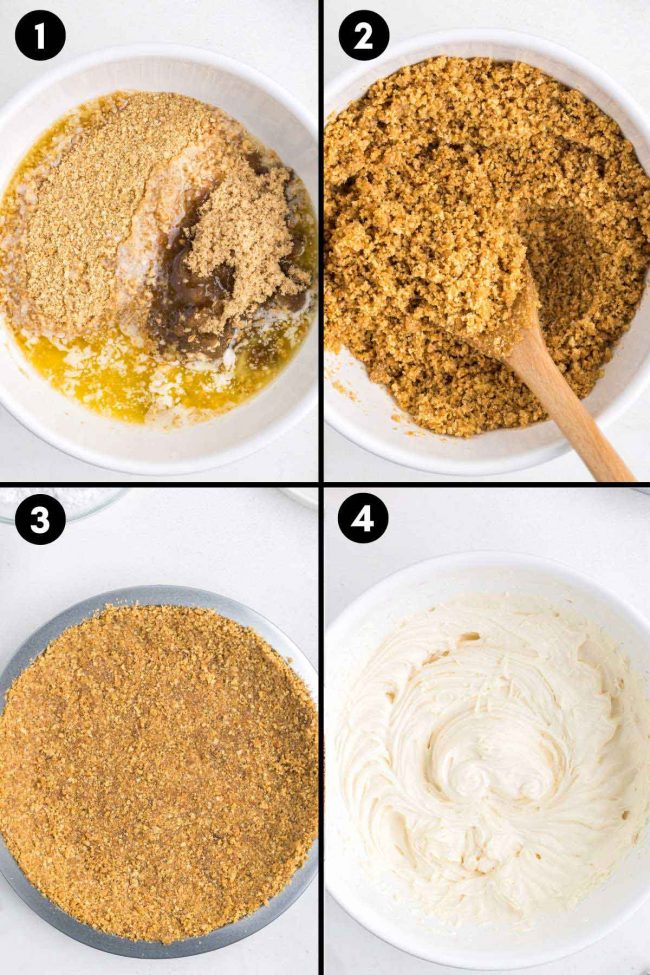
- In a medium mixing bowl, stir together the graham cracker crumbs, brown sugar and salt until well combined.
- Stir in the butter until well combined.
- Press onto the bottom and up the sides of an ungreased 9” pie pan. Pat it as evenly as you can get it. It’ll be thick! Freeze the crust while you prepare the filling.
- In a large mixing bowl with an electric hand mixer beat the cream cheese, butter, powdered sugar, vanilla and salt until light and fluffy.
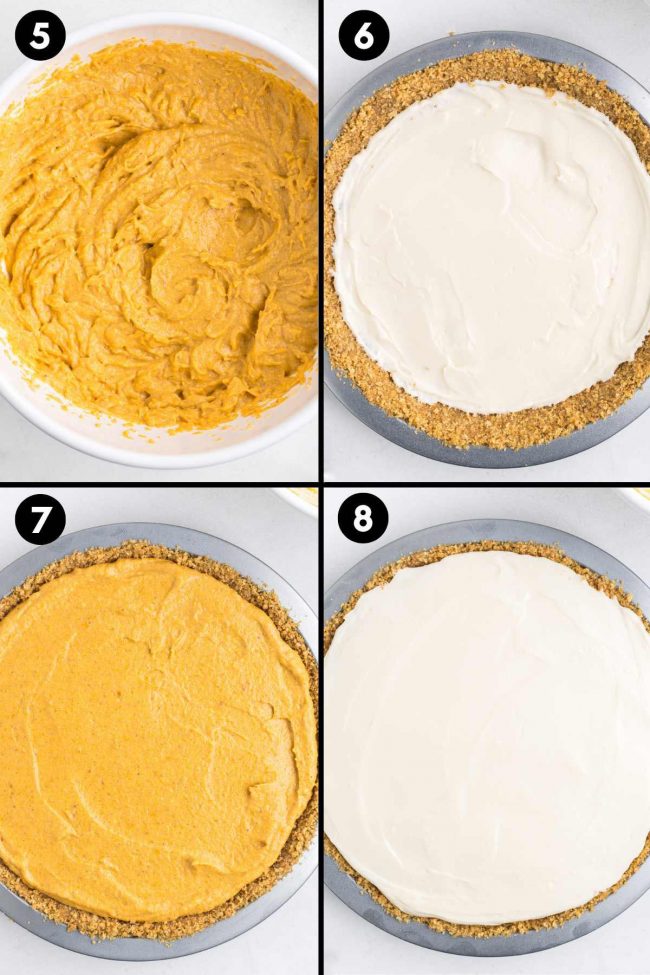
- Remove 1/4 (197 grams) of the cheesecake filling to another medium mixing bowl, and to that new bowl (with 197 grams of filling), beat in the pumpkin and pumpkin pie spice on low until combined. Set aside.
- Spread 1/2 (294 grams) of the white filling over the frozen pie crust (it’ll have frozen pretty quickly).
- Place in the freezer for about 20-30 minutes or until firm enough to easily spread the pumpkin layer over the top.
- Then spread all of the pumpkin filling over the 1st layer of cheesecake.
- Place in the freezer for about 20-40 minutes or until firm enough to easily spread the second cheesecake layer over the top.
- Spread the second half of the white filling over the pumpkin layer.
- Place in the freezer for another 20-40 minutes or until firm enough to cut nearly and serve.
- You can cover and freezer in an airtight bag for up to 3 months or cover and refrigerate for up to 4 days. It'll be quite soft is just refrigerated. I prefer it frozen and to thaw for about 20 minutes before serving.
Prepare the crust:
Prepare the filling:
Notes
- If you live outside of North America and have the kind of cream cheese that's meant for toast (that comes in a little plastic tub) rather than American style brick cream cheese, then get two 300-gram packages of cream cheese, place it in the center of a cheesecloth, and wring out the liquid until you have 450 grams of cream cheese left.
- If you're gluten-free, make sure to use GF graham cracker crumbs. I like Simple Mills Honey Cinnamon Seed & Nut Flour Sweet Thins.
Join over 12,400 readers and sweeten up
your inbox with new posts for free!
This subscription is free of charge and can be canceled at any time.


14 comments on “No-bake Pumpkin Cheesecake Pie” — Add one!
Could someone use the whole can of pumpkin to make the whole thing pumpkin flavored instead of doing it in layers?
I’m so sorry for my slow reply! You remove 1/4 (197 grams) of the cheesecake filling to a bowl and add the pumpkin (which is half a can). So that would mean you have 1/2 can of leftover pumpkin for the remaining 3/4 of the cheesecake batter. That doesn’t sound nearly enough. So I would recommend finding a different recipe that calls for exactly 1 can of pumpkin and isn’t 3/4 plain cheesecake. Sorry about that!
This was soooo good. Not much made it into the pie crust because I couldn’t stop eating it. I had to make another batch and got the keep the rest for myself. I also used Simple Mills for the crust and oh my gosh. that crust is CRAZY good. I also wanted to eat it by itself. Thank you!
Ooh, I totally agree about Simple Mills! Love those cookies. :) And haha. You sound just like me! I’m so glad to hear that you loved it as much as I do. :) Thanks for your feedback!
I found some leftover pumpkin I had frozen after Thanksgiving, and this was the perfect use for it! I can’t believe how yummy this was without any of the usual pudding mixes and or marshmallowy things. Thank you so much! This will be my new go to pumpkin pie recipe from now on. Oh and it’s a billion times better than regular pumpkin pie. You’re the best!
I’m totally with you! I’m so glad you gave this recipe a try and that you’ll be making it again. :) Always so nice to hear! Thanks a bunch for your comment.
This turned out perfectly. It was a first for me to make my own crust and your step by step tips were helpful.
I’m really happy to hear that you enjoyed the pie! Thanks for your comment and happy Thanksgiving! :)
Tried the gluten-free version with Simple Mills crackers, and the crust was surprisingly crunchy. Thanks for the tip!
You’re welcome and I’m so glad that you liked the pie with Simple Mills! It’s hard to believe those cookies are paleo, right?! Thanks for your feedback and happy Thanksgiving! :)
I love pumpkin cheesecake, especially when it doesn’t require baking. I tried this recipe for the first time and it all came out great! Thanks to your detailed instructions with photos as well. They are a big help! Thanks!
I’m thrilled that it came out so well! Thanks a ton for your comment and happy Thanksgiving! :)
This is now my go-to fall dessert. It is so creamy, delicious, and easy to make. Highly recommend!
I’m so glad that you enjoy it! Thanks for your feedback and happy Thanksgiving! :)