

Spider Cupcakes for Halloween


These spider cupcakes are easy to make with a chocolate cupcake base and cream cheese frosting. For the spiders, you need Oreos, melted chocolate for the legs and candy eyeballs. They can be made traditionally or gluten-free. This post has been updated with new text and photos and was originally published in 2016.
I had been sick for a while when I originally posted these. I wasn’t getting better, so I used some ingredients I don’t normally use – the candy eyeballs and Oreos.
I was hesitant to post them, but they’ve been my most popular Halloween recipe, along with these Witch Fingers for 7 years. So I guess people like them!

Ingredients
You can use any cupcake base and white frosting you’d like. The ingredients below are for super moist and chocolaty cupcakes with a not-too-sweet cream cheese frosting. Both are incredibly easy to make and don’t call for any special ingredients.
For the cake
- Sweetener – you can use regular old granulated sugar, coconut sugar or honey.
- Flour – you can use all-purpose, whole wheat, white whole wheat or one of the gluten-free options I write about below in the gluten-free section.
- Cocoa powder – I used Dutch-process. If you use regular Hershey’s cocoa powder, your cake will be lighter brown than mine. But it’ll still be tasty!
- Eggs – you can use chia eggs to make this cake egg-free, but there’s no way to make the spider cupcakes vegan due to the cream cheese frosting.
- Milk – you can use any kind of milk that you’d like. I always use unsweetened cashew milk.
- Oil – I use olive oil, but it works great with any kind of neutral oil, like canola or vegetable oil.
- Boiling water – it seems like TOO much water, I know, and the batter will be super thin, almost like water, but the full amount is needed.
- Vanilla extract, baking powder, baking soda and salt
For the frosting
- Cream cheese – this is for the frosting. No subs are possible if you want to make cream cheese frosting. The same applies to the other ingredients for the frosting listed below.
- Butter – make sure it’s room temp so that it’s easy to beat in with the cream cheese.
- Powdered sugar – if it’s super lumpy, you might want to sift it or blitz it in a high-speed blender to get it light and powdery again.
For the decoration
- Oreos – or homemade cookies! I talk about this below.
- Chocolate – you can use melted semi-sweet chocolate chips or chopped chocolate.
- Candy eyes – I write about homemade options below.

Cupcake base
You can use any cupcake base. I think chocolate makes the most sense for these spider cupcakes, but pumpkin is a tasty choice for Halloween.
These Pumpkin Cupcakes are my favorite pumpkin cake recipe. And again, you can make them traditionally or gluten-free!
The recipe below is an adapted version of the famous Hershey’s One Bowl Chocolate Cake. I’ve been making an adaptation of this recipe for 15 years, and I have no desire ever to make or even try another chocolate cake recipe.
Believe me when I say they’re delicious. ;) If you have any questions about the recipe, I’ve probably answered them in my post on Healthy Chocolate Cake.

Eyeballs
The candy eyeballs I used on these cupcakes are not a particularly healthy ingredient. There’s even a warning on the back of the package about how some of the ingredients may have an adverse effect on the activity and attention of children.
If you don’t want to use store-bought candy eyes, you can pipe white chocolate right onto the cookie, let it firm up a bit, and then stick a mini chocolate chip upside down to create the pupil. I’m kicking myself for not doing that myself!
Should you really want to use candy eyeballs but don’t like the ingredients in the store-bought options, you can make your own. I’ve made a few different candy eyeball recipes, and this one is my favorite.

The ingredients are powdered sugar, cornstarch (or arrowroot/tapioca starch), vanilla extract, water and black cocoa.
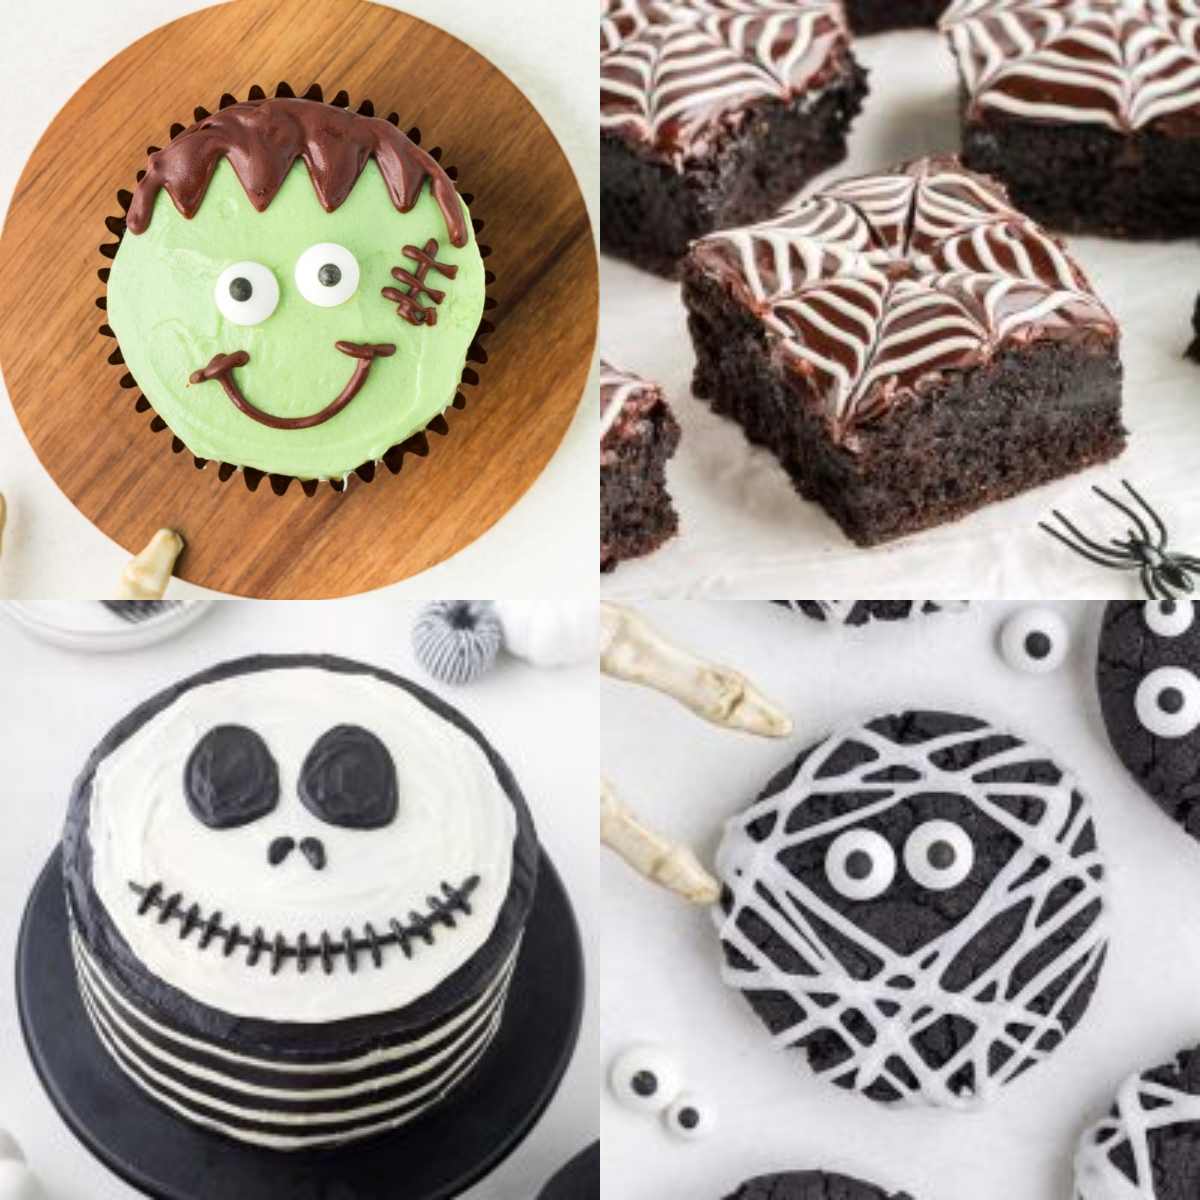
If you’re wondering what else you can do with black cocoa, I’ve got these Mummy Cookies (which also require candy eyeballs), Black Cookies and Black Ice Cream.

They’re all great options for Halloween dessert! And they all taste like Oreos since black cocoa is what gives Oreos their unique Oreo flavor.
If you take your time with them, you can really make the homemade eyeballs look perfect. But if you rush it, you’ll definitely have sloppy-looking eyeballs.
Oreos
I also used Oreos, another ingredient I never use on the blog. But at least they’re delicious and don’t come with a warning. ;)
You can use the black cookies I mentioned above instead of Oreos for the spider’s body. You can use all-purpose, whole wheat or gluten-free flour. Just like with the cupcakes for today’s recipe!

You’ll want to make them smaller than called for in the recipe. I’d make the dough balls a little smaller than 1″ and then flatten them when they come out of the oven.
Before baking a whole batch, try a few test cookies in different sizes to determine the size you prefer best. Then, bake up the rest.
How to make them
I think the pictures are pretty self-explanatory. :)


Make ahead
- Unfrosted cupcakes can be made up to 4 days in advance. I would recommend refrigerating them after 2 days, just to be on the safe side.
- Frosted cupcakes can be refrigerated for up to 3 days.
- Frosted cupcakes with the Oreos and spider legs can be refrigerated for up to 1 day.
- Completely decorated cupcakes, I would only refrigerate for up to 4 hours. The candy eyes should only be applied shortly before serving. This is because if you refrigerate candy eyeballs for several hours, the moisture from the refrigerator will cause the black pupils to bleed a bit – with some brands! Some brands don’t have this issue.
You can also freeze the unfrosted or frosted cupcakes for up to 3 months. But don’t freeze them with the Oreo or piped legs, just with the cream cheese frosting.
The texture will be fine, but the cupcake liners get a little soft and imperfect-looking after being frozen. I doubt anyone will care, but if you need something picture-perfect, frozen cupcake liners are… not that. ;)

Gluten-free option
I always use Bob’s Red Mill 1-to-1 Gluten-free Flour in these cupcakes. King Arthur Flour Gluten-free Measure for Measure Flour works equally as well!
If you plan to make these cupcakes into a cake at some point, then you should really use Bob’s. I talked about it in my Jack Skellington Cake post.
Nobody I’ve made these cupcakes for has known that they’re gluten-free. I’ve served these cupcakes to at least a few hundred people since around 2016.
I haven’t tried a third brand in this recipe, so I can’t say for sure how well they’d work out. But I think as long as you’re using a flour that’s meant as a direct sub for all-purpose flour, it’s likely to work.
Almond flour, coconut flour, oat flour, etc. will not work.
For the Oreos, you need to use gluten-free Oreos, gluten-free copycat Oreos, or the gluten-free version of the black cookies I’ve mentioned a few times.
The candy eyeballs should be gluten-free, but who knows when a company decides to change its recipe? So always check the package before buying!
More kid-friendly Halloween recipes
I hope you’ll enjoy these spider cupcakes! I’d love to hear how they came out if you try them. :) Thanks!

Spider Cupcakes for Halloween
Ingredients
Cupcakes:
- 2 cups (400 grams) granulated sugar or coconut sugar or 1 cup (320 grams) honey
- 1 3/4 cups (236 grams) flour see notes
- 3/4 cup (85 grams) cocoa powder I used Dutch-process
- 1 teaspoon baking powder
- 1 teaspoon baking soda
- 1 teaspoon salt
- 2 large eggs 50 grams each out of shell, or 2 chia eggs, see notes
- 1 cup (240 ml) milk see notes
- 1/2 cup (120 ml) oil see notes
- 2 teaspoons vanilla extract
- 3/4 cup (177 ml) boiling water see notes
Cream Cheese Frosting:
- 2/3 cup (150 grams) unsalted butter softened
- 16 ounces (450 grams) full-fat cream cheese room temp, see notes
- 1/8 teaspoon salt
- 1/2 teaspoon vanilla extract
- 2 cups (240 grams) powdered sugar
Decoration:
- 24 Oreos use GF Oreos if you’re gluten-free
- 1 1/3 cups (226 grams) semi-sweet chocolate chips or chopped chocolate
- 48 candy eyes
Instructions
To make the cupcakes:
- Preheat your oven to 350 °F (175 °C). Line 2 muffin pans with 24 liners.
- In a large bowl, stir together the sugar (if using honey, don’t add it yet), flour, cocoa, baking powder, baking soda and salt.2 cups (400 grams) granulated sugar, 1 3/4 cups (236 grams) flour, 3/4 cup (85 grams) cocoa powder, 1 teaspoon baking powder, 1 teaspoon baking soda, 1 teaspoon salt
- Add eggs, milk, honey (if using), oil and vanilla. Mix until combined and then stir in the boiling water. The batter will be almost as thin as water.2 large eggs, 1 cup (240 ml) milk, 1/2 cup (120 ml) oil, 2 teaspoons vanilla extract, 3/4 cup (177 ml) boiling water
- Fill each liner just a little more than halfway full.
- Bake for 18 minutes or until a toothpick comes out with some moist crumbs, but no liquid.
- Let cool for 5 minutes in the pans, and then, turn out onto a rack to cool. Let cool completely, about an hour, before frosting.
Make the frosting:
- Once the cupcakes have cooled, prepare the frosting. Beat the butter and cream cheese until soft and smooth.2/3 cup (150 grams) unsalted butter, 16 ounces (450 grams) full-fat cream cheese
- Add the salt and vanilla and beat until combined. Add in the powdered sugar, 1/2 cup at a time, and beat until fluffy.1/8 teaspoon salt, 1/2 teaspoon vanilla extract, 2 cups (240 grams) powdered sugar
- Spread about 5 teaspoons of frosting over each cooled cupcake.
Decorate:
- Note that the candy eyes should only be applied shortly before serving. This is because if you refrigerate candy eyeballs for several hours, the moisture from the refrigerator will cause the black pupils to bleed a bit. The Oreos and legs can be added to the cupcakes a day ahead of time and kept in the refrigerator.
- Twist the Oreos apart and place the side without frosting face up on the cupcake. You can also use whole Oreos if you prefer.24 Oreos
- Melt the chocolate in a small saucepan over low heat, stirring constantly until melted. Pour into a piping bag.1 1/3 cups (226 grams) semi-sweet chocolate chips
- Pipe 4 legs on both sides of the Oreo. Pipe a tiny bit of chocolate on the bottom of two eyes and place on the Oreo.48 candy eyes
To store:
- You can make the cupcakes up to 4 days in advance. I would recommend refrigerating them after 2 days, just to be on the safe side. Frosted cupcakes can be refrigerated for up to 3 days. Frosted cupcakes with the Oreos and spider legs can be refrigerated for up to 1 day. Try to add the candy eyeballs just a few hours before serving.
Notes
- For the flour, you can use all-purpose flour, white whole wheat flour or whole wheat flour. If you’re gluten-free, use 1 3/4 cups (236 grams) Bob’s Red Mill 1-to-1 Gluten-free Baking Flour or 1 3/4 cups (236 grams) King Arthur Flour Gluten-free Measure for Measure Flour.
- To make the chia eggs for this recipe, mix together 2 tablespoons of ground chia seed with 6 tablespoons of water until well combined. Let sit for 1-2 minutes until goopy like regular eggs.
- If you use canned coconut milk, water it down so it’s about as thin as dairy milk. Maybe half coconut milk and half water?
- For the oil, you can use canola, vegetable, grapeseed or olive oil (not an expensive, super flavorful one). Anything neutral.
- I know that sounds like a lot of water, but I promise you, you need 1 cup!
- If you live outside of North America and have the kind of cream cheese that’s meant for toast (that comes in a little plastic tub) rather than American-style brick cream cheese, then get two 300-gram packages of cream cheese, place it in the center of a cheesecloth, and wring out the liquid until you have 450 grams of cream cheese left.
- The nutrition information provided is calculated as a courtesy and is only an estimate. I am not a licensed nutritionist or dietitian. For the most accurate nutritional data, consult a professional or use your preferred calculator.


These are the most delicious chocolate cup cakes ever! I made a rough attempt with the decoration but as they weren’t for little ones I didn’t try too hard! So difficult not to eat the whole lot in one go!!! 5*
Love these cupcakes! Aside from them looking absolutely adorable, they are also quite delicious! I tend to use sunflower seed oil for the majority of my baking — turns out great. Next time I make these do you think I could add chocolate chips in? My family is a huge fan of chocolate paired with pumpkin!
I’m so glad that you enjoyed them! Great to know that sunflower seed oil worked out well. :) And yes, chocolate chips should be fine! Thanks so much for your feedback. :)
My son’s kindergarten class is going to love these! We did a trial batch yesterday and they are so adorable. Almost hard to eat! Yum.
I’m so glad to hear that! I hope that they’ll be a hit with the other kids. :) Thanks so much for your comment!
My niece is so excited for Halloween that she wanted to make these already. What a treat they were. Her and her mom and going to make them again for their neighborhood Halloween party. Thanks a million!
Haha, aww. I’m the same. I love that you helped her make them! I’m glad that you enjoyed them. Thanks for your feedback!
I was so worried about how runny it was before baking but everything magically came together! These cupcakes were tasty and my daughter loved them. We used them as part of a homeschool project about spiders, but we’ll be revisiting this recipe come October!
Aww, yay! I’m so glad to hear that you liked them enough to make again for Halloween. :) And what a fun homeschool project! Thanks so much for your comment. :)
I was feeling really Halloween-y the other day, so I decided to make these cupcakes. They were so good! They were moist and chocolaty, and the spiders were a fun touch. I ended up eating like half the batch myself. ????
Haha. I know how that is. They are definitely hard to resist. ;) Thanks so much for your comment! I’m glad that you enjoyed them.
These were such a hit with my niece and nephew! I took the easy route and used a Simple Mills boxed mix but they didn’t care at all, making the eyes and legs was obviously their favorite part. Thanks for a fun idea!
You’re welcome! I’m glad that your niece and nephew had fun. :) And great to know that Simple Mills works well here! I love their stuff. Thanks for the tip!
I had a trial run of making these before the big day this year. After reading your post I wasn’t about to use store-bought eyeballs, so made my own. They were delicious and I know that the kids are going to love them.
I’m so glad that you found them delicious! And awesome that you made your own eyeballs. :) I hope your kids enjoyed them just as much! Thanks so much for your comment.
Baking these cupcakes was an adventure! The result was SO tasty and cute. thanks!
You’re welcome! I’m glad that you enjoyed the result. :) Thanks for your comment!
Such a cute idea! Made these today and turned out awesome! I just used boxed cake mix and frosting! Love this thank you so much for sharing!
My kids loved these! Making these again for the school Halloween party! Thanks for the yummy recipe.
I love to hear that! Thanks for your feedback. :) I hope the school kids will love them!
Hi are all 3 flours mentioned need for the recipe or one of the 3?
Thanks!!
Hi! Just pick 1. :)
Hi Can I use coconut oil instead of canola oil? I can’t wait to make these in a couple days!
Hello! You can. :) I’d recommend using refined coconut oil so that there’s no coconut taste (unless you don’t mind some coconut flavor!).
These are too cute! Perfect Halloween treat! Thanks Erin
I’m glad you like them! :)
Hi Erin Could I just do Chocolate cupcakes and white icing since I am not into Gluten free?
Hi! Yes, you can. I list 3 other non-gluten-free flour options in the recipe. :)
Hi cute recipe, the only thing I’m wondering is on the frosting 1/2 cup of butter and then another tablespoon what’s that extra butter for I don’t see it in the instructions ,
thank you
I’m sorry for just now seeing your question! And oh my. Thank you so much for pointing that out! I’ve fixed it. Thanks again for taking the time to ask about that!