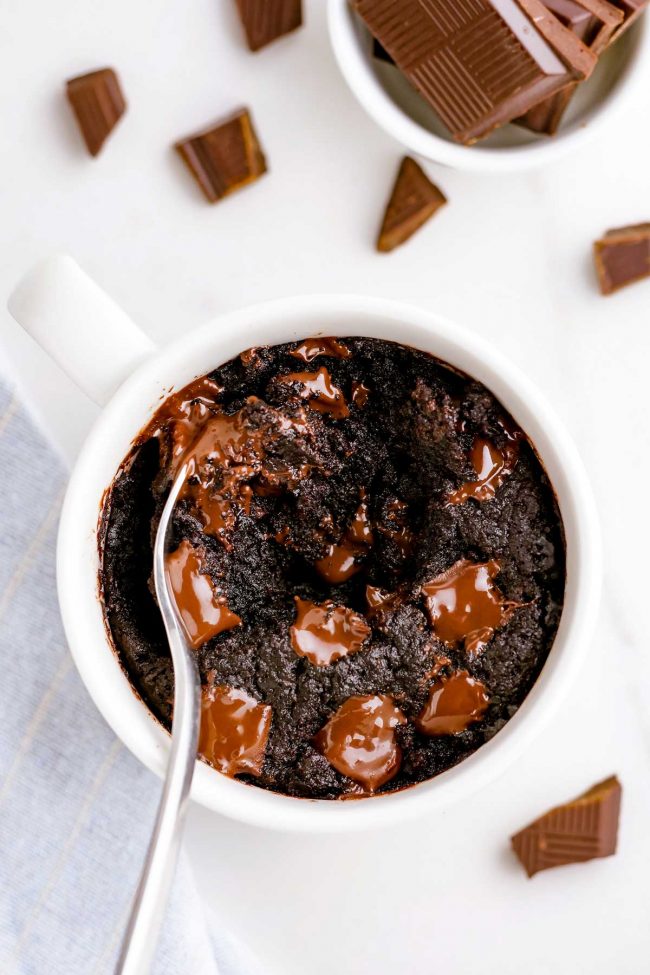
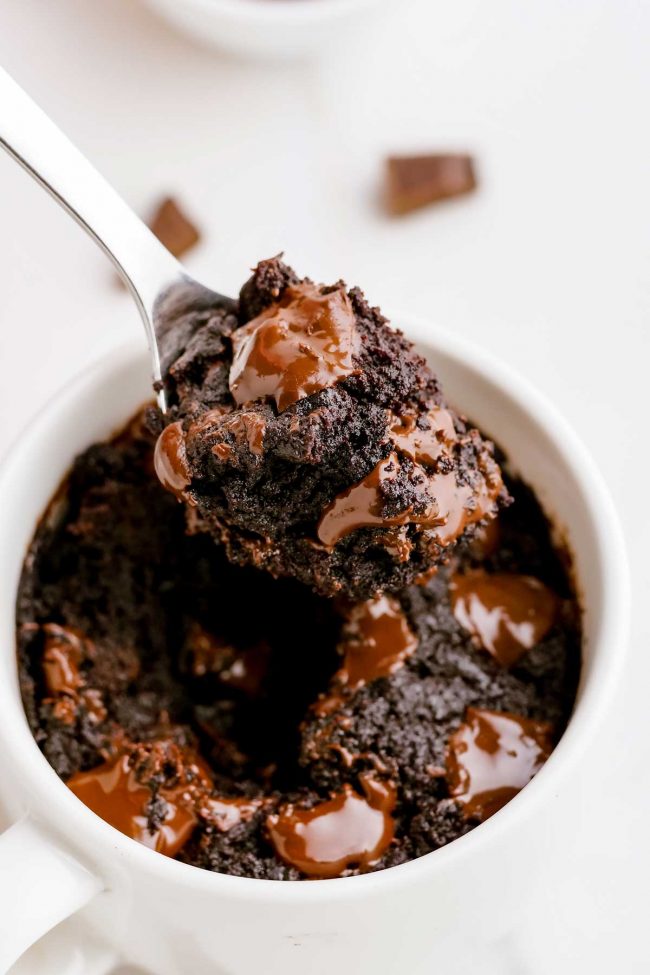
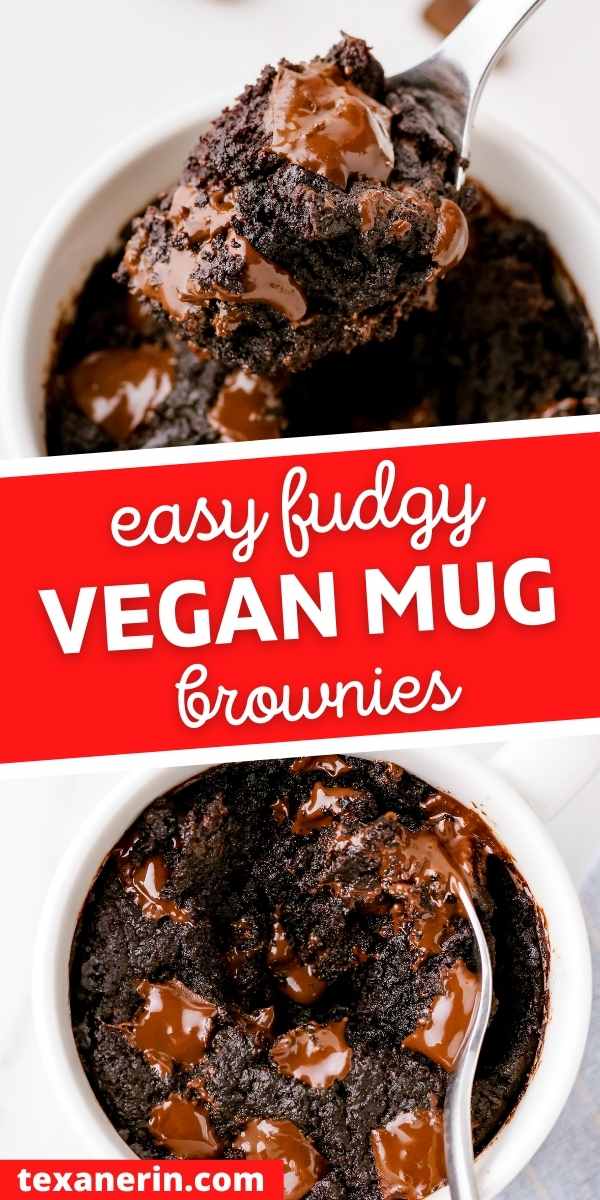
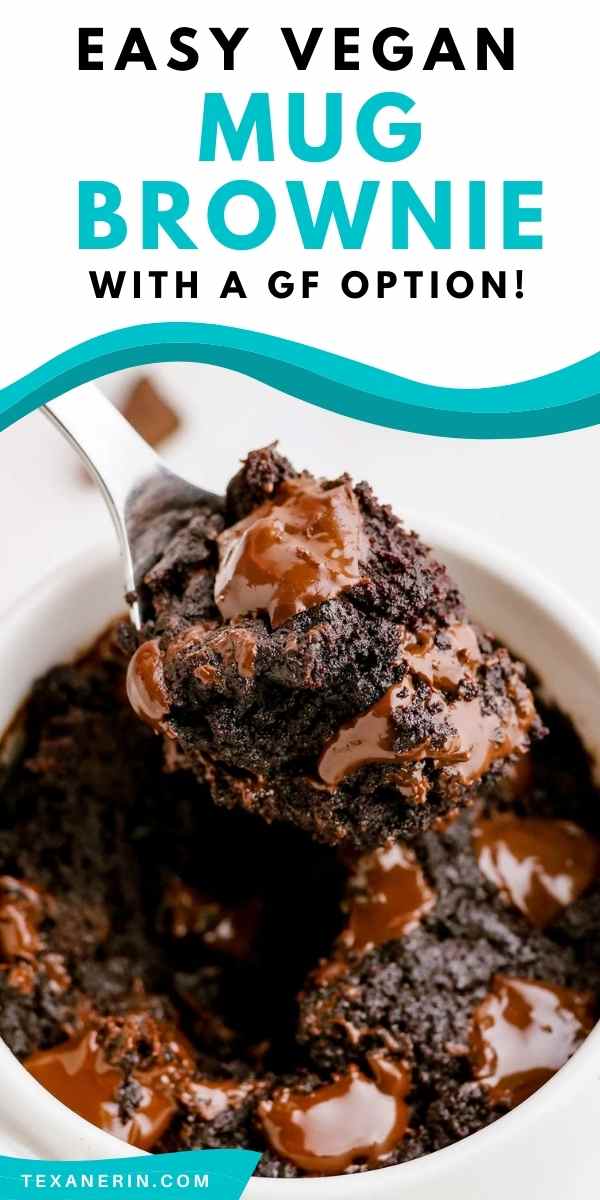
This vegan mug brownie recipe is perfect for those late-night cravings when you want brownies ASAP or when you don’t want to have an entire pan of brownies sitting around. They’re super easy and incredibly gooey. Can be made traditionally or gluten-free.
I’ve tried so many mug brownie and cake recipes that were supposed to be so much better than other mug brownies and cakes. I was always hopeful, but I never liked them.
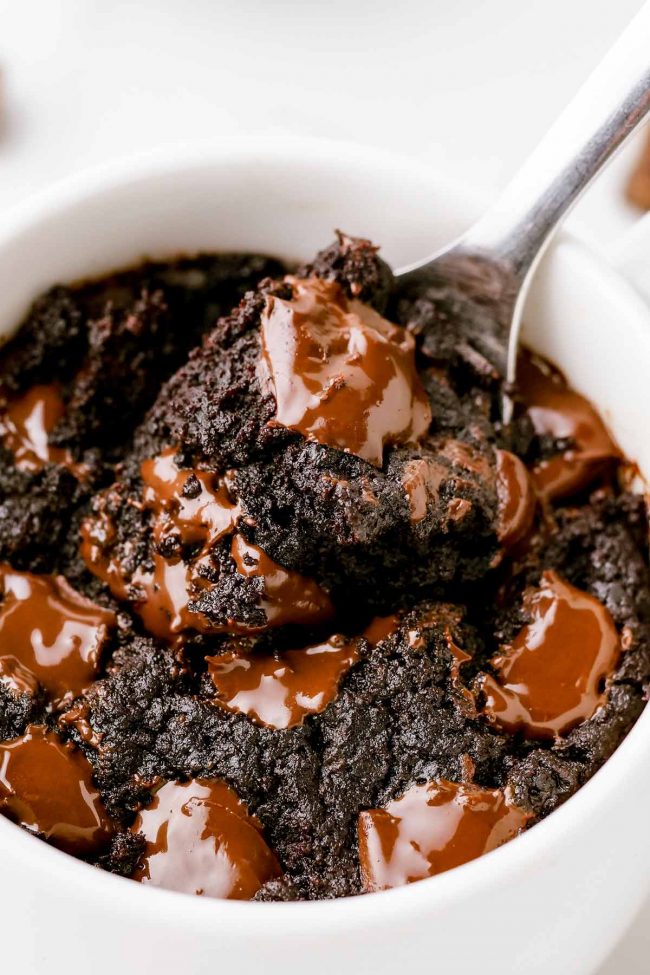
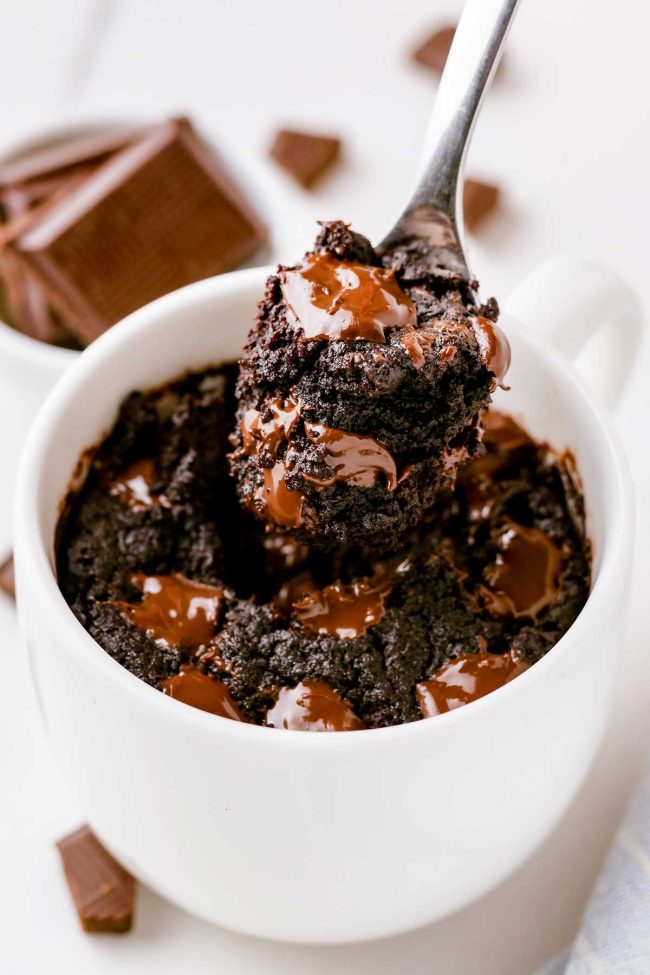
The texture was always off and the taste wasn’t very good. But I think I’ve achieved a gooey, great-tasting recipe with this vegan mug brownie!
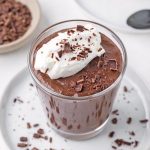
The result is very rich and satisfying.
If your brownie comes out dry and not gooey, then you overcooked it. My microwave is 800 watts and I needed 50 seconds, so adjust your cook time accordingly based on how many watts your microwave is.
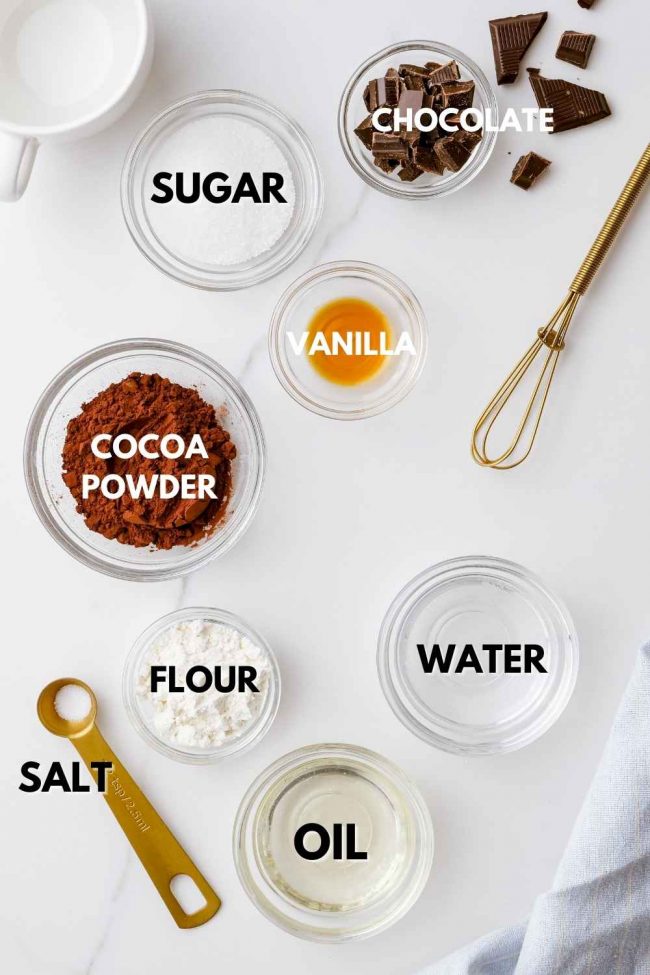
Ingredients
Just normal brownie ingredients here. But unlike regular brownies, you don’t need eggs or egg subs for these.
- Cocoa powder – I used Dutch-process and haven’t tried it with natural cocoa powder (like Hershey’s). Sometimes brownies can come out a bit cakey if using natural in place of Dutch-process, but I think it’d be okay here because there’s so much gooiness from the chocolate chips.
- Flour – you can use regular all-purpose flour, whole wheat flour, or white whole wheat flour. If you can’t have gluten, you can use a gluten-free baking blend that’s meant as a direct sub for all-purpose flour.
I’m going to post another gluten-free version of these soon using almond flour or buckwheat. - Sugar – you can use regular granulated sugar, raw sugar or coconut sugar. Liquid sweeteners won’t work as they’d throw off the proportions.
- Oil – you can use whatever neutral-tasting oil you’d like. With extra-virgin olive oil, there is a slight olive taste. I love olive oil in my chocolate recipes, but you can always taste the olive oil flavor until it’s cooled. Since this is a mug brownie that should be enjoyed very warm, you’ll be able to taste it. But some people like that!
If using coconut oil, be sure to use refined coconut oil, unless you don’t mind some coconut flavor. - Water – you could use plant-based milk, if you prefer. It doesn’t change the taste.
- Chocolate – you can use chocolate chips or chopped chocolate. Make sure to use vegan chocolate.
- Vanilla extract + salt
How to make it
It’s super simple. Though not really any simpler or quicker than a full-sized batch of brownies. This is more about needing brownies ASAP and portion control.
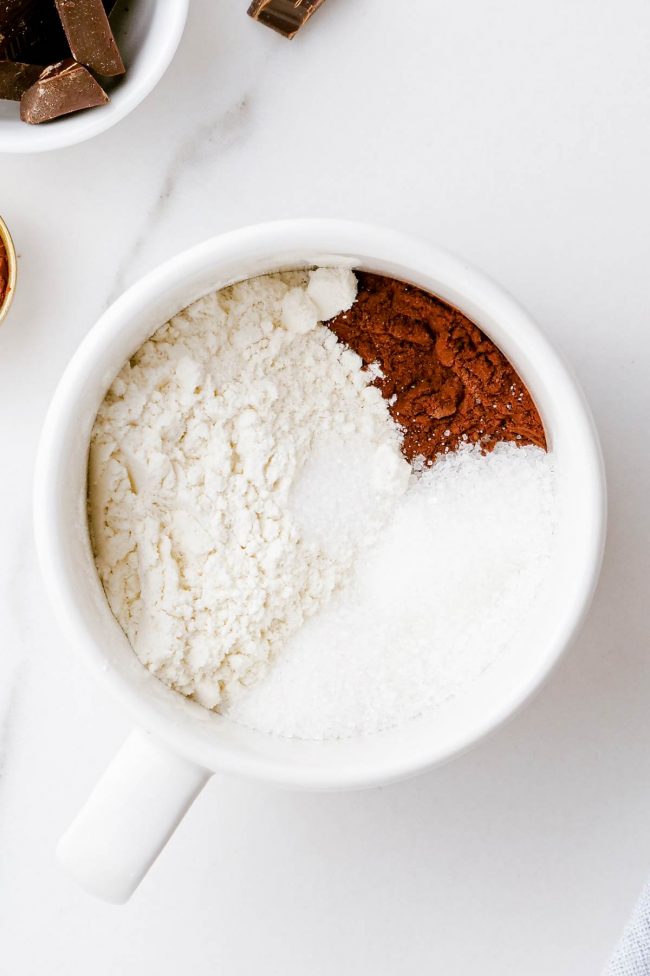
First you mix all the dry ingredients together.
But! When using coconut oil, I mix the dry ingredients in a separate little bowl. I melt the coconut oil in the mug, then add the other liquid ingredients, and then mix in the dry mix.
It’s important to mix together the dry ingredients first. I’ve just dumped the separate dry ingredients over the wet ingredients to save time, but then you end up overmixing the brownie batter in order to get the cocoa powder well incorporated.
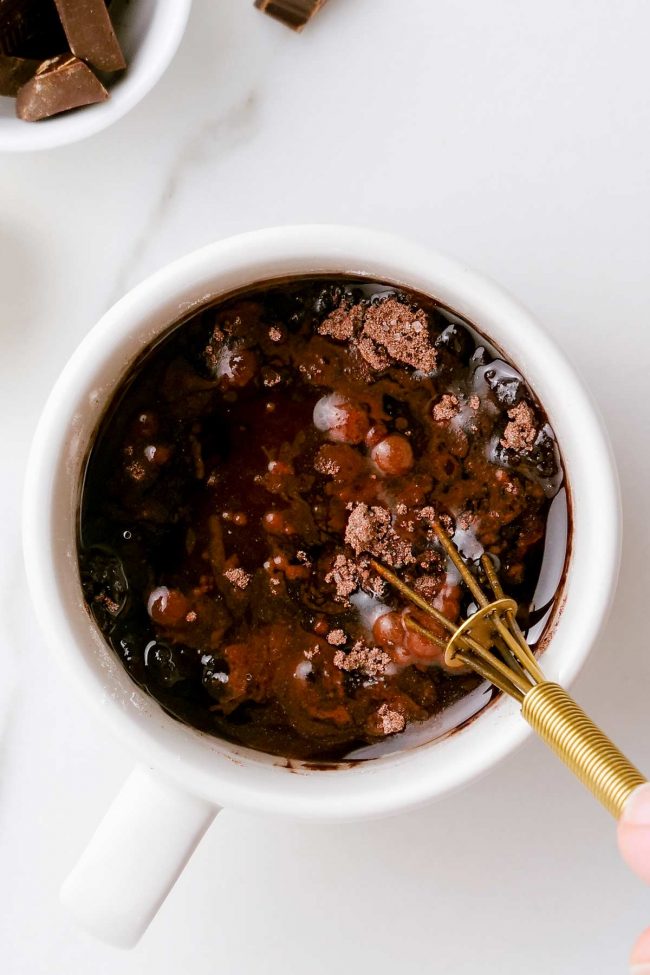
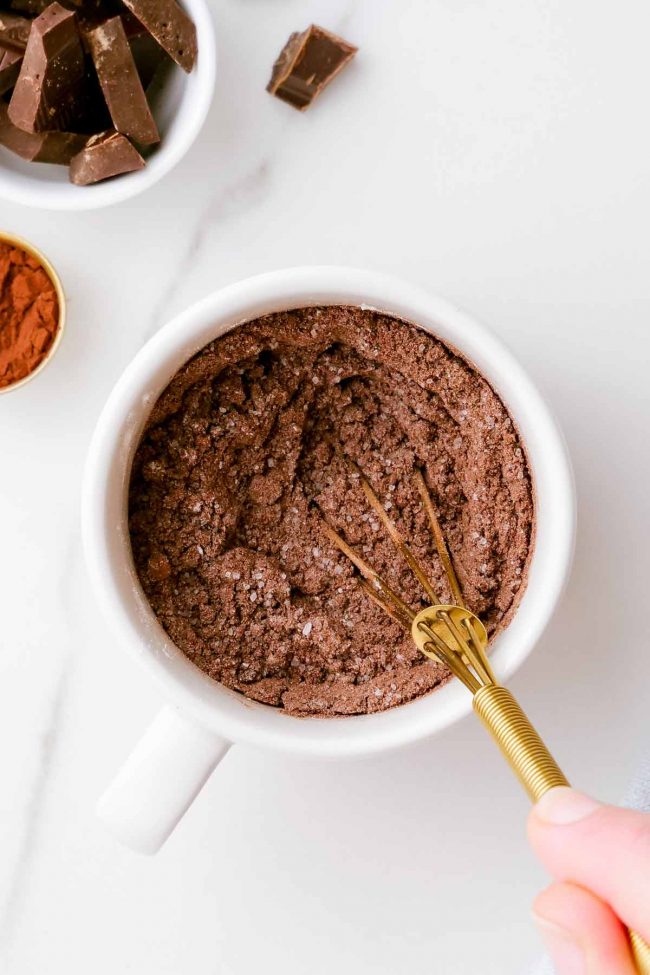
Now add the wet ingredients. Stir just until combined, and then add the chocolate chips.
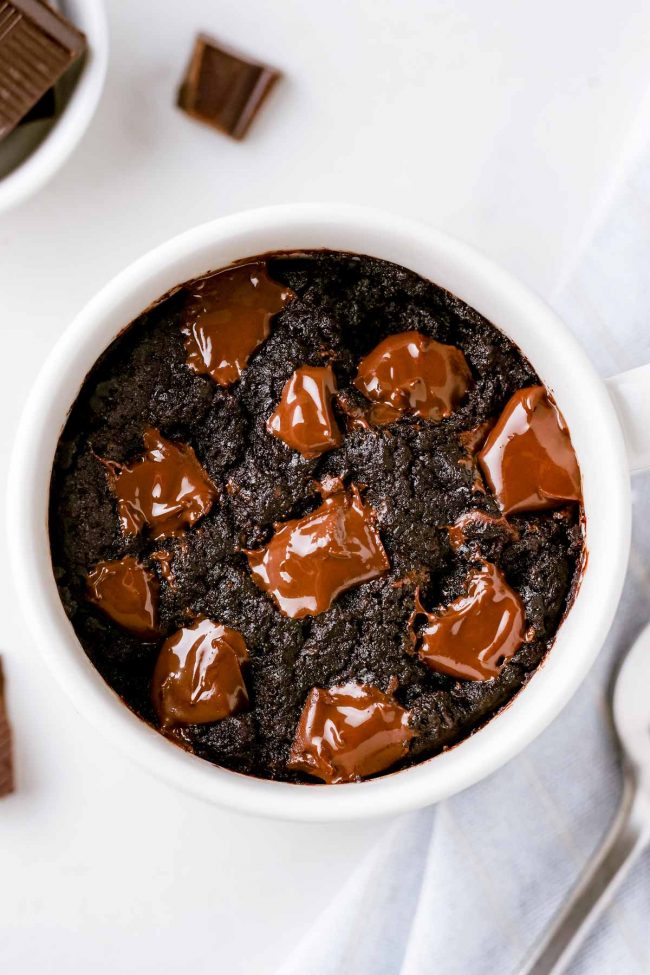
Now put it in the microwave. The exact time you need will depend on your microwave and the size, shape and material your mug is made out of. To be safe, I recommend to start checking at 40 seconds.
It should be gooey inside but the top shouldn’t be wet but it might look glossy.
The key
⚠️⚠️⚠️ Do not overbake it! ⚠️⚠️⚠️
Because there’s no egg in this, you don’t have to worry about heating the brownies to a certain temperature to make them safe to eat.
So you can safely underbake this, which will just result in enjoying something like half-baked brownie batter, which is much better than a dry brownie.
You might have heard that you’re not supposed to eat raw or undercooked flour. The grinding process doesn’t kill bacteria that wheat, and other grains, are exposed to outside in the fields.
The flour isn’t heated enough during production to make it safe for eating raw. You’re supposed to heat it to 165 °F (74 °C) to kill the pathogens.
At 45 seconds in my microwave, these brownies reached 190 °F (88 °C). I’ve taken the temperature several times, so yes, they’re safe!
Scale
I would really recommend using a scale for the cocoa powder, flour and sugar. I always recommend using a scale, but it’s even more important when using these tiny amounts.
I have so many different sets of measuring spoons and I wrote down the number of grams I used with measuring spoons each time. I always measure the exact same way, but my numbers varied by as much as 35%. Some tablespoons sold are really more like 5 teaspoons instead of 3!
But don’t worry. I know which of my tablespoons are proper tablespoons and always use those when developing recipes. I just did some experimenting with this recipe and the tablespoons to see how much of a difference it’d make.
Sugar
I’m not loving how much sugar is in this recipe. But that’s the thing – you can either have a really great brownie, or a lower-in-sugar brownie that doesn’t taste very good (in my opinion).
This recipe has 2 tablespoons of sugar plus another 1 1/2 tablespoons of chocolate chips. It’s sort of ridiculous.
You can omit 1/2 tablespoon of chocolate chips that go on top of the brownie, but I think the tablespoon in the batter are necessary for texture reasons. They add gooiness!
I was curious how that compares to a normal brownie recipe, and I was a little shocked. In my Almond Flour Brownies, which aren’t overly sugary, each serving has 1.5 tablespoons of sugar and 1.75 tablespoons of chocolate chips.
So the amount of total sugar in the two recipes is about the same. It’s just alarming if you’ve never broken down the amount of sugar in a brownie before.
Can I make these in advance?
I wouldn’t bake them and then serve the brownies later. But you can mix up the batter in your mug and refrigerate for up to about 12 hours before baking.
It could be that you could prepare it much further in advance, but I haven’t tried it any longer than 12 hours.
You’ll need a few extra seconds in the microwave, but not many.
How to reheat
If you don’t want to finish it in one sitting, then just cool completely, cover and refrigerate for up to 3 days.
Then reheat at half power for maybe 5-10 seconds. I don’t recommend eating them at room temperature. Mug brownies are definitely way better reheated, but just gently, so that you don’t dry it out.
Can I bake this in an oven?
Perhaps you want to toss a single-serving brownie into the oven while you’re baking your dinner. That makes sense!
Bake it for 12-15 minutes at 350 ° F (175 °C). If your other food is at 375° F, that should be fine – just keep an eye on the baking time. I would not recommend 400° or higher, though.
Gluten-free version
Like I mentioned in my Vegan Eggnog Recipe post, some people have asked that I split up my recipes so that I don’t have so many different options for several ingredients. They said it’s too hard to read.
So I’m doing that for this recipe. I included one gluten-free option in the below recipe, but if you want to use buckwheat flour or almond flour, you have to wait a bit because 1) the recipe’s not quite ready and 2) I don’t want to overwhelm people with options in the recipe card.
But in today’s recipe, I’ve used King Arthur Flour Gluten-Free Measure for Measure Flour and Bob’s Red Mill 1-to-1 Gluten-free Baking Flour with great results. You can use a different gluten-free baking blend that’s made as a 1-to-1 sub for all-purpose flour, but your results will likely vary.
But I doubt that any of them would be terrible in this recipe. If you like it in other recipes, it’ll probably work here. This is a microwaved brownie and not a fluffy cake or a full batch of brownies, where the exact brand really matters.
By the way, if you’re wanting a full batch of super chocolaty, gooey brownies, these Paleo Vegan Brownies are great!
With the flours I used, the texture is perfect. There’s no grittiness, and it doesn’t taste gluten-free (and neither do my other gluten-free recipes)!
I’ve heard great things about Cup4Cup, but I don’t have access to it where I live. For people with dairy allergies – note that it contains milk powder!
And if you need a keto recipe, check out this great looking Keto Mug Cake!
Can I omit the cocoa powder?
Nope. You’d have to rework the entire recipe, so please search for a mug blondie recipe.
Other vegan chocolate treats for Valentine’s Day:
- Vegan Chocolate Cheesecake
- Healthier Raspberry Truffles
- Kladdkaka (Swedish sticky chocolate cake)
- Vegan Chocolate Pudding
- Vegan Chocolate Cake
- Cocoa Balls
If you make these vegan mug brownies, I’d love to hear from you! Please leave me a comment below. :)
And here are some resources if you’re new to the vegan or gluten-free diet:
- Are Chocolate Chips Vegan?
- Are Chocolate Chips Gluten-free?
- Is Cocoa Powder Gluten-free?
- Is Hershey’s Cocoa Gluten-free?
Vegan Mug Brownie
- Prep Time:
- Cook Time:
- Ready in:
- Yield: 1 brownie
Ingredients
- 2 1/2 tablespoons (17 grams) Dutch-process cocoa powder
- 1 1/2 tablespoons (12 grams) all-purpose flour, whole wheat flour or for gluten-free, use 1 1/2 tablespoons gluten-free 1:1 flour1
- pinch of salt
- 2 tablespoons (25 grams) granulated sugar or 2 1/2 tablespoons (25 grams) coconut sugar2
- 2 tablespoons oil3
- 2 tablespoons water
- 1/2 teaspoon vanilla extract
- 1 tablespoon + 1/2 tablespoon vegan semi-sweet or dark chocolate chips or chunks, divided
Directions
- To a microwave-safe mug, cup, or ramekin, mix together the dry ingredients.4
- Stir in the wet ingredients.
- Add 1 tablespoon of chopped chocolate and stir until combined.
- Top with the remaining 1/2 tablespoon of chocolate, if desired. Using a silicone spatula to push the batter on the sides of the cup down to the rest of the batter.
- My microwave is 800 watts and I needed 50 seconds. It should be gooey inside but the top shouldn't be wet but it might look glossy. The exact time you need will depend on your microwave and the size, shape and material your mug is made out of. To be safe, I recommend to start checking at 40 seconds.
- Serve! But don't burn your tongue.
Notes
- I've used King Arthur Flour Gluten-Free Measure for Measure Flour and Bob's Red Mill 1-to-1 Gluten-free Baking Flour with great results. If you want to use a different flour, it should be meant as a 1-to-1 sub for all-purpose flour.
- I recommend weighing all the ingredients, but especially the coconut sugar, if using.
- I recommend something neutral like refined coconut oil, canola oil, or vegetable oil. You can use olive oil if you don't mind some olive taste. Vegan butter would also work.
- When using coconut oil, I mix the dry ingredients in a separate little bowl. I melt the coconut oil in the mug, then add the other liquid ingredients, and then mix in the dry mix. Add the oil, water and vanilla. Stir until combined.
- For gluten-free, make sure to use one of the gluten-free flour choices.
Join over 12,400 readers and sweeten up
your inbox with new posts for free!
This subscription is free of charge and can be canceled at any time.


16 comments on “Vegan Mug Brownie (super gooey with the perfect texture! GF option)” — Add one!
2 comments are awaiting moderation!
This was exactly what I needed! I had seen this recipe before, but today the craving hit and I had everything needed to make this mug brownie! Super easy and it hit the spot. Thanks!
I just had to add in that your last comment about explaining the difference to me about raw cacao and dutch process cocoa made me laugh because it explains why my oldest son came in to the kitchen and told me the mug brownie I had just given him was awful! It wasn’t awful but to a 12 year old apparently it was. And yes, please do a post about the differences in cocoa powder. I love to bake but have never quite grasped that concept of Dutch-process versus other cocoas. Thank you for your input!
Oh noooo. Haha. When I read your review, I kind of figured you didn’t like it. You are normally more positive sounding. 😆 I’m so glad we got the problem figured out! I will absolutely get something together about cocoa/cacao powders. Thanks again!
Hey Erin! So I did try it today. It is extremely rich! I think next time, I will back off on the cocoa somewhat and add some additional sweetener like Swerve Brown. It is very good…way better than some of the other mug brownies I have tried.
I’m glad that you liked it! Thanks for letting me know how it came out. So less cocoa and more sugar, huh? And I thought I had a sweet tooth. 😂 I like the idea of the other commenter to use 1 tablespoon of applesauce in place of 1 of the tablespoons of oil. That would also make it less rich, and I don’t think it’d affect the texture badly as it’s already so super gooey. I think I might try that in the afternoon as a wake-me-up. :D I’ll report back!
Well, I used raw cacao and you say to use Dutch-process cocoa…perhaps that could be where the bitterness from the cocoa came from? I don’t know the difference in my cocoas. Also, I used 2T coconut sugar..left out 1/2T. I should have included it all. So I was thinking next time of doing a mix of swerve brown and coconut sugar. Just in the interest of eating less sugar overall.
Ah, then that makes sense! Raw cacao is much more bitter than Dutch-process so you always need more sugar. So if you even used less sugar than called for, I bet it wasn’t sweet at all. That’s a good point about cacao vs. other types of cocoa powder! I should write a post about it and include it in my questions section. Thanks for the idea! And yes, I agree that mixing Swerve with some coconut sugar is a good idea. There’s so much sugar in these that it’s painful to think about, but regular brownies aren’t any better sugar-wise (at least truly delicious ones). :/
Hmm. It was rubbery. It didn’t cook properly (it still looked wet after a minute), so I did it for 65 seconds total. I used King Arthur Flour GF Measure for Measure Flour but will try again with Bob’s Red Mill 1-to-1 GF Baking Flour soon. I doubt it’ll make a difference. I also used coconut sugar. Maybe it’s better with granulated. I’m a bit stumped. I really thought it’d work! It could be that I made a mistake as I’m in a hurry (but I really don’t think I did).
Hey, that seems like a lot of oil? Can you substitute 1 tablespoon of the oil for applesauce?
Hi! Sorry for just now seeing this. I haven’t tried it, but that’s a great idea. I think it’d work fine, but can’t guarantee it. If you try it, please let me know how it turns out!
I just decided to try it later today! I’ll report back. :)
Hmm. It was rubbery. It didn’t cook properly (it still looked wet after a minute), so I did it for 65 seconds total. I used King Arthur Flour GF Measure for Measure Flour but will try again with Bob’s Red Mill 1-to-1 GF Baking Flour soon. I doubt it’ll make a difference. I also used coconut sugar. Maybe it’s better with granulated. I’m a bit stumped. I really thought it’d work! It could be that I made a mistake as I’m in a hurry (but I really don’t think I did).
This looks really yummy and I am eager to try but I don’t use a microwave. I usually guess or just keep an eye on these microwave in a mug dishes but do you have any idea how long I should leave in the oven? It is fine if you don’t, I will just keep an eye on it if so.
Hello there! There’s a section about baking it at the end of the post. :) About 12-15 minutes. I hope you’ll enjoy it!
Hey! Sorry about that. I thought I had read the entire post. I’ll give it a try. Thanks!
No need to be sorry! I’m always super happy to hear from you. :) I was just on my phone and couldn’t copy and paste the paragraph from there (and I had just lain down for bedtime and was too lazy to put my computer back on 😆).